The Ultimate Maintenance Guide for MDF Beadboard Wainscoting
Learn how to clean, protect, and repair MDF beadboard wainscoting. Expert playbooks for dusting, stain removal, and moisture damage prevention.
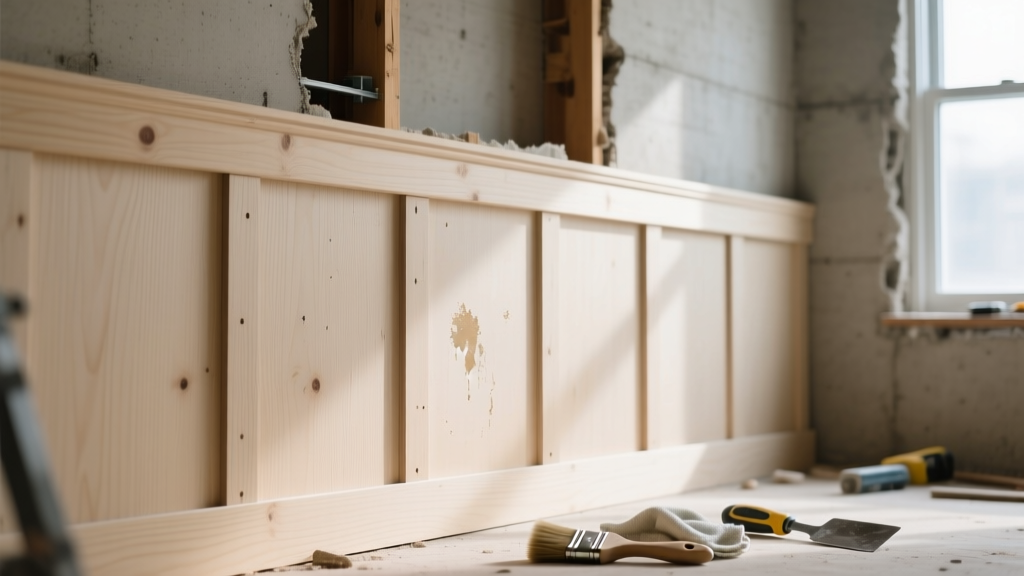
The MDF Vulnerability Profile: Why Standard Cleaning Fails
Medium-Density Fiberboard (MDF) beadboard wainscoting provides the crisp, traditional shadow lines of solid wood at a significantly lower material cost. However, its compressed wood fiber and resin composition introduces a critical vulnerability: extreme moisture sensitivity. Unlike solid pine or cellular PVC, MDF lacks a natural grain structure to repel water. When liquid penetrates the factory-primed surface—especially at the routed bead grooves, bottom rail cuts, or unsealed nail holes—the internal fibers act like a sponge, expanding and causing irreversible edge swelling.
To maintain the structural integrity and aesthetic finish of your MDF wainscoting, you must adopt a low-moisture, high-efficacy cleaning protocol. This playbook details the exact products, techniques, and repair methodologies required to keep MDF beadboard looking pristine for decades.
The Weekly Dusting & Surface Cleaning Playbook
The deep vertical grooves of beadboard are notorious dust traps. Allowing particulate matter to accumulate in the flutes creates a gritty paste when humidity rises, which can micro-scratch the paint finish during subsequent cleanings.
- Dry Extraction First: Use a HEPA-filter canister vacuum with a soft-bristle dusting brush attachment. Run the brush vertically down each groove to dislodge trapped dust without scratching the semi-gloss or satin paint.
- Microfiber Fluting: For stubborn cobwebs or dust in the upper cap rail crevices, use a 1.5-inch angled microfiber duster. Avoid traditional feather dusters, as the stiff quills can catch on minor paint imperfections and cause flaking.
- Damp Wiping (The Two-Bucket Method): Mix a solution of 1 gallon warm water and 2 tablespoons of pH-neutral dish soap (like Dawn Free & Clear). Dip a microfiber cloth, wring it out until it is barely damp (not dripping), and wipe the flat panels. Immediately follow with a dry microfiber towel to prevent any residual moisture from lingering on the surface.
Deep Cleaning & Stain Removal Matrix
When routine dusting is insufficient, targeted stain removal is required. The approach must be dictated by the stain type to avoid stripping the paint sheen. Below is the professional matrix for treating common wainscoting stains.
| Stain Type | Recommended Cleaner | Application Method | Dwell Time |
|---|---|---|---|
| Scuffs & Shoe Marks | Melamine Foam (Magic Eraser) | Lightly dampen; rub with zero pressure in direction of grain. | N/A (Immediate) |
| Kitchen Grease Splatter | Krud Kutter (Original) | Spray onto cloth, not wall. Wipe, then rinse with damp water cloth. | 30-45 seconds |
| Hard Water / Mineral Spots | 50/50 Distilled White Vinegar & Water | Apply via spray bottle to cloth. Wipe and immediately dry. | 1-2 minutes |
| Crayon / Wax | WD-40 or Mineral Spirits | Apply to rag, dissolve wax, wash area with soapy water after. | 1 minute |
Note on Melamine Foam: Melamine acts as a micro-abrasive (essentially 3000-grit sandpaper). While highly effective on scuffs, aggressive scrubbing will burnish the paint, leaving a dull, matte spot on a semi-gloss finish. Always test in an inconspicuous corner behind furniture first.
Moisture Damage & Swelling Repair Protocol
If water has breached the paint barrier, the MDF fibers will swell, creating a raised, bubbled texture along the bottom rail or inside the bead grooves. Standard water-based wood putties will fail here because they shrink as they dry and lack the structural bonding required for compromised MDF fibers.
Step 1: Excavation and Stabilization
Use a 5-in-1 painter's tool or a sharp chisel to scrape away the swollen, mushy MDF until you reach hard, dry substrate. Vacuum the dust thoroughly. Apply a penetrating wood hardener (such as Minwax High Performance Wood Hardener) to the exposed fibers to bind them together and create a stable base for the filler.
Step 2: Two-Part Resin Filling
For the actual repair, use a two-part polyester resin filler like Bondo All-Purpose Putty or Bondo Wood Filler. These products cure via a chemical reaction rather than evaporation, meaning they will not shrink, crack, or pull away from the MDF edges.
- Mix the filler and hardener on a scrap piece of cardboard.
- Overfill the damaged groove or edge slightly above the surrounding surface.
- Allow to cure completely (usually 15-20 minutes).
Step 3: Sanding and Sealing
Sand the cured filler flush using 120-grit aluminum oxide sandpaper, followed by 220-grit for a smooth finish. Critical Step: Before applying your topcoat paint, you must prime the repaired area with a shellac-based primer like Zinsser B-I-N. Shellac seals the porous MDF fibers and prevents the polyester resin from bleeding through and yellowing your white topcoat.
Protective Coatings: Choosing the Right Paint for Easy Maintenance
The cleanability of your MDF beadboard is entirely dependent on the paint chemistry and sheen selected during installation or repainting. Flat and matte paints absorb oils and cannot withstand scrubbing, making them entirely unsuitable for wainscoting in high-traffic zones like hallways, dining rooms, or mudrooms.
Expert Recommendation: For maximum durability, specify a waterborne urethane-alkyd hybrid enamel, such as Sherwin-Williams Emerald Urethane Trim Enamel or Benjamin Moore Advance. These paints level out like traditional oil-based paints (minimizing brush strokes in the bead grooves) but cure to a hard, furniture-like shell that resists scuffs and wipes clean effortlessly. Always specify a Semi-Gloss or Pearl sheen for the optimal balance of light reflection and washability.
For a comprehensive breakdown on preparing and painting MDF surfaces to ensure long-term adhesion, refer to the professional painting guidelines published by Bob Vila, which emphasize the necessity of solvent-based primers to prevent MDF fiber swelling during the painting process itself.
Seasonal Inspection & Caulk Maintenance
MDF beadboard panels expand and contract at a different rate than the drywall they are mounted to. This differential movement inevitably causes the caulk lines at the top cap rail and the baseboard joints to crack over time, creating direct pathways for moisture and pests.
Every 12 to 18 months, conduct a seasonal inspection focusing on these critical checkpoints:
- Cap Rail Separation: Check the seam where the top rail meets the drywall. If the caulk is fractured, scrape it out using a utility knife and re-caulk using an elastomeric sealant like DAP Dynaflex 230, which stretches up to 400% without tearing.
- Bottom Rail Clearance: Ensure there is a minimum 1/16-inch gap between the bottom of the MDF beadboard and the finished floor. If the MDF rests directly on a concrete slab or damp tile grout, it will wick moisture via capillary action. If clearance is insufficient, carefully score and remove the bottom 1/4 inch of the MDF using an oscillating multi-tool.
- Nail Hole Pops: Inspect the pneumatic nail holes. If the spackle has shrunk or cracked, lightly sand and apply a lightweight, non-shrinking spackling paste before touching up with your reserved topcoat paint.
By adhering to this low-moisture cleaning protocol and utilizing two-part resins and urethane-alkyd enamels for repairs, your MDF beadboard wainscoting will maintain its architectural charm and structural integrity, effectively outperforming solid wood in high-humidity environments.