Plywood Sheathing Installation: Nailing Patterns and Edge Spacing
Master plywood sheathing installation with exact nailing patterns, edge spacing, and structural guidelines for maximum wall rigidity and code compliance.
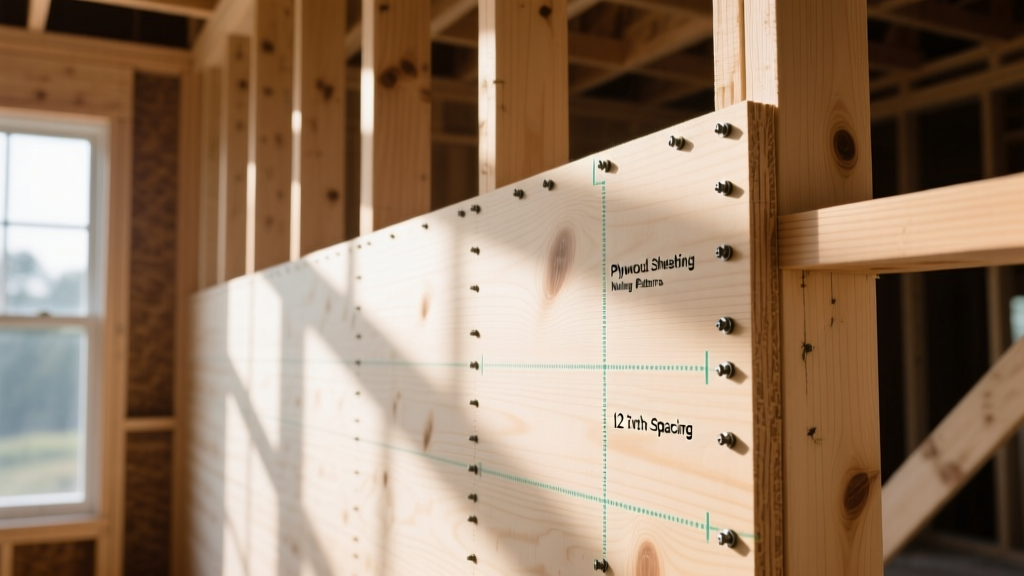
The Structural Role of Plywood Sheathing
Plywood sheathing transforms a flexible timber skeleton into a rigid structural diaphragm. When installed correctly, it resists lateral forces from wind and seismic activity, preventing the racking that leads to catastrophic structural failure. However, the shear capacity of a wall assembly is entirely dependent on the precision of the installation. A missed stud, an overdriven nail, or a tight panel joint can reduce the wall's lateral resistance by up to 30%. This guide details the exact material specifications, nailing schedules, and application procedures required to achieve maximum structural performance and pass rigorous municipal inspections.
Panel Selection and Grade Stamp Verification
Not all plywood is engineered for structural shear. Before unloading the truck, verify the grade stamp on every panel. For exterior wall sheathing, you must use panels rated for structural applications.
- CDX Plywood: The standard for residential wall sheathing. The 'C' and 'D' refer to the veneer grades (front and back), while 'X' denotes exposure durability, meaning it can withstand temporary weather exposure during construction.
- Structural I: Required in high-wind and high-seismic zones. Manufactured entirely from dense softwoods (like Douglas Fir or Southern Pine), Structural I panels offer approximately 10% higher shear capacity than standard CDX.
- Span Rating: Look for a two-number span rating on the stamp, such as 24/16. The first number indicates the maximum roof rafter spacing (24 inches on center), and the second indicates the maximum floor joist spacing (16 inches on center). For vertical wall applications, a 24/0 or 24/16 rating is standard.
Always consult the APA (The Engineered Wood Association) Resource Library to verify that the specific panel grade matches the engineered shear wall specifications provided by your structural engineer.
Panel Orientation: Horizontal vs. Vertical
The orientation of your plywood sheathing dictates how forces are transferred through the wall assembly.
Horizontal Application (Standard)
Horizontal installation is the most common method for standard residential framing. Placing the 8-foot length horizontally across the studs ties the vertical framing members together, distributing lateral loads across multiple studs. This method requires standard edge blocking only if the horizontal joints do not fall on a stud or blocking line.
Vertical Application (Shear Walls)
For engineered shear walls designed to resist heavy lateral loads, vertical installation is often specified. Vertical panels minimize horizontal joints, creating a continuous load path from the top plate to the bottom plate. When installing vertically, the 4-foot edges must land squarely on the center of a stud. If the wall height exceeds 8 feet, horizontal blocking is required at the panel ends to provide a nailing surface.
The Critical 1/8-Inch Expansion Gap
Wood is hygroscopic; it absorbs moisture from the air and expands. If plywood panels are installed tight against one another, the resulting expansion forces will cause the panels to buckle, pushing the exterior cladding outward and compromising the structural integrity of the shear wall.
How to maintain the gap: Do not rely on visual estimation. Use a physical spacer. A standard 10d common nail (which is exactly 0.148 inches in diameter) or a specialized H-style plastic panel spacer works perfectly. Place the spacer between the panels, nail the panel off, and then remove the spacer before moving to the next sheet. Never force a panel into a tight space using a sledgehammer; if a panel does not fit, trim it with a circular saw.
Nailing Patterns and Fastener Specifications
The fastener schedule is the most heavily scrutinized element during a structural framing inspection. The shear capacity of the wall relies on the withdrawal and lateral resistance of the nails. Screws are generally prohibited for structural sheathing unless specifically tested and rated for shear, as standard drywall or deck screws are brittle and snap under lateral stress.
Approved Fasteners
- 8d Common Nails: 2.5 inches long, 0.131 inches in diameter. The industry standard.
- 8d Box Nails: 2.5 inches long, 0.113 inches in diameter. Often used with pneumatic nailers; check local engineering specs as they offer slightly less shear resistance than common nails.
- Ring-Shank Nails: Required in high-wind coastal zones (HVHZ). The deformed shank provides superior withdrawal resistance against uplift forces.
Standard Nailing Schedule Matrix
| Application Zone | Standard Spacing | High-Wind/Seismic Spacing |
|---|---|---|
| Supported Panel Edges (Perimeter) | 6 inches on center (o.c.) | 4 inches o.c. (or 2 inches o.c. for extreme shear) |
| Intermediate Framing (Field) | 12 inches o.c. | 12 inches o.c. |
| Edge Distance from Panel Corner | 3/8 inch minimum | 3/8 inch minimum |
For comprehensive fastener testing data and structural calculations, refer to the structural panel design publications available through the American Wood Council (AWC).
Step-by-Step Installation Sequence
- Layout and Snap Lines: Before lifting the first panel, snap a chalk line on the bottom plate to ensure the panel sits perfectly flush. A panel that hangs over the plate will interfere with the installation of the weather-resistive barrier and exterior cladding.
- Install Edge Blocking: If your engineering plans call for blocked diaphragms, install 2x4 or 2x6 blocking between the studs at the horizontal joints before the plywood goes up.
- Apply the First Panel: Start at a corner. Lift the panel into place, insert your 1/8-inch spacers at the bottom and side edges, and tack the top corners to hold it plumb.
- Execute the Nailing Pattern: Run the perimeter nails first (6 inches o.c.), ensuring you hit the center of the underlying studs or plates. Then, run the field nails (12 inches o.c.). Use a chalk line snapped on the panel surface to guarantee you do not miss the intermediate studs.
- Stagger the Joints: When moving to the next row, stagger the vertical end joints by at least 4 feet (half a panel). This prevents a continuous vertical weak point in the shear wall.
- Cut Openings Precisely: For windows and doors, measure from the established control lines, not from the adjacent panel edges. Cut the openings with a router using a flush-trim bit or a circular saw, ensuring you maintain the 1/8-inch gap around the rough opening framing.
Shear Wall Specifics and Hold-Downs
In designated shear walls, the plywood sheathing is only half the system. The uplift forces generated at the ends of the shear wall must be transferred directly into the foundation. This requires heavy-duty steel hold-downs bolted to the boundary studs (the double or triple studs at the extreme ends of the shear wall). The sheathing must be nailed directly into these boundary studs according to the tightest spacing on the engineered schedule (often 2 or 3 inches o.c.). Never cut or notch the boundary studs to accommodate plumbing or electrical runs, as this destroys the tension chord of the shear wall.
Common Installation Failures and Troubleshooting
Inspectors frequently red-tag framing jobs for the following sheathing errors. Proactively avoid them to keep your project on schedule:
- Missed Framing: Nailing into empty space between studs. This happens when nailers work too fast and fail to snap chalk lines for intermediate studs. Fix: Tap the wall with a hammer; a hollow sound indicates a missed stud. Remove the panel or add blocking from the interior if accessible.
- Panel Buckling: Caused by omitting the 1/8-inch expansion gap. Fix: Run a circular saw with a guide set to 1/8-inch depth along the tight joint to relieve the pressure.
- Unsupported Edges: Horizontal panel edges that do not land on a plate or blocking. Fix: Install 2x4 blocking behind the joint from the interior, or remove the panel and re-install with proper backing.
Code Compliance and Final Inspection
Before the insulation and drywall crews arrive, conduct a self-inspection using the engineered shear wall schedule. Verify that the nail spacing matches the plans, the expansion gaps are present, and the grade stamps are visible. For detailed guidance on wind-resistant construction and diaphragm requirements in extreme weather zones, review the structural safety publications provided by FEMA Building Science. Proper plywood sheathing installation is not just about passing inspection; it is about ensuring the building envelope remains intact and secure for its entire lifecycle.