Plywood Siding Lifespan: Durability Analysis and Rot Prevention
Analyze the true lifespan of plywood siding. Compare T1-11, MDO, and HDO durability, identify failure modes, and learn exact rot prevention tactics.
The Baseline: Expected Lifespan of Plywood Siding
Plywood siding serves a dual purpose in light-frame construction: it acts as both the exterior cladding and, in many cases, the structural shear wall. However, its lifespan is strictly dictated by moisture management and the specific grade of the panel. Unlike fiber-cement or engineered wood composites, plywood is an anisotropic material composed of rotary-peeled veneers bonded with adhesives. When exposed to cyclic wetting and drying, the differential tangential and radial shrinkage of these veneers creates immense internal stress.
According to data synthesized from the USDA Forest Products Laboratory Wood Handbook, the service life of exterior plywood is not a fixed number but a function of its overlay type and maintenance interval. Unmaintained standard textured plywood can suffer catastrophic edge delamination in as little as 5 to 7 years in high-precipitation zones. Conversely, properly detailed and coated overlay panels routinely exceed 30 years of service.
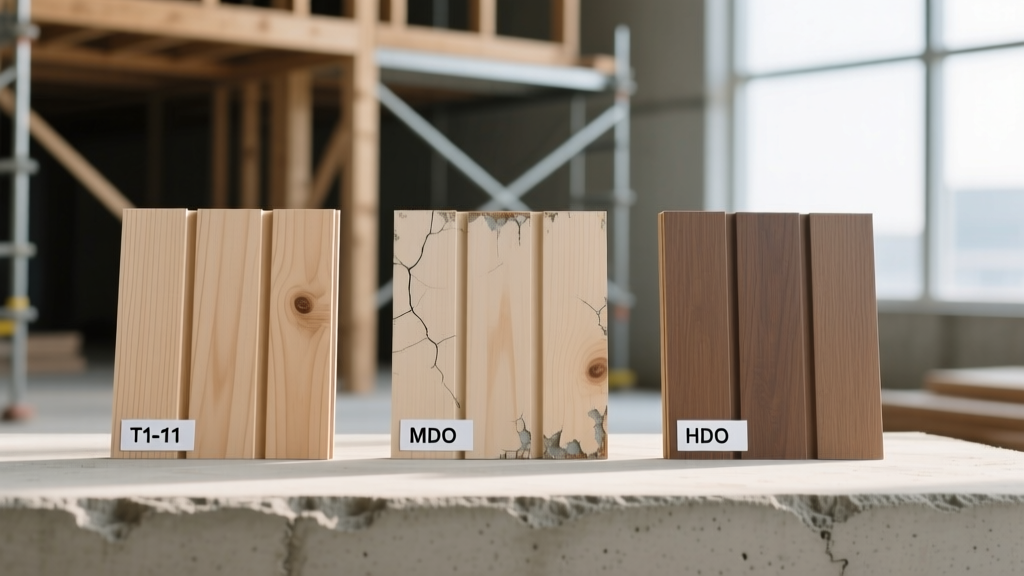
- T1-11 (Textured 1-11): 15 to 20 years
- MDO (Medium Density Overlay): 25 to 30 years
- HDO (High Density Overlay): 30 to 40+ years
Material Breakdown: T1-11 vs. MDO vs. HDO Plywood Siding
Specifying the correct panel is the first critical step in durability engineering. All structural plywood siding must conform to APA (The Engineered Wood Association) standards, specifically PS 1-09, but the face veneer and overlay treatments drastically alter moisture resistance and paint retention.
| Siding Type | Face / Overlay | Moisture Resistance | Paint Retention | Approx. Cost (per sq. ft.) |
|---|---|---|---|---|
| T1-11 | B-B or B-C grade, no overlay, grooved | Moderate (vulnerable at grooves) | Poor (requires frequent recoating) | $2.50 - $4.00 |
| MDO | B-grade face, resin-treated fiber overlay | High (blocks grain checking) | Excellent (smooth, uniform surface) | $4.50 - $6.50 |
| HDO | A-grade face, dense thermosetting resin | Very High (virtually waterproof face) | Superior (often used unpainted/stained) | $7.00 - $9.00 |
For residential applications where long-term durability is prioritized over initial material savings, MDO plywood is the optimal choice. The resin-treated fiber overlay masks the underlying wood grain, preventing the telegraphing of face-checking that plagues standard T1-11 panels. HDO is generally reserved for commercial formwork or high-abusion industrial exteriors due to its cost and slick surface, which can complicate paint adhesion without aggressive scuff-sanding.
Primary Failure Modes and Degradation Mechanics
To maximize the lifespan of plywood siding, builders and homeowners must understand exactly how and why the material fails. Plywood rarely fails in the center of the panel; failures are almost exclusively localized at the edges, joints, and fastener penetrations.
1. Edge Wicking and Capillary Delamination
The end-grain of the rotary-peeled veneers acts like a bundle of microscopic straws. If an unsealed panel edge is exposed to liquid water, capillary action will wick moisture up to 2 inches into the panel core within 48 hours. This moisture swells the inner plies, breaking the phenol-formaldehyde or soy-based adhesive bonds and causing irreversible delamination. Prescriptive fix: Every cut edge, factory edge, and routed groove must be sealed with an alkyd-based or high-solids acrylic primer prior to installation. Never rely on the topcoat to seal raw edges.
2. Horizontal Joint Failure
T1-11 panels are typically manufactured in 4x8 or 4x9 foot dimensions. When stacking panels vertically, the horizontal butt joint is a massive liability. Relying on elastomeric caulk to seal this joint is a guaranteed failure path; UV radiation and thermal expansion will tear the caulk apart within 3 to 5 years, allowing wind-driven rain into the wall cavity.
3. Fastener Pop and Face Veneer Tearing
Plywood expands and contracts primarily across its width (tangential direction). If panels are installed tight against one another without expansion gaps, or if fasteners are driven too close to the panel edge, the seasonal movement will cause the face veneer to tear around the nail head, creating a 'fastener pop.' This breaks the paint film and introduces a direct water pathway to the panel core.
Advanced Moisture Management: The Rainscreen Gap
Modern building science strongly advocates for decoupling the cladding from the weather-resistant barrier. For plywood siding, integrating a ventilated rainscreen gap is the single most effective upgrade for extending lifespan in wet climates.
According to guidelines published by the DOE Building America Solution Center, a drainage plane allows hydrostatic pressure to equalize and provides a capillary break. For plywood, this is achieved by installing vertical furring strips (1x3 wood or 1/4-inch thick polymer mats) over the WRB before applying the siding.
- Ventilation: Leave a minimum 1-inch gap at the bottom (covered with corrugated vent mesh to block rodents) and a 1-inch gap at the top near the soffit to create a stack-effect airflow.
- Drying Potential: This gap allows the back face of the plywood to dry at the same rate as the front face, preventing the severe moisture gradient that causes panels to cup and bow outward.
- Fastening Adjustment: When using furring strips, fasteners must be long enough to penetrate through the siding, the furring strip, and at least 1 inch into the structural wall studs (typically requiring 2.5-inch or 3-inch ring-shank nails).
Prescriptive Maintenance Schedule for Maximum Longevity
Plywood siding is not a 'install and forget' material. To achieve the upper limits of its expected lifespan, a strict, proactive maintenance protocol is required. The following schedule assumes the use of high-quality 100% acrylic latex exterior paints applied at a minimum of 4 to 5 dry mils thickness.
- Year 1 (Post-Installation): Inspect all Z-flashing interfaces and trim intersections. Ensure no soil, mulch, or vegetation is within 6 inches of the bottom edge of the siding. Verify that sprinkler heads do not directly impact the panels.
- Year 3: Check for early signs of chalking or UV degradation on south- and west-facing elevations. Inspect the elastomeric sealant at the vertical trim boards (where plywood meets corner boards or window casings) and re-caulk using a polyurethane sealant if adhesion has failed.
- Year 5 to 7: Perform a thorough wash with a low-pressure (under 1,500 PSI) wide-fan tip to remove biological growth and atmospheric dirt. Conduct a 'tape test' on the paint film to ensure adhesion to the MDO overlay or T1-11 face veneer. If paint is peeling at the grooves, scrape, prime the raw wood with an oil-based penetrating primer, and spot-coat.
- Year 10: Plan for a full recoat of the south and west elevations. North and east elevations may only require a recoat at Year 15. Always back-roll the paint to force it into the textured grooves of T1-11 panels.
Expert Verdict: Specifying for the Environment
Plywood siding remains a highly viable, structurally robust cladding option, provided it is treated as a moisture-sensitive assembly rather than a monolithic shield. In arid climates (e.g., the American Southwest), standard 5/8-inch T1-11 with proper clearances and standard acrylic coatings will easily survive 25 years with minimal intervention. However, in the Pacific Northwest, the Humid Southeast, or any coastal zone, specifying MDO plywood, integrating a 1/4-inch rainscreen drainage mat, and strictly enforcing Z-flashing protocols at horizontal joints are non-negotiable requirements to prevent premature rot and delamination. By aligning the material grade with the specific hygrothermal demands of the site, builders can ensure plywood siding delivers decades of reliable performance.