Wood Floor Installation: Matching Methods to Subfloor Scenarios
Match the right wood floor installation method to your specific subfloor and room scenario. Compare nail-down, glue-down, and floating techniques.
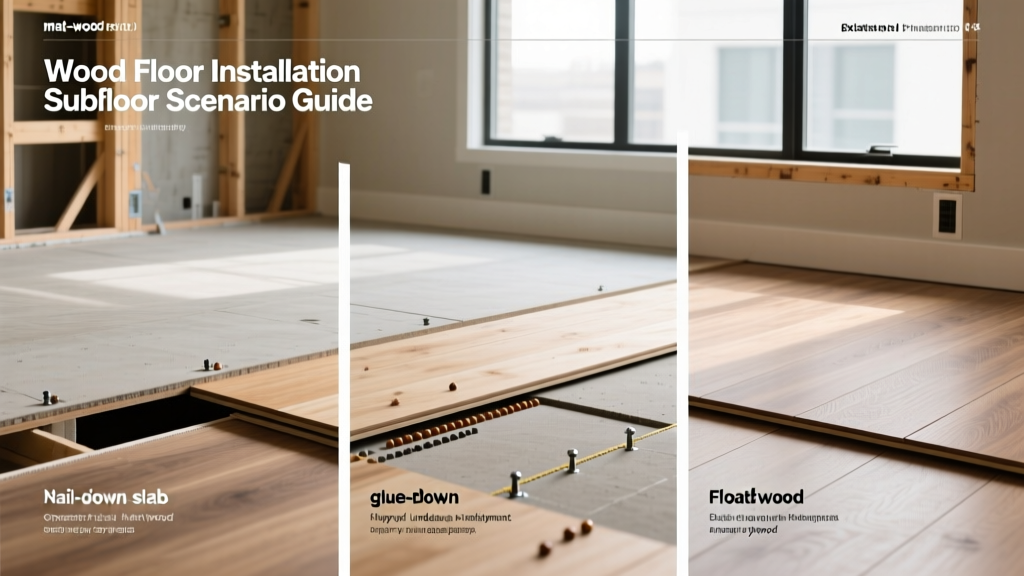
The Physics of Wood Movement and Scenario Matching
Wood floor installation is not a universal process. The leading cause of hardwood failure—cupping, gapping, telegraphing, and adhesive delamination—stems from mismatching the installation method to the environmental scenario and subfloor type. As of 2026, while advanced moisture-cured urethanes and precision-milled engineered planks offer greater tolerance, the hygroscopic nature of wood remains unchanged. Wood expands and contracts in response to ambient relative humidity (RH). Therefore, a successful wood floor installation requires a rigid decision framework that aligns the subfloor material, grade level, and environmental controls with the correct fastening or bonding technique.
The Subfloor-to-Method Decision Matrix
Use this matrix to determine the baseline installation protocol before selecting specific adhesives or fasteners. This framework is aligned with current National Wood Flooring Association (NWFA) Technical Guidelines.
| Subfloor Type | Grade Level | Recommended Wood Type | Installation Method | Critical Pre-Req |
|---|---|---|---|---|
| Plywood / OSB (CDX or better) | Above-Grade | 3/4" Solid or Engineered | Nail-Down / Staple-Down | Subfloor moisture ≤ 12%; flat to 3/16" in 10 ft |
| Concrete Slab | On-Grade / Below-Grade | Engineered (Min 1/2" thick) | Glue-Down (Urethane) | ASTM F2170 RH test ≤ 75% or MVER ≤ 3 lbs |
| Existing Hardwood / Vinyl | Above-Grade | Engineered (Click-Lock) | Floating | Existing floor structurally sound; vapor barrier laid |
| Radiant Heat System (Hydronic) | Above-Grade | Engineered (Narrow plank) | Floating or Specialized Glue | Surface temp never exceeds 80°F - 85°F |
Scenario A: Above-Grade Plywood (The Nail-Down Standard)
For traditional above-grade construction with a plywood or oriented strand board (OSB) subfloor, mechanical fastening remains the most cost-effective and structurally sound wood floor installation method. This scenario typically utilizes 3/4-inch solid hardwood or thick engineered planks.
Fastener Selection and Schedule
- 15.5-Gauge Staples: Provide a broader crown, offering superior holding power in softer subfloors like OSB. Use 1.5-inch to 2-inch staples.
- 16-Gauge L-Cleats: Allow for slightly more seasonal wood movement without splitting the tongue, making them ideal for dense exotic solid woods (e.g., Brazilian Cherry, Hickory).
- Fastener Schedule: Place fasteners 1 to 2 inches from the ends of each board, and space them 6 to 8 inches on-center (OC) along the tongue. For boards wider than 5 inches, supplement with blind-nailing or face-nailing at the ends to prevent lateral movement.
Scenario B: Concrete Slabs and Below-Grade (The Glue-Down Imperative)
Installing solid hardwood directly to concrete or below-grade is a guaranteed failure path due to capillary moisture migration. In these scenarios, engineered hardwood bonded with a moisture-cured urethane adhesive is the only viable wood floor installation method.
Moisture Testing Protocols
Before opening a single bucket of adhesive, you must quantify the concrete's moisture emission. Surface tests are insufficient for modern urethane adhesives.
- ASTM F2170 (Relative Humidity Probe): Drill holes to 40% of the slab depth. Insert reusable RH probes. The slab must read below 75% RH (verify specific adhesive manufacturer limits, as some allow up to 85% with specific primers).
- ASTM F1869 (Calcium Chloride MVER): Measures moisture vapor emission rate. Must read ≤ 3.0 lbs per 1,000 sq. ft. per 24 hours.
Adhesive Application and Trowel Sizing
Use a high-end, moisture-cured urethane adhesive like Bostik GreenForce or Mapei Eco 995. These adhesives remain slightly flexible, accommodating the engineered wood's dimensional changes without breaking the bond.
- 3/8" x 3/8" V-Notch Trowel: Standard for engineered planks up to 5 inches wide.
- 1/2" x 1/2" Square-Notch Trowel: Required for wide-plank engineered flooring (6 inches and wider) to ensure adequate adhesive transfer and prevent hollow spots.
Scenario C: Radiant Heat Systems (Floating and Specialized Bonding)
Radiant heating systems create aggressive, localized drying cycles that will destroy standard solid hardwood, causing severe checking and gapping. According to the U.S. Department of Energy (DOE) Radiant Heating Guidelines, floor coverings must be selected for thermal conductivity and dimensional stability.
Material and Method Constraints
Only use engineered hardwood with a multi-ply (cross-banded) core, which neutralizes the tension that causes cupping. Avoid products with a high-density fiberboard (HDF) core, as they can off-gas formaldehyde when heated and degrade if a hydronic leak occurs.
- Floating Method: Utilize a click-lock engineered profile over a specialized thermal underlayment (e.g., QuietWalk Luxury Vinyl with a thermal resistance ≤ 0.5 R-value). This allows the entire floor to expand and contract as a single unit across the heated zones.
- Glue-Down Method: If gluing over a gyp-concrete or embedded hydronic slab, use a urethane adhesive specifically rated for radiant heat. The adhesive layer must not act as an insulator; keep trowel notches to the manufacturer's minimum recommendation to maximize heat transfer.
Operational Limit: The surface temperature of the wood must never exceed 80°F to 85°F (check specific manufacturer warranties). Install a floor temperature sensor directly in the wood layer to act as a hard cutoff for the boiler or electric mat controller.
Critical Pre-Installation: Moisture and Acclimation Protocols
The most sophisticated wood floor installation method will fail if the wood is not acclimated to the environment's Equilibrium Moisture Content (EMC). Acclimation is not about leaving boxes in a room for three days; it is about achieving a specific moisture differential.
The Acclimation Decision Tree
- Measure the Subfloor: Use a pin-type moisture meter for wood subfloors. For 3/4" solid wood, the subfloor moisture content (MC) must be within 4% of the flooring MC. For 3" strip flooring, the differential must be within 2%.
- Measure the Flooring: Use a pinless dual-depth meter (such as the Wagner Meters Orion 910 or 930) to scan the wood without damaging the finish. Take readings from at least 40 boards per 1,000 sq. ft.
- Condition the Space: The HVAC system must be operational and maintaining the home's year-round living conditions (typically 60-80°F and 30-50% RH) for at least 14 days prior to delivery.
"Acclimation is complete only when the moisture content of the wood flooring stabilizes and matches the expected in-use conditions of the structure. Time is not a valid metric for acclimation; moisture content is." — NWFA Installation Guidelines
Summary of Costs and Labor Timelines
When budgeting for your project, factor in the distinct labor and material costs associated with each scenario. As of 2026, national averages for professional installation (excluding the cost of the wood itself) are as follows:
- Nail-Down (Plywood Subfloor): $3.00 - $5.00 per sq. ft. Labor is fast, but subfloor prep (sanding high spots, shimming low spots) can add $1.50 per sq. ft. if the slab is out of tolerance.
- Glue-Down (Concrete Subfloor): $4.50 - $7.50 per sq. ft. Includes labor and premium urethane adhesive ($1.50 - $2.50 per sq. ft. in materials alone). Trowel cleanup and concrete grinding add to the timeline.
- Floating (Over Existing Floors/Radiant): $2.50 - $4.50 per sq. ft. Fastest installation method, but requires precise perimeter expansion gaps (1/2" to 5/8") and transition molding at all doorways to manage tension.
By rigorously matching your wood floor installation method to the specific subfloor and environmental scenario, you eliminate the primary vectors for structural failure, ensuring a floor that performs flawlessly for decades.