Best Wood Floor to Tile Transition Strips: 2026 Brand Deep-Dive
Compare top wood floor to tile transition strips from Schluter, M-D, and Johnsonite. Expert specs, pricing, and installation frameworks for 2026.
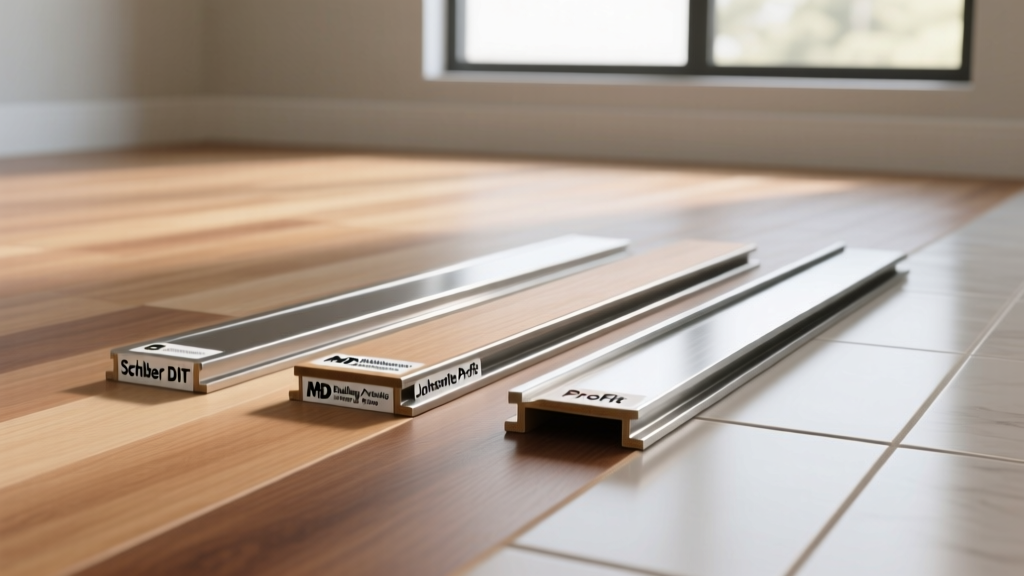
The Engineering Challenge of Wood Floor to Tile Transitions
Transitioning between hardwood and tile is one of the most technically demanding details in residential and commercial flooring. Unlike tile, which is dimensionally stable, solid and engineered wood expands and contracts significantly across the grain in response to humidity fluctuations. According to the National Wood Flooring Association (NWFA), failing to accommodate this differential movement is the leading cause of buckling, fastener failure, and transition strip blowouts.
A successful wood floor to tile transition must accomplish three things simultaneously: bridge the height delta (which can range from 0 to over 1/2 inch), protect the fragile edges of the tile from chipping, and allow the wood floor to move laterally without binding. As of 2026, the market has shifted heavily toward specialized metal profiles and multi-functional wood moldings. Below, we deep-dive into the top three brands dominating this space, analyzing their specific product lines, metallurgy, and real-world pricing.
Schluter-Systems: The Premium Metal Transition Standard
Schluter-Systems has effectively become the industry benchmark for hard-surface transitions. Their Schluter-RENO and Schluter-PROFIL lines are engineered specifically to protect tile edges while accommodating adjacent wood flooring.
Key Product Lines for Wood-to-Tile
- Schluter-RENO-T (T-Profile): Designed for same-height transitions (0-inch delta). The symmetrical T-shape features a 5/16-inch wide visible surface. It requires a precise 1/8-inch gap on both the tile and wood sides to allow for expansion. Available in anodized aluminum, stainless steel, and color-coated finishes.
- Schluter-RENO-V (Variable Height): The workhorse for height differences. The sloped design bridges gaps where the tile is higher than the wood (or vice versa). It accommodates height deltas up to 1/2 inch (12.5 mm) depending on the specific model depth.
- Schluter-RENO-U (U-Profile): Used when the wood floor abuts a sliding glass door or a fixed tile threshold where a T-profile cannot be used. It caps the exposed edge of the wood while protecting the adjacent tile.
M-D Building Products: The Workhorse Wood & Vinyl Line
While Schluter dominates the metal profile space, M-D Building Products remains the go-to brand for traditional wood T-moldings and multi-purpose reducers. Their products are essential when the design calls for a wood-on-wood aesthetic rather than a metallic break.
Standout Products and Specifications
M-D's primary advantage is their extensive library of pre-finished solid wood and engineered wood caps that match major flooring manufacturers (Shaw, Mohawk, Bruce).
- Solid Wood T-Molding (Oak, Maple, Hickory): Milled from solid hardwood, these are 78 inches long and feature a 2-inch wide top surface. They are installed using a proprietary plastic track that screws into the subfloor. The wood molding then snaps into the track, allowing the wood floor to slide underneath and move freely.
- 5-in-1 Multi-Purpose Molding: A highly versatile engineered wood profile that can be configured as a T-molding, a reducer, or an end cap simply by snapping off specific extruded sections of the base. This is ideal for contractors managing complex sites with varying height deltas.
Pricing and Availability
M-D wood transitions are highly cost-effective. A standard 78-inch solid oak T-molding with the snap-track system typically retails for $22 to $28. Their engineered wood 5-in-1 kits run slightly higher, averaging $32 to $40. The primary drawback is that wood moldings are bulkier than metal profiles, requiring a wider visual footprint (often 2 to 2.5 inches wide compared to Schluter's 5/16-inch visual break).
Johnsonite (Tarkett): Commercial-Grade & Safety-Focused Transitions
For commercial applications, healthcare facilities, or high-traffic retail spaces where ADA compliance and slip resistance are paramount, Johnsonite (a Tarkett brand) offers specialized rubber and heavy-duty vinyl transition profiles.
Why Choose Johnsonite for Wood to Tile?
Johnsonite's Rubber T-Reducers and Heavy-Duty Vinyl Reducers are designed to absorb impact and provide a high-traction surface. When transitioning from a polished commercial wood floor (like a gymnasium or boutique retail space) to large-format porcelain tile, the slip-resistance differential can be a liability. Johnsonite profiles bridge this gap while providing a textured, slip-resistant ramp.
Their profiles are typically available in 4-foot and 12-foot lengths, with heights ranging from 1/4 inch to 3/4 inch. Pricing is volume-dependent, but individual 4-foot rubber reducers average $18 to $25. Installation requires a high-solids, moisture-cured urethane construction adhesive rather than mechanical fasteners, ensuring a seamless bond to both the concrete subfloor and the backing of the transition strip.
Brand Comparison Matrix: Wood Floor to Tile Solutions
| Brand | Primary Material | Max Height Delta | Avg. Cost (per 8ft) | Best Application |
|---|---|---|---|---|
| Schluter (RENO-T/V) | Anodized Aluminum / Stainless | Up to 1/2 inch | $38 - $55 | Modern residential, narrow visual breaks |
| M-D Building Products | Solid / Engineered Wood | Up to 3/8 inch | $22 - $40 | Traditional residential, wood-matching |
| Johnsonite (Tarkett) | Heavy-Duty Rubber / Vinyl | Up to 3/4 inch | $35 - $60 | Commercial, ADA compliance, high-traffic |
Installation Decision Framework: Which Profile to Choose?
Selecting the right transition strip requires evaluating the subfloor condition, the height delta, and the flooring installation method. Use this framework to make your decision:
- Measure the Finished Height Delta: Use a digital level or straight edge across the tile and wood.
- If 0 inch: Use Schluter-RENO-T or M-D Solid Wood T-Molding.
- If 1/8 to 1/2 inch: Use Schluter-RENO-V or M-D Wood Reducer.
- If > 1/2 inch: You must build up the subfloor under the wood side or use a custom-fabricated ramp. Standard off-the-shelf reducers will fail at this angle.
- Determine the Wood Floor Type:
- Floating Engineered Wood: You MUST use a snap-track system (M-D) or an adhesive-down profile (Johnsonite) that anchors only to the subfloor. Never pin a floating floor to a transition strip.
- Nail-Down Solid Wood: You can use mechanical fasteners for Schluter profiles, driven directly into a wood subfloor, provided you pre-drill to avoid splitting the profile.
- Assess the Subfloor Material:
- Concrete Slab: Use polymer-modified thinset to embed Schluter profiles during the tile installation phase, or use Tapcon screws / construction adhesive for post-installation wood moldings.
- Plywood OSB: Use 1.5-inch wood screws or specialized track nails for M-D snap tracks.
Critical Installation Mistakes to Avoid
The Expansion Gap Violation: The most common failure in wood floor to tile transitions is omitting the expansion gap. The wood floor must stop 1/4-inch to 3/8-inch short of the transition strip's vertical leg. If the wood touches the metal or wood strip, seasonal humidity spikes will cause the wood to push against the rigid strip, resulting in catastrophic buckling in the center of the room.
Frequently Asked Questions
Can I install a transition strip after both the wood and tile are already laid?
Yes, but it limits your options. If the tile is already set, you cannot use thinset-embedded profiles like the standard Schluter-RENO-T. Instead, you must use a surface-mounted T-molding (like M-D's snap track) or a surface-applied metal profile adhered with a high-strength, moisture-cured urethane adhesive like CT1 or Gorilla Heavy Duty Construction Adhesive.
How do I handle a transition where the tile is significantly higher than the wood?
If the tile is more than 1/2 inch higher than the wood, standard reducers will create a steep, tripping hazard. The best practice is to install a plywood ramp on the wood side, tapering up to meet the tile height over a 12-to-18-inch span, and then install a standard T-molding at the peak of the ramp. This maintains ADA compliance for slope gradients.
Do I need to seal the gap between the transition strip and the tile?
For metal profiles embedded in thinset, no additional sealant is needed if the thinset was properly packed. For surface-mounted wood or metal strips, apply a 1/16-inch bead of color-matched, sanded acrylic caulk (not silicone) between the strip and the tile to prevent water from migrating under the transition during mopping.