Brick-and-Mortar Cleaning Playbook: Stain Removal and Repointing
Master brick-and-mortar maintenance with this 2026 playbook. Learn chemical stain removal, efflorescence treatment, and mechanical repointing steps.
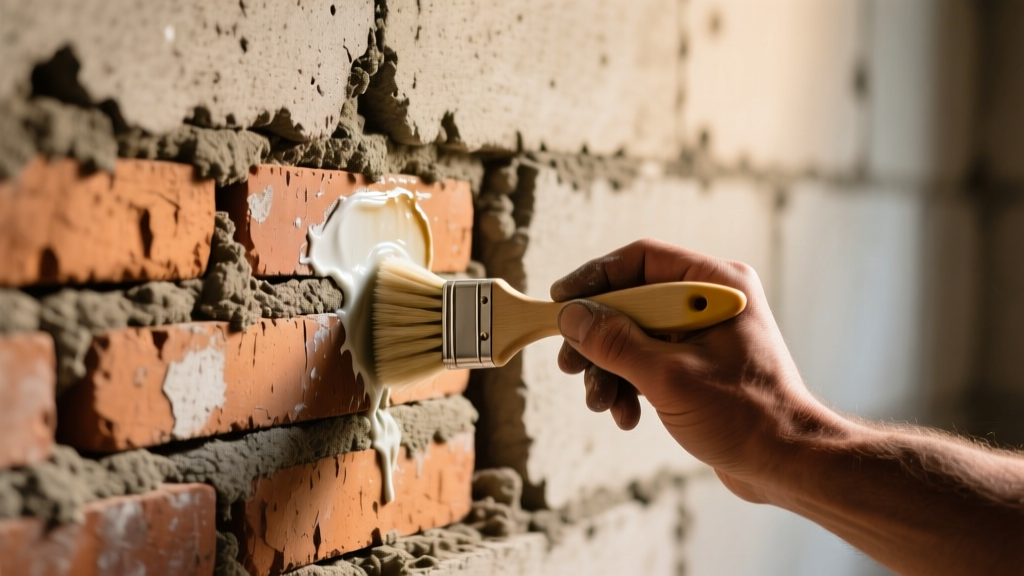
The Sacrificial Nature of Brick-and-Mortar Assemblies
In masonry construction, the brick-and-mortar relationship is intentionally asymmetrical. Mortar is designed to be the sacrificial component; it must be softer and more permeable than the masonry units it binds. When mortar joints fail, they protect the bricks from cracking under thermal expansion and structural settling. However, this sacrificial nature means mortar requires rigorous, scheduled maintenance. Ignoring degraded joints or improperly cleaning brickwork with harsh acids accelerates structural decay, leading to water infiltration, freeze-thaw spalling, and catastrophic wall failure.
This playbook provides exact chemical protocols, mechanical repointing specifications, and preventative sealing strategies for modern brick-and-mortar maintenance.
Diagnostic Matrix: Identifying Brick-and-Mortar Degradation
Before applying any cleaning agents or repointing tools, accurately diagnose the failure mode. Misidentifying the root cause leads to recurring damage. Use this diagnostic matrix to map symptoms to corrective actions.
| Symptom | Root Cause | Corrective Action |
|---|---|---|
| White, powdery crystalline deposits | Efflorescence (water-soluble salts migrating to the surface) | Dry brushing followed by specialized alkaline/silicate cleaners if severe. |
| Green/black slimy film on shaded joints | Algae, mold, or lichen biological growth | Quaternary ammonium biocides; avoid high-pressure washing. |
| Mortar crumbling to sand when scratched | Carbonation, freeze-thaw cycling, or improper original mix | Mechanical removal and repointing with ASTM C270 Type N or S mortar. |
| Brown/yellow staining on red clay brick | Vanadium or manganese oxides reacting with acid cleaners | Oxalic acid or proprietary vanadium stain removers; never use muriatic acid. |
The Chemical Cleaning Protocol for Mortar Joints
Chemical cleaning of brick-and-mortar walls requires strict adherence to dilution ratios and dwell times. The most common error in masonry maintenance is applying acidic cleaners to dry walls, which forces the brick to absorb the acid, resulting in permanent iron oxide burns.
Phase 1: Pre-Wetting (The Critical Step)
Always saturate the brick-and-mortar wall with clean water from the bottom up before applying any chemical cleaner. A fully saturated masonry unit will not absorb the cleaning solution into its core, forcing the chemicals to remain on the surface where they react with stains and biological growth. Maintain a wet surface throughout the entire dwell time.
Phase 2: Efflorescence Eradication
For light efflorescence, use a stiff natural-bristle brush. For heavy, crystallized efflorescence, apply a dedicated cleaner like Prosoco Sure Klean Vana-Trol. Dilute the product at a 1:4 ratio with water. Apply using a low-pressure pump sprayer, agitate with a nylon brush, and allow a strict 3-to-5-minute dwell time. Rinse thoroughly from the top down. Never exceed the recommended dwell time, as prolonged chemical contact can etch the mortar surface.
Never use unbuffered muriatic (hydrochloric) acid on modern brick-and-mortar assemblies. Muriatic acid strips the protective lime carbonate layer from the mortar joint, dramatically increasing its porosity and accelerating future degradation. Furthermore, it triggers severe vanadium staining in red clay bricks. Always use buffered, proprietary masonry cleaners.
Phase 3: Biological Growth Removal
Sodium hypochlorite (bleach) is commonly used for algae but leaves behind salt residues that contribute to future efflorescence. Instead, utilize a Quaternary Ammonium Compound (QAC) based cleaner. QACs leave a residual biocidal film that prevents biological regrowth for up to 12 months without introducing water-soluble salts into the mortar matrix.
Mechanical Repointing (Tuckpointing) Step-by-Step
When mortar joints are recessed more than 1/4 inch or crumble under light pressure, chemical cleaning is insufficient. The joint must be mechanically raked out and repointed. The National Park Service Preservation Brief on Repointing mandates that mortar removal must reach a depth of 2 to 2.5 times the width of the joint to ensure adequate bonding.
- Joint Raking: Use a 4.5-inch angle grinder equipped with a diamond tuckpointing blade (e.g., Bosch Tuck Point Diamond Blade) to cut the center of the horizontal joints. For vertical joints (head joints), use a mortar rake or oscillating multi-tool to avoid nicking the brick edges. Grind to a depth of 3/4 inch for standard 3/8 inch joints.
- Debris Removal: Flush the raked joints with compressed air or a stiff brush, followed by a low-pressure water rinse to remove all silica dust. Dust left in the joint acts as a bond-breaker, causing the new mortar to fail prematurely.
- Mortar Selection: Select mortar based on structural requirements per ASTM C270 standards. Use Type N (750 PSI compressive strength) for general above-grade exterior walls. Use Type S (1800 PSI) for below-grade foundations or retaining walls experiencing high lateral loads. Never use Type M (2500 PSI) on historic or soft clay brick, as its high rigidity will cause the bricks to spall under thermal stress.
- Application: Pre-wet the joints until damp but not saturated (SSD - Saturated Surface Dry condition). Pack the mortar into the joint in 1/4 inch layers using a pointing trowel and jointer, compacting each layer to eliminate air pockets.
- Tooling: Tool the joint to a slightly concave profile using a convex jointer when the mortar is "thumbprint hard" (typically 30 to 60 minutes after mixing, depending on ambient humidity). This compresses the surface paste, increasing weather resistance.
Cost Breakdown: Professional vs. DIY Brick-and-Mortar Maintenance
Pricing for masonry maintenance fluctuates based on regional labor rates, scaffolding requirements, and the extent of joint degradation. The table below reflects average national costs for 2026.
| Maintenance Task | DIY Cost (Per Sq. Ft.) | Professional Cost (Per Sq. Ft.) | Primary Cost Drivers |
|---|---|---|---|
| Chemical Cleaning (Efflorescence/Bio) | $0.15 - $0.35 | $1.50 - $3.00 | Chemical volume, scaffolding, water access |
| Mechanical Repointing (Standard Joints) | $0.80 - $1.50 | $14.00 - $24.00 | Labor intensity, mortar type, joint width |
| Penetrating Sealer Application | $0.25 - $0.60 | $2.50 - $4.50 | Substrate porosity, sealer chemistry |
Preventative Sealing: Silane vs. Siloxane Penetrants
Applying a film-forming acrylic sealer to a brick-and-mortar wall traps moisture inside the masonry, guaranteeing freeze-thaw spalling. Only breathable, penetrating silane/siloxane sealers should be used.
- Silane Sealers: Composed of very small molecules that penetrate deeply into dense, low-porosity clay bricks. They react with the silica in the clay to form a hydrophobic barrier deep within the substrate. Best for high-quality, engineered face brick.
- Siloxane Sealers: Feature larger molecules that remain closer to the surface. They are ideal for highly porous materials like concrete masonry units (CMU) and rough-textured mortar joints.
- The Hybrid Solution: For mixed brick-and-mortar assemblies, use a blended Silane/Siloxane emulsion (such as Foundation Armor SX5000 or Prosoco Siloxa-Tek 8505). This ensures deep penetration into the brick while adequately sealing the more porous mortar joints, reducing water absorption by up to 95% while maintaining a vapor transmission rate of 100%.
Frequently Asked Questions
How often should brick-and-mortar walls be repointed?
Properly mixed and applied Type N or Type S mortar should last 30 to 50 years. However, joints exposed to severe weather, heavy de-icing salts, or constant moisture may require localized repointing every 15 to 20 years.
Can I use a pressure washer to clean mortar joints?
Pressure washing should be strictly limited to a maximum of 800 PSI with a 40-degree fan tip. High-pressure streams (over 1500 PSI) or zero-degree nozzles will erode the lime matrix in the mortar joint, artificially aging the wall and creating pathways for water infiltration.
Why is my newly repointed mortar cracking?
Hairline cracking in new mortar is almost always caused by rapid moisture loss (plastic shrinkage). If the mortar dries too quickly due to high heat, wind, or failure to pre-wet the substrate, it shrinks and cracks. Mist the repointed joints lightly with water twice a day for 48 hours after installation to ensure proper hydration and curing.