Concrete Sealant Maintenance: Cleaning and Reapplication Guide
Learn how to clean, maintain, and reapply concrete sealant. Discover exact products, cleaning solutions, and timelines to protect your slabs.
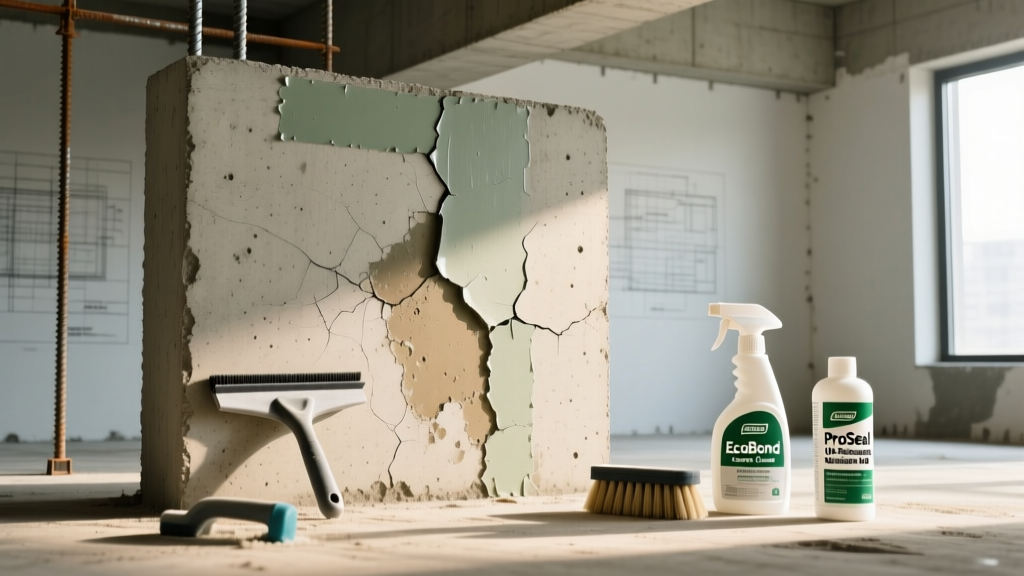
The Lifecycle of a Concrete Sealant Coating
Concrete sealants are not permanent fixtures; they are sacrificial or semi-permanent barriers designed to degrade so the underlying slab does not. Understanding the specific chemistry of your installed sealant dictates your entire maintenance playbook. Film-forming sealants (acrylics, epoxies, polyurethanes) sit on the surface and bear the brunt of UV radiation and foot traffic. Penetrating sealants (silanes, siloxanes, silicates) react chemically within the capillary network of the concrete, offering a longer lifespan but requiring different diagnostic approaches to determine failure.
Acrylic sealants typically require reapplication every 1 to 3 years. Polyurethanes and high-solids epoxies can last 3 to 7 years, while premium penetrating siloxanes, such as Ghostshield Siloxa-Tek 8505, can protect the substrate for 5 to 10 years before the hydrophobic reaction diminishes. The most common maintenance error is applying a film-forming topcoat over a failing penetrating sealer without proper mechanical profiling, leading to immediate delamination.
Perform the Water Drop Test. Place a 2-inch diameter puddle of water on the concrete in multiple locations. If the water beads up with a high contact angle (greater than 90 degrees), the sealant is intact. If the water darkens the concrete and absorbs within 3 to 5 minutes, the hydrophobic barrier has failed and reapplication is required.
Routine Cleaning Playbook: What to Use and What to Avoid
The chemical compatibility of your cleaning agents is the single most critical factor in extending sealant life. Many commercial concrete cleaners are highly alkaline or highly acidic, both of which will strip film-forming sealants and degrade the resin structure of penetrating sealers.
Approved Cleaning Agents
For routine maintenance, restrict your cleaning solutions to pH-neutral or slightly alkaline formulations (pH 6.5 to 8.5). Products like Prosoco Consolideck DailyKlean or a heavily diluted solution of Simple Green Oxy Solve are ideal. These cleaners utilize non-ionic surfactants that lift dirt and biological growth without attacking the polymer chains of acrylics or the siloxane bonds within the concrete pores. Always use a soft-bristle push broom or a floor scrubber with a white or red pad; black stripping pads will mechanically scour the sealer off the surface.
The "Never Use" List
- Muriatic Acid (Hydrochloric Acid): Will instantly etch the concrete and destroy any residual penetrating sealant.
- High-Alkaline Degreasers (pH > 10): Will cause acrylic and polyurethane sealers to emulsify, turn milky white, and lose adhesion.
- Chlorine Bleach: Degrades the UV stabilizers in film-forming sealants and leaves behind salt residues that accelerate freeze-thaw spalling.
- Pressure Washers over 2,500 PSI: The concentrated hydrostatic force will physically lift and peel acrylic and epoxy coatings, especially at micro-cracks and control joints.
Deep Cleaning and Stain Removal Matrix
When routine cleaning fails, targeted stain removal is necessary. The approach must account for both the stain chemistry and the sealant type. Solvents that dissolve oil will also dissolve solvent-based acrylic sealants. Use the following matrix to select the correct intervention.
| Stain Type | Cleaning Agent | Dwell Time | Agitation & Extraction |
|---|---|---|---|
| Motor Oil / Grease | Diatomaceous earth poultice + Acetone | 24 - 48 hours | Scrape dry poultice; vacuum residue. Do not wash with water. |
| Tire Marks (Plasticizer) | Citrus-based d-Limonene degreaser | 10 - 15 minutes | Scrub with stiff nylon brush; extract with wet vac. |
| Rust / Iron Oxide | Oxalic acid solution (10% concentration) | 5 - 10 minutes | Neutralize with baking soda/water mix immediately after lifting. |
| Efflorescence (Salts) | Dry brushing + Prosoco SureKlean Restoration Cleaner | 3 - 5 minutes | Agitate gently; rinse thoroughly with low-pressure water. |
Reapplication Protocol: When and How to Reseal
Reapplying a concrete sealant is not as simple as spraying a new coat over an old one. Proper surface preparation accounts for 80% of the success of a resealing project. According to guidelines published by the American Concrete Institute (ACI), applying a coating over a contaminated or moisture-laden substrate guarantees premature failure.
Step 1: Moisture and Adhesion Testing
Before selecting a new sealant, measure the Moisture Vapor Emission Rate (MVER). Utilizing an anhydrous calcium chloride test kit (per ASTM F1869 standards), ensure the MVER is below 3 lbs per 1,000 square feet per 24 hours. If the slab is emitting higher moisture levels, you must use a breathable, penetrating silane/siloxane sealer. Applying a film-forming epoxy or polyurethane over a high-moisture slab will result in osmotic blistering within weeks.
Step 2: Surface Preparation
If you are resealing with a film-forming product, the existing coating must be completely removed or mechanically scarified. Use a diamond grinder equipped with 40-grit metal-bonded segments to profile the surface. For penetrating sealants, the concrete pores must be entirely free of previous sealers, oils, and curing compounds. A light etching with a 5% muriatic acid solution (followed by rigorous neutralization and rinsing) or shot-blasting will open the capillary network to allow the new siloxane to penetrate to a depth of 1/8 to 1/4 inch.
Step 3: Product Selection and Application Specs
When applying a penetrating water-based siloxane like Euclid Chemical Everseal, use a low-pressure (under 40 PSI) pump sprayer with a cone nozzle. Apply the material to the point of rejection—meaning the surface remains wet for 3 to 5 minutes before fully absorbing. Avoid puddling; excess material that dries on the surface will form a sticky, white residue that is nearly impossible to remove without mechanical grinding. Maintain ambient and surface temperatures between 50°F and 90°F during application and for 24 hours post-application to ensure proper cross-linking.
Cost Breakdown: DIY Maintenance vs. Professional Resealing
Budgeting for concrete sealant maintenance requires factoring in both material longevity and labor intensity. Penetrating sealers have a higher upfront material cost but drastically reduce long-term labor costs due to their extended lifespan and lack of required surface stripping prior to reapplication.
- Acrylic Resealing (Professional): $1.50 - $2.75 per sq. ft. (Requires stripping old acrylic every 2nd or 3rd application).
- Acrylic Resealing (DIY): $0.35 - $0.60 per sq. ft. (Material only; high labor/time investment for surface prep).
- Polyurethane Topcoat (Professional): $2.50 - $4.00 per sq. ft. (Requires strict moisture control and specialized PPE for solvent-based variants).
- Penetrating Siloxane (Professional): $1.25 - $2.25 per sq. ft. (Minimal prep required if original sealer has fully degraded).
- Penetrating Siloxane (DIY): $0.40 - $0.80 per sq. ft. (Highly recommended for DIYers due to forgiving application window).
Expert Troubleshooting: Common Sealant Failures
Even with meticulous application, environmental variables can cause sealant failures. Identifying the root cause prevents repeating the same mistake during the reapplication phase.
Blushing (Whitening)
Blushing occurs when moisture becomes trapped beneath a film-forming sealant, or when a water-based acrylic is applied in high humidity, causing the polymer particles to coagulate before they can form a clear film. The Fix: For mild blushing, wiping the surface with a rag dampened in xylene can re-melt the acrylic and release the trapped moisture. For severe blushing, the coating must be chemically stripped and reapplied under optimal environmental conditions.
Peeling and Delamination
If a sealant is peeling in sheets, the cause is almost always hydrostatic pressure from beneath the slab or a failure to remove laitance (the weak layer of cement and fines that rises to the surface during troweling) prior to the initial application. The Environmental Protection Agency (EPA) also notes that using high-VOC solvents in poorly ventilated, enclosed spaces can alter the curing profile of certain epoxies, leading to brittle peeling. The Fix: Address exterior drainage to mitigate hydrostatic pressure. Mechanically grind the concrete to remove all failing sealant and the underlying laitance layer before applying a breathable, penetrating sealer that will not trap vapor.