Mason Sand vs Concrete Sand: Troubleshooting Repair Failures
Discover how using the wrong sand causes masonry and concrete repair failures. Learn to troubleshoot cracks and choose mason sand vs concrete sand correctly.
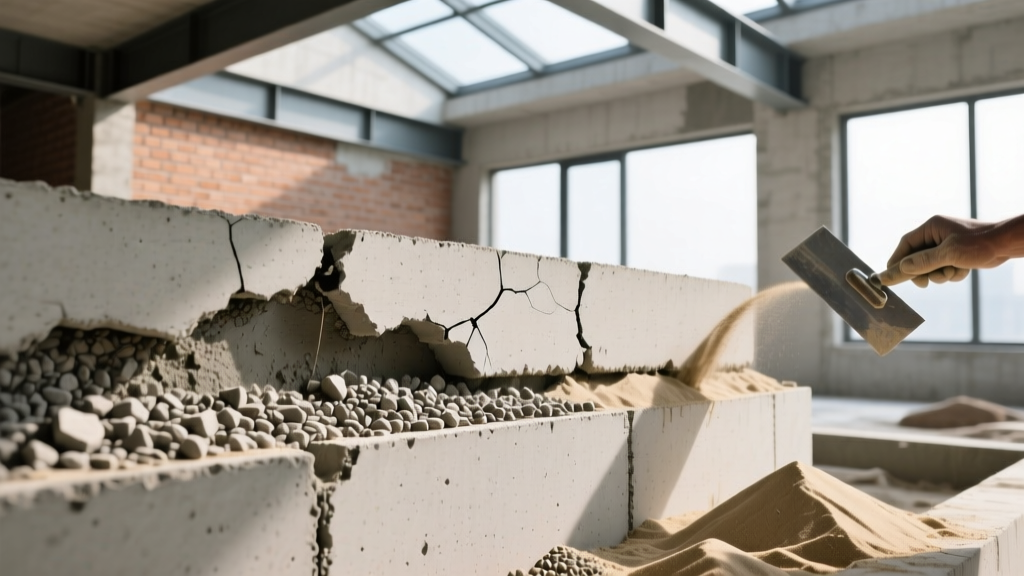
The Hidden Culprit Behind Mortar and Concrete Repair Failures
When masonry joints crumble or concrete patches crack within months of application, contractors and DIYers often blame the cement or the mixing water. However, the root cause of up to 40% of premature repair failures lies in the aggregate—specifically, the misuse of sand. Understanding the critical differences between mason sand vs concrete sand is not just an academic exercise; it is the primary troubleshooting step for diagnosing shrinkage cracks, poor adhesion, and structural degradation in repair work.
Diagnosing the Failure: Symptom-to-Sand Matrix
Before tearing out a failed repair, analyze the specific failure mode. Use this diagnostic matrix to determine if the wrong sand gradation was the culprit.
| Failure Symptom | Probable Sand Error | The Physics of the Failure |
|---|---|---|
| Deep concrete patch exhibits map-cracking and curling | Used Mason Sand (Too Fine) | Fine particles demand higher water content. As excess water evaporates, the high paste volume shrinks, causing tensile stress and surface cracking. |
| Mortar falls out of 3/8" brick joints shortly after curing | Used Concrete Sand (Too Coarse) | Large particles bridge across the narrow joint, preventing full contact with the brick. This creates voids and destroys capillary adhesion. |
| Stucco base coat feels powdery and dusts constantly | Used Unwashed Pit Sand (High Silt) | Silt and clay coat the sand grains, preventing the cement paste from bonding to the aggregate. The matrix cures weak and friable. |
| Mortar joint shrinks away from the brick, leaving a hairline gap | Mason Sand with poor gradation (Gap-graded) | Lack of mid-sized particles forces excess cement paste to fill voids, leading to high volumetric shrinkage during the hydration process. |
Mason Sand vs Concrete Sand: The Science of Gradation
To troubleshoot effectively, you must understand the governing specifications. The Portland Cement Association emphasizes that aggregate gradation directly dictates the water demand, workability, and ultimate strength of any cementitious mix.
ASTM C144: Mason Sand Specifications
Mason sand is governed by the ASTM C144 Standard Specification. It is washed and screened to ensure a fine, uniform gradation. By definition, 100% of mason sand must pass through a #4 sieve (4.75mm), and 95% must pass through a #8 sieve (2.36mm). Crucially, up to 75% passes through a #16 sieve. This high surface area allows the sand to be suspended in a rich cement paste, creating a buttery, highly workable mortar that easily slides off a trowel and packs tightly into thin masonry joints.
ASTM C33: Concrete Sand Specifications
Concrete sand follows the ASTM C33 Standard Specification. It is significantly coarser, designed to provide mechanical interlock in thick structural pours. While 100% passes a 3/8-inch sieve, only 95% passes the #4 sieve, and as little as 80% passes the #8 sieve. The larger, angular particles lock together to bear compressive loads, while the reduced surface area keeps the water-to-cement ratio low, minimizing shrinkage in deep lifts and slabs.
Troubleshooting Specific Repair Scenarios
Scenario 1: Repointing Historic Brickwork (Tuckpointing)
The Problem: A contractor attempts to repoint a 1920s brick facade using a Type N mortar mixed with concrete sand to 'make it stronger.' Within one freeze-thaw cycle, the mortar pops out of the joints.
The Fix: Historic brick requires soft, permeable mortar. Concrete sand particles (up to 4.75mm) are physically too large to compact into a standard 3/8-inch raked joint. The large grains act as rollers, preventing the mortar from adhering to the top and bottom brick beds. Strip the failed joints and switch to a Type O or Type N mortar mixed strictly with ASTM C144 mason sand. The fine gradation ensures complete joint encapsulation and allows moisture vapor to escape, preventing spalling of the historic brick.
Scenario 2: Patching Spalled Concrete Driveways
The Problem: A homeowner patches a 2-inch deep pothole in a driveway using a sand-mix (which relies on mason sand) instead of a concrete mix. The patch cracks in a spiderweb pattern within 30 days.
The Fix: Sand-mix is designed for thin overlays (under 1 inch). When applied at 2 inches, the massive amount of fine mason sand requires excessive water to achieve workability. As the water bleeds out and evaporates, the patch undergoes severe volumetric shrinkage. For any repair exceeding 1 inch in depth, you must use a mix designed with ASTM C33 concrete sand, or manually blend coarse 3/8-inch pea gravel into your repair mix to provide structural skeleton and limit shrinkage.
Scenario 3: Stucco and Parging Basecoats
The Problem: Parging applied to a foundation wall flakes off in large sheets.
The Fix: Check the sand source for silt. Many masonry supply yards sell 'mortar sand' that is unwashed or poorly washed. If the sand contains more than 10% silt or clay by volume, the cement hydrates around the dirt rather than the sand grains. Always specify 'washed plaster sand' or 'washed mason sand' for stucco scratch and brown coats, and verify the source.
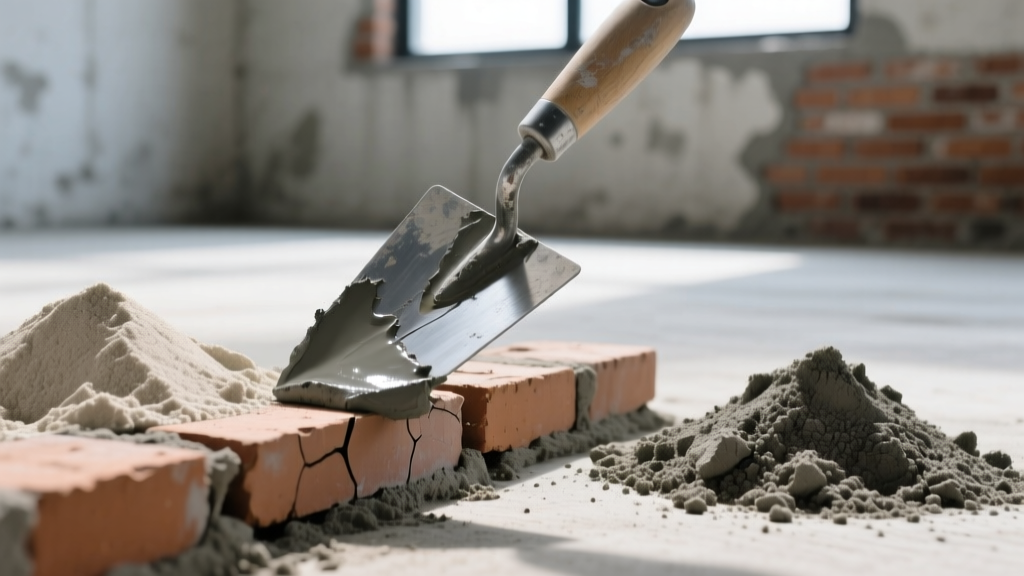
Field Testing Your Sand on the Jobsite
If you suspect a batch of sand is causing your repair failures, perform the Mason Jar Test before mixing your next batch. This takes 24 hours but saves thousands in rework.
- Fill a clear glass mason jar halfway with the sand in question.
- Add water until the jar is three-quarters full, plus one teaspoon of dish soap (to break surface tension).
- Shake vigorously for two minutes to fully suspend all particles.
- Let the jar sit undisturbed for 24 hours.
- Analyze the layers: Heavy sand settles at the bottom. Silt settles in the middle layer. Clay and organic matter float or settle at the very top.
- The Rule: If the silt/clay layer on top of the sand exceeds 10% of the total sand volume, the sand is unfit for structural or masonry repairs and must be rejected or heavily washed.
Sourcing and Cost Considerations in 2026
When budgeting for large-scale repair projects, understanding current material costs prevents margin erosion. In 2026, bulk washed mason sand typically ranges from $35 to $48 per ton, while bulk concrete sand is slightly cheaper at $30 to $42 per ton due to less intensive screening processes. Bagged 50-lb sands at big-box retailers average $4.50 to $6.00 per bag. Always factor in a $75 to $125 flat-rate delivery fee for bulk drop-offs. For troubleshooting small, recurring repair failures, the premium paid for kiln-dried, bagged, and precisely graded masonry sand is often justified by the elimination of callback repairs.
Frequently Asked Questions
Can I mix mason sand and concrete sand together?
Yes, blending the two can create an optimized gradation for specific applications like thick stucco base coats or setting beds for pavers. A common ratio is 60% concrete sand to 40% mason sand, which provides the structural interlock of coarse aggregate with the workability and void-filling properties of fine aggregate.
Why does my mason sand look like dirt?
If your mason sand has a brownish tint and clumps when squeezed, it is likely unwashed pit sand with high clay content. True ASTM C144 mason sand is washed, crushed, and screened, resulting in a loose, granular texture that does not hold a shape when squeezed in a dry hand. Reject clumping sand for any critical masonry repair.
Written by
James ThorntonJames Thornton is a construction industry veteran with 25 years of hands-on experience in wood framing, lumber grading, and residential building codes. He started as a framing carpenter in rural Oregon, earned his ICC Residential Building Inspector certification, and eventually became a senior plan reviewer for the City of Portland Bureau of Development Services. James holds a B.S. in Wood Science & Technology from Oregon State University and is a certified lumber grader through the West Coast Lumber Inspection Bureau (WCLIB). He has inspected over 3,000 residential construction sites and authored the city's internal guide on advanced framing techniques (2x6 at 24" O.C.). James lives in Bend, OR, where he builds custom timber-frame cabins and competes in lumberjack sports.
More from James Thornton
View all
Insulation
Best Home Insulation Materials: Complete 2026 Guide
Compare top home insulation materials for 2026. Find R-values, installed costs per square foot, and best uses for fiberglass, spray foam, and mineral wool.
Aug 4, 2026

Sustainable Building
Certify Your Green Building Material for LEED and WELL
Step-by-step guide to certifying a green building material for LEED v5 and WELL v2. Master EPDs, HPDs, and VOC limits for 2026 project specifications.
Aug 4, 2026

Stone & Masonry
Veneer Stacked Stone Panels: Interior Design & Style Showcase
Discover how veneer stacked stone panels transform interiors. Explore modern design profiles, material pairings, and technical installation specs.
Aug 4, 2026