Paver vs Concrete Repair: Troubleshooting Cracks & Settling
Compare paver vs concrete repair methods. Troubleshoot settling, cracking, and drainage failures with exact costs, materials, and step-by-step fixes.

Hardscape Failure Diagnostic Matrix
When evaluating the paver vs concrete debate for exterior hardscapes, the decision often hinges on long-term maintenance and repairability. Poured concrete slabs and interlocking concrete pavers fail in fundamentally different ways due to their structural continuity—or lack thereof. Concrete acts as a monolithic beam, meaning subgrade voids lead to tensile cracking. Pavers act as a flexible matrix, meaning subgrade failures manifest as localized settling, edge creep, or joint washout.
Use the diagnostic matrix below to identify the root cause of your hardscape failure before selecting a repair protocol.
| Visible Symptom | Paver Manifestation | Concrete Manifestation | Primary Root Cause |
|---|---|---|---|
| Surface Depressions | Localized birdbaths; individual units sink below the screed line. | Slab drops uniformly or tilts; often accompanied by a hollow sound when tapped. | Subgrade washout, poor base compaction, or organic soil decomposition. |
| Linear Fractures | Rare; pavers shift apart, breaking the polymeric sand bond. | Continuous cracks traversing the slab, often parallel to control joints. | Thermal expansion/contraction, shrinkage during curing, or heavy point loads. |
| Edge Deterioration | Perimeter pavers tilt outward and separate from the field. | Spalling and chipping along the slab perimeter; rebar rust jacking. | Missing edge restraints (pavers) or inadequate cover depth over steel (concrete). |
| Surface Scaling | Face of the paver flakes off, exposing aggregate. | Top 1/8-inch of the slab peels away, leaving a rough, pitted texture. | Freeze-thaw damage exacerbated by magnesium chloride de-icing salts. |
Troubleshooting Paved Surfaces: Settling and Joint Failure
Interlocking Concrete Pavement Institute (ICPI Technical Specifications) guidelines dictate that paver failures are rarely the fault of the concrete units themselves, but rather the underlying base or jointing sand. Because the system is flexible, repairs are highly localized and do not require heavy demolition machinery.
Failure Mode 1: Polymeric Sand Washout and Hazing
Polymeric sand relies on a chemical binder that activates with water and cures to lock joints. Washout occurs when hydrostatic pressure from a poorly drained base pushes water up through the joints, liquefying the sand before it fully cures. Hazing (a white, cloudy film on the paver surface) occurs when installers fail to blow off excess dust before the final water activation.
Repair Protocol: Base Injection and Re-Sanding
- Extract Affected Pavers: Use two flat-head screwdrivers or specialized paver pullers to lift the sunken units. Remove 2 feet beyond the visible depression to access stable base material.
- Evaluate the Base: If the 3/4-inch minus crushed rock base is saturated or missing, excavate to the subgrade. Re-fill with Class II road base and compact to 95% Standard Proctor density using a 5,000 PSI vibratory plate compactor.
- Screed and Replace: Lay down new ASTM C33 bedding sand, screed it flush using 1-inch PVC pipes as guides, and re-lay the pavers in the original herringbone or running bond pattern.
- Re-Joint: Sweep new polymeric sand into the joints. Compact the surface to vibrate the sand to the bottom of the joint, then mist with a fine spray nozzle to activate the polymers without washing them out.
Troubleshooting Poured Concrete: Cracking, Spalling, and Heaving
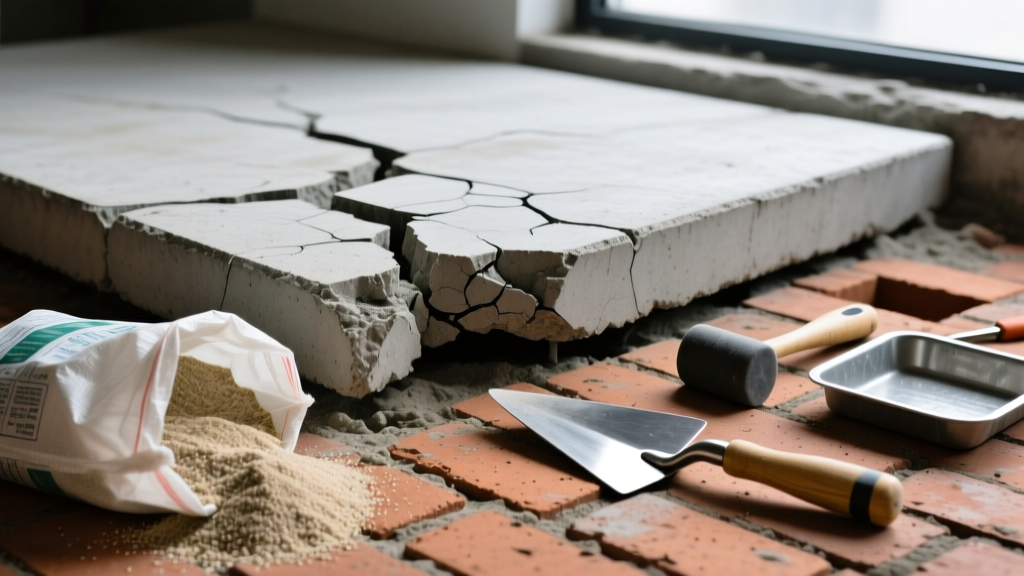
Unlike pavers, a concrete slab cannot flex. When the subgrade shifts, the concrete cracks. According to the Portland Cement Association's Guide to Concrete Cracking, while it is virtually impossible to pour a completely crack-free slab, structural integrity can be maintained if cracks are properly routed, sealed, and stabilized.
Failure Mode 1: Shrinkage vs. Structural Cracking
Distinguishing between harmless shrinkage cracks and structural failures is the first step in concrete triage. Shrinkage cracks typically appear within the first 30 days of curing, are hairline (less than 1/16-inch wide), and do not feature vertical displacement. Structural cracks are wider than 1/4-inch, often exhibit vertical offset (one side is higher than the other), and indicate active subgrade movement or extreme overloading.
Failure Mode 2: Slab Settlement and Void Formation
When water channels beneath a concrete slab, it washes away the fine soils, creating voids. As vehicles or foot traffic apply dynamic loads, the unsupported slab snaps. Traditional mudjacking (pumping a cementitious slurry beneath the slab) is largely obsolete due to the heavy weight of the slurry (approx. 100 lbs per cubic foot), which can exacerbate subgrade sinking.
Repair Protocol: Polyurethane Foam Jacking and Epoxy Injection
- For Sunken Slabs (Polyurethane Jacking): Drill 5/8-inch holes through the slab in a diamond pattern over the void. Inject high-density, closed-cell polyurethane foam (2.5 to 4.0 lb/ft³ density). The foam expands, fills the void, and lifts the slab back to grade. The material cures in 15 minutes and weighs only 2 lbs per cubic foot, preventing future subgrade overloading.
- For Active Structural Cracks (Epoxy Injection): Route the crack using a diamond blade grinder to a width of 1/4-inch and depth of 1/2-inch. Clean with compressed air. Inject a low-viscosity, structural epoxy (such as Simpson Strong-Tie Crack-Pac or Sikadur-52) using surface ports. This welds the concrete back together, restoring up to 90% of its original tensile strength.
- For Dormant Shrinkage Cracks (Routing and Sealing): Route the crack and fill with a self-leveling polyurethane sealant like Sikaflex SL. This provides a watertight, flexible seal that prevents water from infiltrating the subgrade and freezing.
2026 Repair Cost & Material Breakdown
When weighing the paver vs concrete decision for a new installation or evaluating an existing repair, understanding the true cost of remediation is critical. Below are the average national costs for professional hardscape repairs in 2026.
| Repair Type | Material / Method | Average Cost (Per Sq. Ft.) | Expected Longevity |
|---|---|---|---|
| Paver Base Re-grade | Class II Base, ASTM C33 Sand | $10.00 - $15.00 | 15 - 25 Years |
| Paver Joint Re-sanding | Polymeric Sand (e.g., Gator Maxx) | $1.50 - $3.00 | 3 - 7 Years |
| Concrete Foam Jacking | Closed-Cell Polyurethane | $7.00 - $12.00 | 10+ Years |
| Concrete Crack Routing | Polyurethane Sealant (Sikaflex) | $4.00 - $6.00 (per linear ft) | 5 - 10 Years |
| Full Concrete Replacement | 4000 PSI Mix, Fiber Mesh, #4 Rebar | $14.00 - $22.00 | 30+ Years |
The Repair vs. Replace Decision Framework
Not every hardscape failure warrants a repair. Use this framework to determine when to patch and when to demolish.
When to REPAIR:
- Pavers: Localized settling affecting less than 20% of the total area, or polymeric sand washout. The modular nature of pavers makes partial repairs virtually invisible if you retained spare units from the original installation.
- Concrete: Slab settlement of less than 3 inches where the slab remains largely intact (fewer than 4 major intersecting cracks). Foam jacking is highly cost-effective here, saving up to 50% compared to full replacement.
When to REPLACE:
- Pavers: Severe base failure across the entire footprint, or the original pavers are discontinued, making seamless patching impossible due to dye-lot variations and weathering differences.
- Concrete: Slabs exhibiting 'alligator cracking' (a network of intersecting structural cracks), severe rebar rust jacking, or frost heave that has shattered the slab into multiple uneven quadrants. Foam jacking cannot fix a slab that has lost its structural continuity.
Ultimately, the paver vs concrete repair debate comes down to your tolerance for localized maintenance versus monolithic failure. Pavers require frequent, low-cost joint maintenance but are infinitely repairable without heavy machinery. Concrete requires almost zero maintenance for decades, but when it fails, the repair costs are higher and the aesthetic patches are permanently visible.
Written by
James ThorntonJames Thornton is a construction industry veteran with 25 years of hands-on experience in wood framing, lumber grading, and residential building codes. He started as a framing carpenter in rural Oregon, earned his ICC Residential Building Inspector certification, and eventually became a senior plan reviewer for the City of Portland Bureau of Development Services. James holds a B.S. in Wood Science & Technology from Oregon State University and is a certified lumber grader through the West Coast Lumber Inspection Bureau (WCLIB). He has inspected over 3,000 residential construction sites and authored the city's internal guide on advanced framing techniques (2x6 at 24" O.C.). James lives in Bend, OR, where he builds custom timber-frame cabins and competes in lumberjack sports.
More from James Thornton
View all
Insulation
Best Home Insulation Materials: Complete 2026 Guide
Compare top home insulation materials for 2026. Find R-values, installed costs per square foot, and best uses for fiberglass, spray foam, and mineral wool.
Aug 4, 2026

Sustainable Building
Certify Your Green Building Material for LEED and WELL
Step-by-step guide to certifying a green building material for LEED v5 and WELL v2. Master EPDs, HPDs, and VOC limits for 2026 project specifications.
Aug 4, 2026

Stone & Masonry
Veneer Stacked Stone Panels: Interior Design & Style Showcase
Discover how veneer stacked stone panels transform interiors. Explore modern design profiles, material pairings, and technical installation specs.
Aug 4, 2026