Post Foam vs Concrete: Troubleshooting & Repairing Leaning Posts
Diagnose and fix leaning fence or deck posts. Compare post foam vs concrete for repairs, learn failure causes, and discover step-by-step fixing methods.

The Anatomy of a Post Failure: Why Leaning Happens
Over the last decade, two-part expanding polyurethane post foams (such as Sika PostFix) have aggressively captured the DIY market, promising a mess-free, 15-minute alternative to hauling 50-pound bags of hydraulic cement. However, as these early installations age, contractors and homeowners are facing a new wave of structural failures. When diagnosing a leaning or rotting post, the debate of post foam vs concrete shifts from initial installation convenience to long-term repair viability.
Posts rarely fail because the anchoring material itself crushes. According to structural guidelines referenced by the USDA Forest Products Laboratory, wood decay and frost heave are the primary culprits in post failure. Both foam and concrete can inadvertently accelerate these issues if the original installation ignored subsurface drainage dynamics. Understanding how each material interacts with water, soil, and wood is the first step in executing a permanent repair.
Diagnostic Matrix: Identifying Your Base Failure
Use this troubleshooting matrix to identify why your post is failing and determine whether the original material (foam or concrete) contributed to the problem.
| Symptom | Root Cause | Material at Fault? | Repair Strategy |
|---|---|---|---|
| Post leans after winter thaw | Frost heave pushing the bell-shaped hole upward. | Foam: High risk if hole was wider at the top. Concrete: High risk if collar lacks a gravel base. |
Dig out collar, drill straight-walled hole, add 6" gravel base. |
| Wood is soft/rotting at grade | "Bathtub effect" trapping surface water against the wood. | Foam: Hydrophobic foam forces water to pool against the post. Concrete: Porous concrete wicks groundwater into the wood. |
Cut away collar, treat wood with copper naphthenate, slope collar away from post. |
| Post wobbles, but wood is solid | Collar detached from the post due to shrinkage or lateral load. | Foam: Fails to bond to smooth PVC sleeves or dusty wood. Concrete: Shrinks slightly as it cures, leaving a gap. |
Inject structural epoxy or expanding polyurethane gap filler into the void. |
| Concrete collar is cracking/spalling | Freeze-thaw cycles destroying non-air-entrained concrete. | Concrete: Standard DIY mixes lack air-entrainment for freeze-thaw durability. | Chip away spalled areas, patch with polymer-modified concrete resurfacer. |
Step-by-Step Repair: Extracting and Fixing a Failed Foam Base
Polyurethane post foam does not dissolve, melt, or biodegrade. If a foam-set post is leaning or rotting, you cannot simply pour concrete over it. The hydrophobic nature of the foam will prevent the new concrete from bonding, and the trapped foam will continue to create a water basin around the wood.
1. Severing the Foam Collar
Because foam expands and locks into the soil pores, digging it out with a shovel is nearly impossible without excavating a massive crater. Instead, use a reciprocating saw equipped with a 12-inch pruning blade. Plunge the blade vertically along the sides of the post to slice through the foam collar down to the base of the hole. The pruning blade's aggressive tooth geometry clears the sticky polyurethane residue better than standard demolition blades.
2. Removing the Post and Cleaning the Void
Once the foam is severed from the post, pull the post upward. You will likely leave a ring of hardened foam in the ground. Use a digging bar or a heavy-duty masonry chisel to break the remaining foam ring apart and extract it. Do not leave foam fragments in the hole, as they will create voids that compromise the new anchoring material.
3. The Repair Reset: Foam or Concrete?
If the failure was caused by frost heave in heavy clay soil, do not reuse foam. Expanding foam locks tightly to the walls of the hole; in clay soils that swell and shift, this rigid lock transfers the soil's movement directly to the post. Switch to Portland Cement Association recommended fast-setting concrete (like Quikrete Fast-Setting), poured over a 6-inch base of 3/4-inch crushed gravel to allow for subsurface drainage.
Rescuing a Crumbling Concrete Collar Without Full Replacement
Concrete collars often fail structurally before the wood inside them does. If your post is perfectly plumb but the concrete collar is spalling, cracking, or crumbling at the soil line, a full tear-out is unnecessary.
- Prep the Surface: Use a cold chisel and masonry hammer to knock away all loose, crumbling concrete until you reach a solid, hard substrate. Wire-brush the area to remove dust.
- Apply a Bonding Adhesive: Paint the exposed old concrete with an acrylic concrete bonding adhesive. This is critical; without it, the thin patch layer will delaminate within one freeze-thaw cycle.
- Patch with Polymer-Modified Mortar: Use a polymer-modified concrete repair caulk or a vinyl concrete patcher. These products contain acrylic polymers that provide high tensile strength and resist water penetration. Trowel the patch at a 45-degree slope away from the wood post to shed surface runoff.
The "Weep Hole" Retrofit: A Lifesaver for Trapped Water
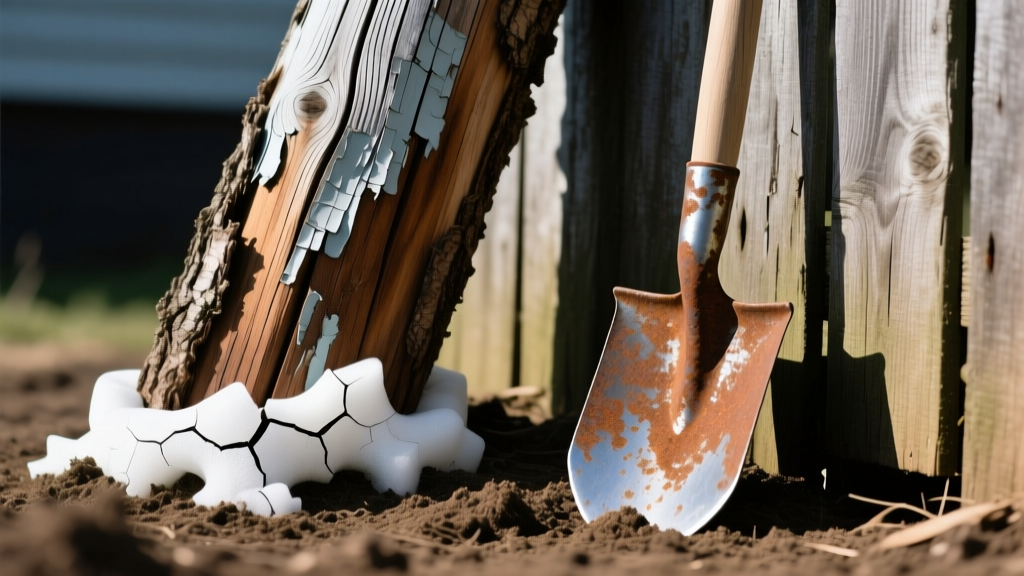
The most common failure point for both post foam and concrete is the "water trap." If the top of the collar is flat or sloped toward the post, rainwater runs down the wood, hits the collar, and pools. Over time, this rots the post at the exact ground line where it bears the most bending stress.
Expert Retrofit Tip: If your posts are currently stable but you notice water pooling at the base after heavy rain, you can retrofit a drainage system. Using a 3/8-inch masonry drill bit, drill three weep holes at a 15-degree downward angle through the concrete or foam collar, starting 1 inch above grade and exiting below the soil line. This allows trapped hydrostatic pressure to escape, dramatically extending the life of the wood.
2026 Cost and Labor Breakdown for Post Repairs
When deciding how to tackle a failing post, factor in both material costs and the physical labor required. Prices below reflect early 2026 retail averages for standard 4x4 wooden posts.
| Repair Method | Material Cost (Per Post) | Labor Time | Best Use Case |
|---|---|---|---|
| Foam Extraction & Concrete Reset | $18 - $25 (Concrete + Gravel) | 1.5 - 2 hours | Heavy clay soils, frost-prone zones, structural gate posts. |
| Foam Extraction & Foam Reset | $12 - $15 (2-Part Foam Kit) | 45 - 60 minutes | Sandy, well-draining soils, lightweight vinyl/PVC fencing. |
| Concrete Collar Patching | $8 - $12 (Patch + Bonding Agent) | 30 minutes | Spalling concrete where the post is still plumb and solid. |
| Weep Hole Retrofit | $0 (Using existing drill bits) | 10 minutes | Preventative maintenance for flat-topped concrete/foam collars. |
Expert Decision Framework: When to Abandon Foam Entirely
While polyurethane post foam is an excellent product for specific applications, troubleshooting recurring failures requires knowing its absolute limits. You should permanently switch to traditional concrete repairs under the following conditions:
- High Lateral Load Applications: If the post supports a heavy double-swing gate, a privacy fence in a high-wind zone (over 90 mph gusts), or a deck stair stringer, foam lacks the sheer mass to resist the leverage. A 50-pound concrete collar provides the necessary dead weight.
- Untreated or Improperly Treated Wood: If you are repairing a fence built with standard untreated pine or spruce, foam's water-trapping tendencies will rot the wood in under three years. Concrete, paired with a gravel base and a copper naphthenate wood preservative, offers a better chance at longevity.
- Expansive Clay Soils: In regions with heavy clay that swells significantly when wet, the rigid bond of expanding foam will transfer soil expansion directly into lateral pressure on the post, causing it to snap or tilt. Concrete poured into a sonotube with a bell-bottom base is the only code-compliant repair for these soil profiles.
By accurately diagnosing the root cause of your post failure and selecting the repair material based on soil mechanics and load requirements rather than convenience, you can ensure your fence or deck remains structurally sound for decades.
Written by
Marcus ChenMarcus Chen is a licensed structural engineer (PE) and building materials analyst with over 12 years of experience across residential, commercial, and industrial construction. He holds a Master of Science in Civil Engineering from UC Berkeley and spent six years at Thornton Tomasetti before transitioning to independent consulting and technical writing. Marcus specializes in material selection for seismic-prone regions, concrete reinforcement strategies, and lifecycle cost analysis. His work has been cited by the American Concrete Institute (ACI) and the Structural Engineers Association of California (SEAOC). When he is not on a job site or at his desk, you will find him hiking the Sierra Nevada or restoring a 1920s craftsman bungalow in Oakland, CA.
More from Marcus Chen
View all
Construction Cost
How Much Did the Eiffel Tower Cost to Build?
How much did the Eiffel Tower cost to build in 1889? We adjust for inflation and compare its budget to modern skyscraper construction.
Aug 4, 2026

Fire Resistance
What Is a Fire Resistant Material? Testing & Certification Guide
Discover what is a fire resistant material through ASTM and UL testing. Learn how fire ratings, certifications, and assemblies work in construction.
Aug 4, 2026

Construction Cost
How Much Did the Burj Khalifa Cost to Build?
How much did the Burj Khalifa cost to build? We break down the $1.5B project and extract 5 money-saving strategies for your next build.
Jul 30, 2026