The Ultimate Quikrete Concrete Maintenance and Cleaning Playbook
Master Quikrete concrete maintenance with our expert cleaning and repair playbook. Learn exact product specs, sealing steps, and crack-fixing techniques.
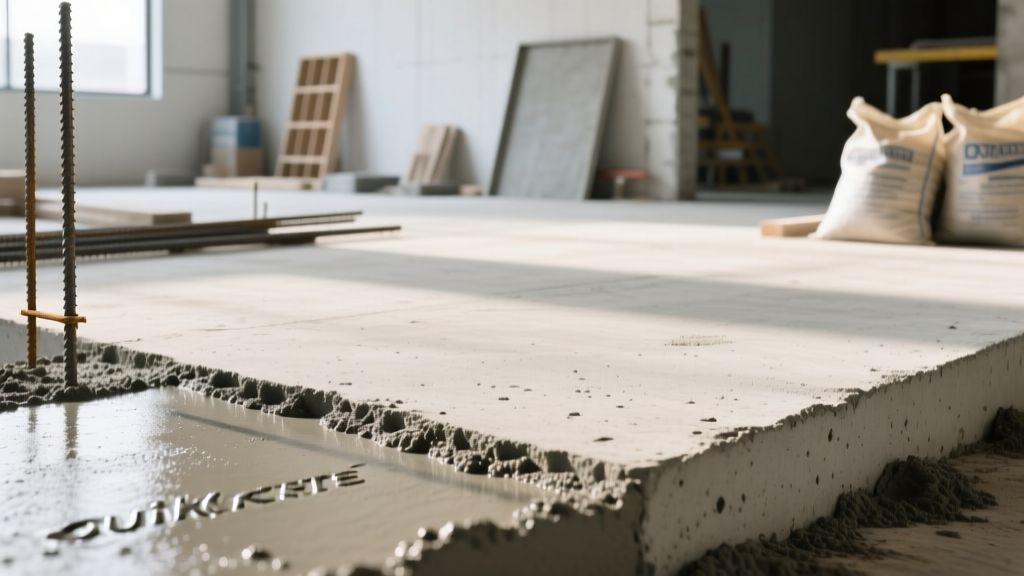
The Quikrete Concrete Maintenance Standard
Quikrete concrete mixes are the backbone of countless residential driveways, patios, and walkways. However, the longevity of a Quikrete slab is dictated not just by the initial pour, but by the rigor of its ongoing maintenance. Environmental exposure, deicing salts, and UV radiation systematically degrade the cement paste and expose the aggregate. This playbook provides exact, field-tested protocols for cleaning, repairing, and resurfacing Quikrete concrete surfaces, utilizing specific product formulations and precise application metrics.
Playbook Quick Specs
- Target Surface: Broom-finished and stamped Quikrete concrete slabs
- Primary Cleaning Pressure: 2,000 - 2,500 PSI (Max 3,000 PSI)
- Resurfacing Product: Quikrete Concrete Resurfacer (No. 1317)
- Average Resurfacing Cost: $0.45 - $0.60 per square foot (materials only)
Phase 1: Deep Cleaning and Surface Preparation
Before any repair or sealing can occur, the concrete pores must be cleared of biological growth, efflorescence, and petroleum stains. High-pressure washing alone is insufficient for deeply embedded contaminants.
Chemical Selection Matrix
| Contaminant | Recommended Agent | Dwell Time | Agitation Method |
|---|---|---|---|
| Motor Oil / Grease | Quikrete Oil & Grease Cleaner | 15-20 Minutes | Stiff-bristle nylon brush |
| Efflorescence (White Salt) | Muriatic Acid (1:10 dilution) | 3-5 Minutes | Plastic pump sprayer |
| Algae / Mildew | Sodium Hypochlorite (12.5%) | 10 Minutes | Surface cleaner attachment |
The 4-Step Pressure Washing Protocol
- Pre-wet the slab: Saturate the concrete with a garden hose to prevent rapid absorption of cleaning chemicals.
- Apply chemical: Spray the chosen cleaning agent and allow it to dwell for the specified time. Do not let the chemical dry on the surface.
- Pressure wash: Use a gas-powered pressure washer set to 2,500 PSI with a 25-degree (green) nozzle tip. Maintain a consistent 12-inch distance from the surface to avoid etching the cement paste.
- Neutralize and rinse: If using acidic cleaners, rinse thoroughly with a baking soda and water solution (1 cup per gallon) to neutralize the pH before it penetrates the subgrade.
Phase 2: Structural and Cosmetic Crack Repair
Cracks in Quikrete concrete are inevitable due to thermal expansion and subgrade settling. The critical error most DIYers make is using a rigid filler on an active crack, leading to immediate re-tearing. According to guidelines published by the American Concrete Institute, selecting the correct sealant modulus is vital for long-term adhesion.
Decision Matrix: Dormant vs. Active Cracks
- Dormant Cracks (No movement expected): Use Quikrete Concrete Crack Seal (No. 8640). This is an acrylic-based, pourable formula ideal for horizontal cracks up to 1/2 inch wide. It dries to a natural gray finish and costs approximately $8 to $12 per quart.
- Active Cracks (Expansion/contraction cycles): Use Quikrete Polyurethane Concrete Crack Sealant (No. 8660). Polyurethane remains permanently flexible, accommodating up to 25% joint movement without losing adhesion. It is self-leveling and requires a backer rod for cracks deeper than 1/4 inch.
Phase 3: Resurfacing Worn Quikrete Slabs
When a Quikrete driveway suffers from extensive spalling, scaling, or surface pitting, patching is no longer viable. Resurfacing restores the structural integrity and aesthetic of the slab. The industry standard for this is Quikrete Concrete Resurfacer (No. 1317), a polymer-modified cementitious overlay.
Resurfacer Specifications and Yield
A standard 40 lb bag of Quikrete No. 1317 costs between $35 and $45. When mixed to a pourable consistency, it covers approximately 90 square feet at a 1/8-inch thickness. The mix requires exactly 3.5 pints (1.65 liters) of clean water per bag. Adding excess water to make it flow easier will drastically reduce the compressive strength and cause shrinkage cracking.
Application Workflow
- Temperature Check: Ensure ambient and surface temperatures are between 50°F and 90°F. Applying resurfacer in direct sunlight on a 95°F day will cause flash-setting and trowel marks.
- Saturate the Substrate: Flood the existing concrete with water and let it soak for several hours. Before applying the resurfacer, squeegee off all standing water. The slab must be damp (SSD - Saturated Surface Dry) but have zero puddles.
- Mix and Pour: Mix the resurfacer using a 1/2-inch drill and a mixing paddle for 3 to 5 minutes until it reaches a syrup-like consistency. Pour it onto the slab in manageable 144 sq ft sections.
- Spread and Finish: Use a long-handled squeegee to push the material into the pores, then finish with a concrete broom to create a slip-resistant texture.
- Cure: Mist the surface lightly with water every few hours for the first 24 hours to prevent plastic shrinkage cracking. Allow 24 hours for foot traffic and 72 hours for vehicle traffic.
Phase 4: Sealing and Long-Term Protection
Sealing Quikrete concrete blocks water intrusion, chloride ions from deicing salts, and UV degradation. The Quikrete product catalog offers two primary sealer chemistries, each serving a distinct functional purpose.
Acrylic vs. Penetrating Sealers
- Quikrete Wet Look High Gloss Sealer (Acrylic): Forms a topical film that enhances color and provides a glossy finish. Best for stamped concrete or exposed aggregate. Coverage is 200-300 sq ft per gallon. Failure mode: Can trap moisture vapor, leading to blushing (white hazing) if applied to a damp slab.
- Quikrete Penetrating Concrete Sealer (Silane/Siloxane): Reacts chemically within the pores to create a hydrophobic barrier without altering the surface appearance or traction. Ideal for broom-finished driveways and walkways. Coverage is 150-200 sq ft per gallon. Advantage: Will not peel or flake, and allows moisture vapor to escape.
Troubleshooting Common Maintenance Failures
Even with premium materials, improper execution leads to specific failure modes. Identify and correct these issues before they compromise the slab.
- Delamination of Resurfacer: Cause: Failure to remove laitance or dust from the original slab, or applying over a dry substrate that sucked the moisture out of the overlay. Fix: Grind off the delaminated section, acid-etch the substrate, and reapply.
- Sealer Blushing (White Haze): Cause: Trapped moisture under an acrylic topical sealer, often due to sealing too soon after rain or washing. Fix: Apply a solvent like xylene to re-emulsify the acrylic and allow the moisture to escape, then let it dry clear.
- Efflorescence Reoccurrence: Cause: Water migrating through the slab from a high water table or poor subgrade drainage, carrying soluble salts to the surface. Fix: Surface cleaning is temporary. You must regrade the surrounding soil to direct water away from the slab and install French drains if necessary.