Concrete Drill Bit vs Wood: Troubleshooting Drill Failures
Troubleshoot drilling failures with our concrete drill bit vs wood guide. Learn to identify bit damage, fix ruined holes, and prevent tool burnout.

The Anatomy of Failure: Why Bit Selection Dictates Repair Needs
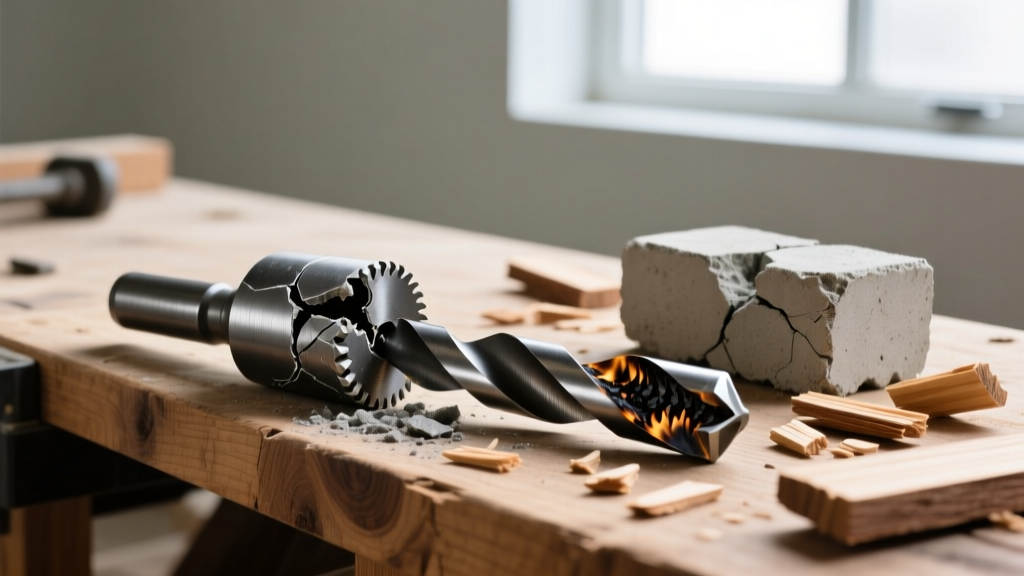
Misidentifying or misapplying drill bits across concrete and wood substrates is one of the most common and costly errors in structural repair and finish carpentry. The fundamental difference lies in the cutting mechanics: concrete requires percussive crushing, while wood requires rotary shearing. When a contractor or DIYer forces a concrete drill bit into wood, or a wood bit into masonry, the resulting failure modes compromise both the structural integrity of the hole and the metallurgy of the tool.
Symptom Checker: Diagnosing Drill Bit and Material Damage
Before attempting a repair, you must diagnose the exact failure mode by examining the swarf (debris), the hole geometry, and the bit tip. Here is how to read the forensic evidence left behind by the wrong bit.
Scenario A: Using a Concrete Drill Bit on Wood
Concrete bits feature a wide, brazed tungsten carbide tip (typically YG8 or YG11 grade) designed to pulverize aggregate. They lack the sharp spur cutters found on wood bits.
- The Swarf: Fine, powdery sawdust mixed with burn marks. You will not see clean, spiral wood chips.
- The Hole: Severe tear-out at the entry and exit points. The hole diameter will often be oversized and oval-shaped due to the bit wandering without a brad-point pilot.
- The Bit: The carbide tip will be coated in baked-on wood resin. The flutes may be clogged, leading to friction binding.
Scenario B: Using a Wood Bit on Concrete
Wood bits (brad-point, spade, or auger) are manufactured from High-Speed Steel (HSS) or carbon steel, hardened to hold a sharp shearing edge but entirely unsuited for impact forces.
- The Swarf: Virtually none. Instead, you will see black or blue metallic dust. This is the HSS tip annealing (losing its temper) and literally grinding itself away.
- The Hole: A shallow, glazed depression. The friction heat essentially vitrifies the surface of the concrete, creating a hardened barrier.
- The Bit: The tip will be rounded, blunted, or completely snapped off. If the hammer drill function was engaged, the shank is likely deformed from the SDS or 3-jaw chuck impacts.
Bit Type vs. Material Failure Matrix
| Bit Type | Tip Geometry | Optimal RPM (1/2" Bit) | Hammer Mode? | Failure Symptom if Misused |
|---|---|---|---|---|
| SDS-Plus Masonry | Carbide Cross-Head | 450 - 700 RPM | Yes (Rotary + Impact) | Massive wood splintering; bit binding |
| HSS Brad-Point | Spur & Center Point | 1500 - 2000 RPM | No (Rotary Only) | Tip instantly blunts; steel anneals blue |
| Carbide-Tipped Twist | Carbide Spear-Point | 800 - 1200 RPM | Yes (Light Impact) | Carbide tip shatters on rebar impact |
| Forstner (Wood) | Flat Bottom / Rim | 500 - 800 RPM | No (Rotary Only) | Rim snaps; extreme friction burning |
Step-by-Step Repair: Fixing Botched Holes
Once the damage is done, simply re-drilling with the correct bit will not suffice. The substrate must be stabilized. As noted in structural guidelines from the Portland Cement Association, compromised concrete edges require specific bonding agents before re-anchoring.
Repairing Splintered Wood Holes (Caused by Masonry Bits)
When a carbide masonry bit tears through wood, the hole is usually too wide and ragged to hold a standard wood screw or dowel.
- Clean the Cavity: Use a sharp Forstner bit that is 1/16-inch larger than the damaged hole. Drill straight down to create a clean, perfectly cylindrical wall, removing all splintered fibers.
- Mill a Plug: Cut a hardwood dowel or plug to the exact diameter of the new Forstner hole. Ensure the grain direction of the plug matches the surrounding workpiece if structural strength is required.
- Bond and Seat: Apply a high-viscosity, gap-filling wood epoxy (such as System Three SculpWood or T-88). Insert the plug, tap it flush with a dead-blow mallet, and clamp until the epoxy cures (typically 4-6 hours at 70°F).
- Re-Drill: Once cured, use a sharp HSS brad-point bit to drill the final pilot hole. The epoxy will act as a superior anchor matrix compared to the original torn end-grain.
Patching Glazed or Blown-Out Concrete Holes (Caused by Wood Bits)
Using a wood bit on concrete creates a heat-glazed surface that prevents chemical anchors (like epoxy or polyester resins) from penetrating the pores.
- Break the Glaze: Switch to a rotary hammer with an SDS-Plus carbide bit. Set the tool to 'Hammer Only' (no rotation) and use the bit as a chisel to fracture the glazed, vitrified concrete layer at the bottom of the hole.
- Evacuate Debris: Do not just blow the dust out. Use a HEPA-filtered vacuum and a wire bottle brush to scrub the interior walls. Proper hole preparation is the single most critical factor in concrete anchor pull-out strength.
- Inject Structural Resin: If the hole is blown out (wider at the bottom than the top), inject a two-part structural concrete epoxy (like Simpson Strong-Tie HIT-RE 500 V3) from the bottom up using a mixing nozzle.
- Set the Anchor: Insert your threaded rod or rebar with a slow, twisting motion to ensure the epoxy coats the threads without trapping air pockets. Allow 24 hours for full cure before applying torque.
Tool Settings & RPM Troubleshooting
Even with the correct bit, improper tool settings will mimic the symptoms of using the wrong bit. Modern brushless rotary hammers feature electronic feedback, but standard corded drills require manual RPM management.
- Concrete Drilling Speed: Slower is better. High RPMs in concrete generate excessive heat, which melts the copper brazing that holds the carbide tip to the steel shaft. Keep 1/2-inch masonry bits under 700 RPM.
- Wood Drilling Speed: Faster is generally better for clean cuts, but large diameter bits (like spade bits over 1-inch) require slowing down to 500-800 RPM to prevent torque-binding and wrist injuries.
- Hammer Mode Misfires: Never engage the hammer function on a standard drill when using a wood bit, even on a soft brick wall. The axial impact will snap the delicate center brad-point of the wood bit instantly.
By understanding the metallurgical and mechanical boundaries of your drill bits, you can prevent catastrophic substrate damage and avoid the time-consuming repairs associated with cross-contaminating your masonry and woodworking tooling.
Written by
Marcus ChenMarcus Chen is a licensed structural engineer (PE) and building materials analyst with over 12 years of experience across residential, commercial, and industrial construction. He holds a Master of Science in Civil Engineering from UC Berkeley and spent six years at Thornton Tomasetti before transitioning to independent consulting and technical writing. Marcus specializes in material selection for seismic-prone regions, concrete reinforcement strategies, and lifecycle cost analysis. His work has been cited by the American Concrete Institute (ACI) and the Structural Engineers Association of California (SEAOC). When he is not on a job site or at his desk, you will find him hiking the Sierra Nevada or restoring a 1920s craftsman bungalow in Oakland, CA.
More from Marcus Chen
View all
Construction Cost
How Much Did the Eiffel Tower Cost to Build?
How much did the Eiffel Tower cost to build in 1889? We adjust for inflation and compare its budget to modern skyscraper construction.
Aug 4, 2026

Fire Resistance
What Is a Fire Resistant Material? Testing & Certification Guide
Discover what is a fire resistant material through ASTM and UL testing. Learn how fire ratings, certifications, and assemblies work in construction.
Aug 4, 2026

Construction Cost
How Much Did the Burj Khalifa Cost to Build?
How much did the Burj Khalifa cost to build? We break down the $1.5B project and extract 5 money-saving strategies for your next build.
Jul 30, 2026