How to Apply QUIKRETE Concrete Repair 5.5 oz for Lasting Crack Fixes
Master the application of QUIKRETE Concrete Repair 5.5 oz. Learn exact prep, tooling, and curing steps to permanently fix driveway and patio cracks.
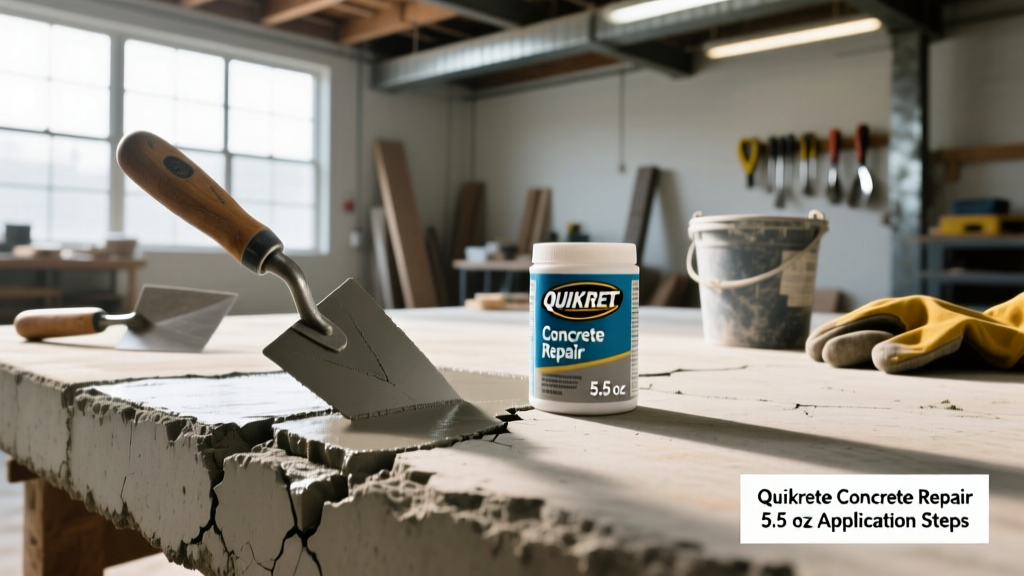
Product Profile: Sanded Acrylic Latex Mechanics
The QUIKRETE Concrete Repair 5.5 oz tube (often identified under product line No. 8620) is a sanded acrylic latex compound engineered specifically for cosmetic and structural sealing of non-moving concrete cracks. Unlike polyurethane sealants that remain permanently flexible and require bone-dry substrates, this acrylic latex formula cures through water evaporation and coalescence, forming a rigid, textured, and paintable finish that mimics the surrounding concrete matrix.
Technical Specifications & Limits
- Max Crack Width: 1/2 inch (12.7 mm)
- Max Crack Depth: 1/2 inch (12.7 mm)
- Base Chemistry: Sanded Acrylic Latex
- Shrinkage Rate: Minimal, but volumetric shrinkage occurs if applied deeper than 1/2 inch
- Paintability: Accepts latex and oil-based paints after full cure
Understanding the chemical nature of this product is critical for installation success. Because it is water-based, applying it in freezing temperatures will break the emulsion before it can cure, resulting in a crumbly, failed repair. Furthermore, its rigid cure profile means it is not suitable for expansion joints or control joints that experience significant thermal movement. For those applications, a self-leveling polyurethane sealant is required. For static cracks in driveways, sidewalks, and patios, however, the 5.5 oz squeeze tube offers unparalleled precision.
Substrate Preparation: The Adhesion Anchor
The most common cause of acrylic concrete repair failure is not the product itself, but poor substrate preparation. Acrylic latex relies on mechanical interlocking with the pores of the concrete. If those pores are clogged with silica dust, algae, or crumbling debris, the repair will simply peel out as a single strip when subjected to thermal cycling or pressure washing.
The 3-Step Prep Protocol
- Mechanical Debridement: Use a stiff wire brush to aggressively scour the inside walls of the crack. You must reach sound, solid concrete on both the left and right vertical walls and the horizontal floor of the crack. Remove all spalled or flaking material.
- Pneumatic or Vacuum Extraction: Sweeping with a broom is insufficient. Use a compressed air blower or a shop vacuum with a crevice tool to extract the fine particulate dust generated by wire brushing. According to guidelines from The Concrete Network, residual dust acts as a bond-breaker, preventing the acrylic polymers from penetrating the concrete capillaries.
- Moisture Conditioning: Unlike polyurethane, acrylic latex adheres exceptionally well to slightly damp surfaces. If the concrete is highly porous and baked dry by the sun, lightly mist the crack with water and wipe away any standing puddles. This prevents the dry concrete from rapidly sucking the water out of the acrylic emulsion, which would cause premature skinning and poor adhesion.
If your crack exceeds 1/2 inch in depth, you cannot simply fill it with the 5.5 oz repair compound. Thick layers of acrylic latex will skin over on top while remaining liquid underneath, eventually collapsing and shrinking. You must insert a closed-cell polyethylene backer rod into the crack to artificially raise the floor of the crack, ensuring the repair compound never exceeds a 1/2 inch depth.
Step-by-Step Extrusion and Tooling Procedure
Proper application technique dictates the visual outcome and structural integrity of the repair. The 5.5 oz tube is designed for manual squeeze application, which requires a specific physical approach to maintain a consistent bead.
1. Nozzle Modification and Seal Puncture
Do not cut the nozzle straight across. Use a utility knife to cut the tip at a sharp 45-degree angle. The diameter of the cut should match the width of your crack—typically 1/8 inch for hairline cracks and up to 1/4 inch for wider fissures. After cutting, use a long wire or the reverse end of a nail to puncture the inner foil seal deep inside the tube. Failure to fully puncture this seal will result in erratic, sputtering extrusion.
2. The Push-Pull Extrusion Technique
Position the nozzle directly over the crack, holding the tube at a 45-degree angle to the surface. Squeeze the tube with steady, even pressure. Push the tube forward along the crack rather than pulling it. Pushing forces the compound deep into the fissure, whereas pulling tends to lay the material on top of the crack, leaving voids underneath.
3. The Critical Tooling Window
Acrylic latex compounds begin to form a surface skin within 5 to 10 minutes of extrusion, depending on ambient humidity. You must tool the bead immediately. Use a steel putty knife or a margin trowel. Pro Tip: Lightly dampen your tooling blade with a spray bottle of water. A dry blade will drag the sanded aggregate in the compound, tearing the surface and ruining the textured finish. Strike off the excess material flush with the surrounding concrete in a single, continuous motion.
Environmental Variables and Curing Matrix
Curing is not a uniform process; it is heavily dictated by ambient temperature, relative humidity, and substrate porosity. The QUIKRETE technical data sheets outline standard cure times, but real-world application requires adjusting your expectations based on the microclimate of your job site.
| Ambient Temp | Humidity | Touch-Dry | Paint-Ready | Full Cure / Traffic |
|---|---|---|---|---|
| 50°F - 65°F (10-18°C) | High (>60%) | 1 - 2 Hours | 6 - 8 Hours | 5 - 7 Days |
| 65°F - 80°F (18-26°C) | Moderate (40-60%) | 20 - 40 Mins | 2 - 3 Hours | 3 - 5 Days |
| 80°F - 90°F (26-32°C) | Low (<40%) | 10 - 15 Mins | 1 - 2 Hours | 2 - 3 Days |
Note: Never apply this product if temperatures are expected to drop below 40°F (4°C) within 24 hours of application. Freezing will destroy the acrylic polymer matrix before coalescence is complete.
Troubleshooting Common Application Failures
Even experienced masons encounter edge cases when working with sanded acrylics. Use this diagnostic matrix to identify and correct issues in the field.
| Symptom | Root Cause | Corrective Action |
|---|---|---|
| Longitudinal shrinkage crack down the center of the repair | Applied deeper than 1/2 inch without a backer rod; rapid surface drying. | Dig out the failed repair, insert a foam backer rod to limit depth to 1/2 inch, and reapply. |
| Repair peels out in a single, clean strip | Silica dust or efflorescence prevented mechanical bonding to the pore structure. | Remove strip, acid-etch or wire-brush aggressively, vacuum, and dampen before reapplication. |
| Surface is rough, torn, or lacks concrete texture | Tooling was done with a dry blade, or tooling occurred after the 10-minute skin-over window. | Lightly sand the rough surface with 80-grit sandpaper, or apply a micro-thin second coat and tool with a wet blade. |
Long-Term Maintenance and UV Stability
Once fully cured, the sanded acrylic latex compound exhibits excellent UV resistance and will not yellow or chalk significantly over time. However, because it cures to a rigid state, it remains vulnerable to substrate movement. If the concrete slab experiences differential settlement or frost heave, the repair will likely fracture before the surrounding concrete does.
For aesthetic integration, the textured finish accepts most exterior-grade acrylic latex masonry paints. If you plan to paint the repaired area, wait a minimum of 48 hours under ideal conditions, and up to 7 days in high-humidity environments, to ensure all trapped moisture has evaporated from the deep layers of the compound. Painting over trapped moisture will cause the paint film to blister and peel. By adhering strictly to these preparation, application, and curing protocols, the 5.5 oz tube provides a highly durable, cost-effective solution for static concrete crack remediation.