Vinyl Concrete Patch vs Concrete: Real-World Applications
Discover when to use vinyl concrete patch vs concrete for repairs. Compare adhesion, thickness limits, and costs for driveway, patio, and floor fixes.

The Material Science: Polymer-Modified vs. Standard Portland
Standard concrete repair mixes (often sold as Sand Mix or Topping Mix) consist of Portland cement and graded silica sand. They achieve high compressive strength (typically 5,000+ psi at 28 days) but possess virtually no inherent tensile bond strength. When applied thin, standard mixes curl, delaminate, and shatter under shear loads. They require a minimum thickness of 1/2 inch to 1 inch and demand a separate liquid bonding agent (like an acrylic fortifier or PVA glue) to adhere to existing substrates.
Vinyl concrete patchers integrate a polyvinyl acetate (PVA) or vinyl acetate copolymer resin directly into the dry mix. When hydrated, this polymer forms a microscopic web that binds the cement matrix to the existing concrete substrate. According to the National Park Service guidelines on concrete preservation, polymer-modified patches are essential for shallow restorations because they resist shrinkage cracking and allow for feather-edge transitions down to 1/16 of an inch. While their compressive strength is slightly lower (around 4,500 psi), their tensile bond strength exceeds 400 psi without requiring a separate primer.
Application Showcase: 5 Real-World Repair Scenarios
Scenario 1: Driveway Spalling and Surface Scaling
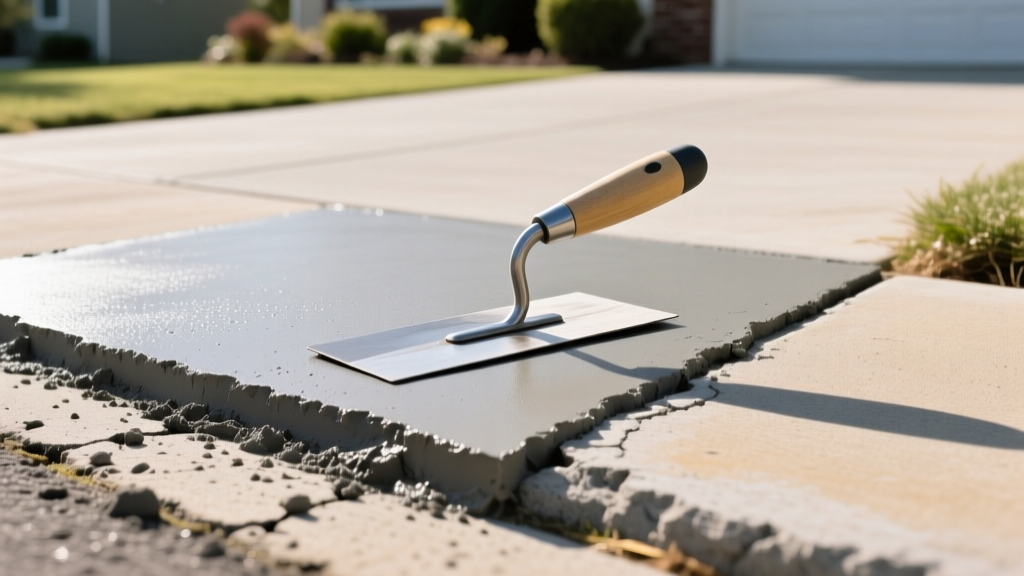
The Problem: Freeze-thaw cycles have caused the top 1/4 inch of a concrete driveway to flake and spall, exposing the aggregate. The repair must blend seamlessly into the surrounding intact slab without creating a trip hazard.
The Solution: Vinyl Concrete Patch. Standard sand mix will fail here; it cannot be troweled to a 1/4-inch thickness without the edges crumbling. Vinyl patcher can be feather-edged to zero thickness. Use a 10-inch steel finishing trowel, keeping the leading edge elevated at a 15-degree angle to prevent digging into the thin transition zone. The polymer resin ensures the thin layer withstands the shear force of vehicle tires turning on the surface.
Scenario 2: Rebuilding a Broken Patio Step Nose
The Problem: The front 3 inches of a concrete patio step have broken off, requiring a deep, structural rebuild that will bear concentrated foot traffic and point loads.
The Solution: Standard Concrete (Sand/Topping Mix). Vinyl patchers are strictly limited to shallow applications. Applying vinyl patch in a single lift exceeding 2 inches will result in severe plastic shrinkage cracking and structural failure due to the high polymer-to-aggregate ratio. For a 3-inch deep rebuild, form the edge with a 2x4, brush a liquid acrylic bonding agent onto the old concrete, and pack a standard sand mix into the void. Trowel the surface and apply a broom finish for slip resistance.
Scenario 3: Garage Floor Control Joint Restoration
The Problem: The control joints in a garage floor have degraded, with the edges crumbling and creating a wide, uneven gap that catches snow shovels and tire treads.
The Solution: Vinyl Concrete Patch. The inherent flexibility of the vinyl copolymer allows the patch to absorb minor thermal expansion and contraction without cracking. Standard concrete is too rigid and will crack down the center of the joint within a single season. Pack the vinyl patcher tightly into the joint using a margin trowel, overfilling slightly, then strike it off flush with a wooden float to match the surrounding texture.
Scenario 4: Basement Floor French Drain Trenching
The Problem: A perimeter French drain was installed in a basement, leaving a 4-inch wide by 4-inch deep trench alongside the foundation wall that needs to be filled flush with the existing slab.
The Solution: Standard Concrete. The depth (4 inches) and volume make standard concrete the only viable and cost-effective choice. Vinyl patcher would require dozens of expensive bags and would likely slump or crack in such a deep, narrow pour. Dampen the trench edges to a saturated-surface-dry (SSD) state, pour the standard mix, and consolidate it with a rebar rod to eliminate air pockets before screeding it level with the main slab.
Scenario 5: High-Traffic Warehouse Aisle Potholes
The Problem: Forklift traffic has created 1-inch deep potholes in a warehouse aisle. The repair must be driveable within 24 hours to minimize operational downtime.
The Solution: Vinyl Concrete Patch. While standard concrete takes 24-48 hours just to cure enough for foot traffic, high-early-strength vinyl patchers can handle forklift loads in as little as 8 to 12 hours (depending on ambient temperature). The superior bond strength prevents the patch from being "plucked" out by the hard rubber tires of heavy machinery.
Cost, Yield, and Coverage Matrix
Understanding the economic difference is critical for project estimating. Vinyl patchers carry a premium price per pound but offer specialized performance that standard mixes cannot replicate. Below is a comparative matrix based on average 2026 retail pricing for standard commercial-grade products.
| Material Property | Vinyl Concrete Patcher (40 lb bag) | Standard Sand/Topping Mix (60 lb bag) |
|---|---|---|
| Average Retail Cost | $26.00 - $32.00 | $6.50 - $8.50 |
| Coverage at 1/2" Depth | ~8 sq. ft. | ~11 sq. ft. |
| Minimum Application Thickness | 1/16 inch (Feather-edge) | 1/2 inch to 1 inch |
| Maximum Single-Lift Depth | 2 inches | 4+ inches (depending on aggregate) |
| Compressive Strength (28 Days) | ~4,500 psi | ~5,000+ psi |
| Bonding Agent Required? | No (Integrated Polymer) | Yes (Liquid Acrylic/PVA required) |
| Driveable / Heavy Load Time | 24 - 48 hours | 72 - 96 hours |
Critical Failure Modes and Edge Cases
Applying vinyl concrete patcher in depths greater than 2 inches in a single pour is the most common cause of catastrophic repair failure. The high resin content generates excessive heat during hydration and lacks the internal aggregate structure to resist volumetric shrinkage. If your repair cavity is 3 inches deep, fill the bottom 1.5 inches with standard concrete, let it set for 24 hours, and cap the final 1.5 inches with the vinyl patcher for a feather-edge finish.
Both materials will fail if applied to bone-dry concrete. The existing substrate will instantly wick the moisture out of the new patch, halting hydration and causing a chalky, weak bond. The Portland Cement Association emphasizes that the substrate must be soaked for several hours prior to application, with all standing puddles removed, achieving a damp but not wet (SSD) state.
Mandatory Surface Preparation Protocol
Neither vinyl patch nor standard concrete will adhere to dirt, laitance, or curing compounds. Follow this exact preparation sequence to guarantee bond integrity:
- Mechanical Profiling: Use a wire wheel on an angle grinder or a handheld scarifier to remove all loose material, spalling, and degraded concrete down to solid, sound aggregate. The edges of the repair should be saw-cut or chiseled to a sharp 90-degree angle; avoid sloped edges which create weak, crushable transition points.
- Chemical Degreasing: For garage floors or driveways, scrub oil stains with a heavy-duty alkaline degreaser and a stiff-bristle brush. Rinse thoroughly with a pressure washer (minimum 2,500 PSI).
- Substrate Saturation: Flood the repair area with clean water 2 to 4 hours before mixing your patch. Use a shop vac or sponge to remove all standing water immediately before pouring the mix.
- Mixing Consistency: Mix vinyl patcher to the consistency of thick peanut butter. If it is too soupy, the polymers will separate, and the patch will shrink excessively as the excess water evaporates. Mix standard concrete to a stiff, moldable consistency that holds its shape when formed into a ball in your gloved hand.
By matching the specific material properties of vinyl-modified polymers and standard Portland mixes to their correct geometric and structural applications, you eliminate the cycle of recurring repairs and ensure a permanent, load-bearing restoration.
Written by
Priya KapoorPriya Kapoor is a real estate market analyst and construction economics researcher with expertise in housing affordability, development feasibility, and infrastructure investment. She holds a Master of Regional Planning from Cornell University and previously worked as a senior analyst at CBRE's Investment Properties group, where she modeled returns for $4B in mixed-use development pipelines. Priya now runs an independent research practice advising developers, municipalities, and REITs on construction cost forecasting and market timing. She publishes the quarterly "BuildMat Market Pulse" report tracking material price indices across 12 commodity categories. Based in Austin, TX, Priya serves on the board of Habitat for Humanity Austin and is a marathon runner.
More from Priya Kapoor
View all
Construction Cost
Cost to Build a 1600 Sq Ft Home in 2026: Full Breakdown
Accurate 2026 cost to build a 1600 sq ft home—material, labor, and regional pricing breakdowns included. Plan your budget with real-time estimates.
Aug 11, 2026

Wood & Lumber
Name the Types of Wood for Pressure Treatment and Preservation
Learn how to name the types of wood best suited for pressure treatment. Compare species treatability, chemical retention levels, and 2026 preservation costs.
Aug 4, 2026

Stone & Masonry
Stone Veneer Suppliers Lindenhurst: 2026 Cost Analysis
Analyze 2026 stone veneer costs in Lindenhurst, NY. Compare local supplier pricing, delivery fees, and Suffolk County installation labor rates.
Aug 4, 2026