How to Build a Low Cost Greenhouse: Step-by-Step Budget Guide
Learn how to build a low cost greenhouse using cattle panels. This budget guide covers exact material costs, tools, and step-by-step framing instructions.
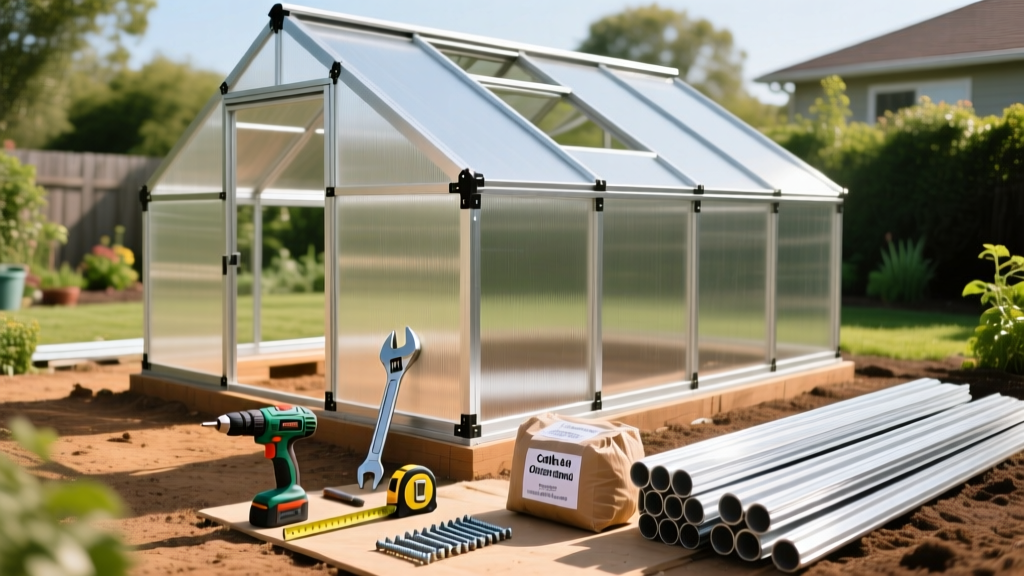
The Economics of the Cattle Panel Hoop House
Commercial 8x16-foot greenhouse kits routinely exceed $2,500, largely due to aluminum extrusion costs and proprietary polycarbonate panels. For budget-conscious growers, the cattle panel hoop house offers a structurally sound alternative that can be constructed for under $300. By leveraging 16-foot galvanized steel livestock panels as the primary rib structure, you eliminate the need for expensive PVC bending jigs or custom metal fabrication. This guide breaks down the exact bill of materials, structural engineering principles, and hidden cost traps involved in building a high-performance, low-cost greenhouse.
Itemized Bill of Materials (2026 Pricing)
Accurate budget planning requires accounting for recent fluctuations in steel and petroleum-based plastics. The pricing below reflects early 2026 retail averages at major agricultural and home improvement suppliers for an 8-foot wide by 16-foot long footprint.
| Material Category | Specification | Quantity | Unit Cost | Total Cost |
|---|---|---|---|---|
| Arch Ribs | 16-ft Galvanized Cattle Panels (4x16) | 4 | $28.00 | $112.00 |
| Vertical Supports | 6-ft Steel T-Posts (1.25 lb/ft) | 12 | $7.50 | $90.00 |
| Base Framing | 2x4 Pressure-Treated Lumber (8ft) | 6 | $5.50 | $33.00 |
| Glazing | 6-Mil UV-Treated Poly Film (10x25ft) | 1 | $45.00 | $45.00 |
| Fasteners | UV-Rated Zip Ties & Poly Lock Wire | 1 kit | $22.00 | $22.00 |
| Anchors | 24-inch Rebar Stakes (1/2-inch) | 8 | $4.00 | $32.00 |
| Estimated Total Base Cost | $334.00 | |||
Phase 1: Site Preparation and Base Framing
A greenhouse is only as stable as its foundation. While some budget guides suggest burying the polyethylene film directly in a trench to save money, this method invites rot, compromises structural integrity during high winds, and makes crop rotation difficult. A raised timber base is a non-negotiable investment.
Squaring and Leveling the Footprint
Mark out an exact 8x16-foot rectangle. Use the 3-4-5 triangle method (measuring 3 feet on one side, 4 feet on the adjacent side, and ensuring the diagonal is exactly 5 feet) to guarantee perfectly square corners. Dig a shallow 2-inch trench to seat the 2x4 pressure-treated base boards. Secure the corners using 5-inch structural lag screws rather than nails, which can pull apart under the lateral tension of the bent cattle panels.
Anchoring the Base
Drive 24-inch rebar stakes through pre-drilled 5/8-inch holes in the 2x4 base every 4 feet. Leave 2 inches of rebar exposed above the wood. This prevents the entire structure from lifting during uplift events, a common failure mode in poorly planned hoop houses.
Phase 2: Erecting the Steel Skeleton
The structural advantage of the cattle panel method lies in the tensile strength of the galvanized steel wire. According to the Cornell University High Tunnel Project, maintaining consistent rib spacing is critical for distributing snow and wind loads evenly across the glazing.
- Drive the T-Posts: Position 6-foot T-posts along the inside edge of the 2x4 base, spaced exactly 4 feet apart. Drive them 24 inches into the ground using a manual post driver. The top of the T-post should sit roughly 3.5 feet above the base board.
- Bend and Secure the Panels: With two people, bend the first 16-foot cattle panel into an arch. The panel should span the 8-foot width, creating a peak height of approximately 7.5 feet. Secure the bottom edge of the panel to the T-posts using heavy-duty UV-rated zip ties.
- Overlap at the Ridge: When placing the second panel on the opposite side, overlap it with the first panel at the peak by at least one full grid square (6 inches). Zip-tie the overlapping grid intersections tightly to create a continuous structural ridge.
- Stagger the Seams: If your panels do not cover the full 16-foot length in one piece, ensure that the horizontal seams on the left side do not align with the seams on the right side. Staggering prevents a weak lateral hinge point.
Phase 3: Glazing and Weatherproofing
The most frequent budget mistake in greenhouse construction is purchasing standard construction-grade polyethylene from a hardware store. Standard 6-mil poly lacks UV inhibitors and will become brittle, crack, and shatter within six months of sun exposure. You must purchase 6-mil UV-treated greenhouse film, which is engineered to withstand solar degradation for up to four years.
Warning: Budget Traps to Avoid
- Standard Zip Ties: Standard white or black nylon zip ties degrade rapidly under UV light. Always purchase agricultural-grade, UV-stabilized zip ties, or use poly lock wire for critical structural joints.
- Stapling the Poly: Never use a staple gun to attach poly film directly to the wood base or cattle panels. Staples create micro-tears that will rapidly expand under wind tension. Use batten tape (a specialized double-sided adhesive tape) or sandwich the poly between the wood base and a 1x2 furring strip, screwing through the furring strip.
- Ignoring End-Wall Bracing: The flat end walls catch wind like a sail. Frame them with 2x4s tied directly into the main base and the cattle panel arches.
Attaching the Film
Unroll the 6-mil poly on a calm, overcast day. Wind makes this process nearly impossible and can tear the material. Pull the film taut over the hoop structure, ensuring equal overhang on all sides. Secure the long sides first by wrapping the excess around the 2x4 base and fastening it with a 1x2 batten strip and exterior wood screws. Finally, trim the excess film around the end walls, leaving enough material to fold and secure to the end-wall framing.
Phase 4: End Walls, Doors, and Ventilation
End walls require custom framing. Build a simple 2x4 stud wall that fits snugly inside the arch profile. Frame a standard 30-inch wide door opening. For the door itself, construct a lightweight frame using 1x3 pine, cover it with the leftover 6-mil poly, and hang it with heavy-duty T-hinges.
Passive Climate Control
Proper ventilation is critical; a sealed greenhouse will easily exceed 120°F on a sunny winter day, killing plants. While automated roof vents are standard on expensive kits, a low-cost build requires manual or passive solutions. The University of Minnesota Extension recommends installing roll-up sides for high tunnels. For this budget build, you can simulate this by cutting horizontal slits in the poly near the base and covering them with overlapping flap doors secured with bungee cords, or by installing a simple manual crank roll-up kit (approx. $45 extra) on one long side.
For thermal mass, place three to four 55-gallon food-grade plastic barrels along the north interior wall. Paint them flat black and fill them with water. They will absorb solar radiation during the day and slowly release heat at night, buffering temperature drops by 5 to 10 degrees without any electrical heating costs.
Long-Term Maintenance and ROI
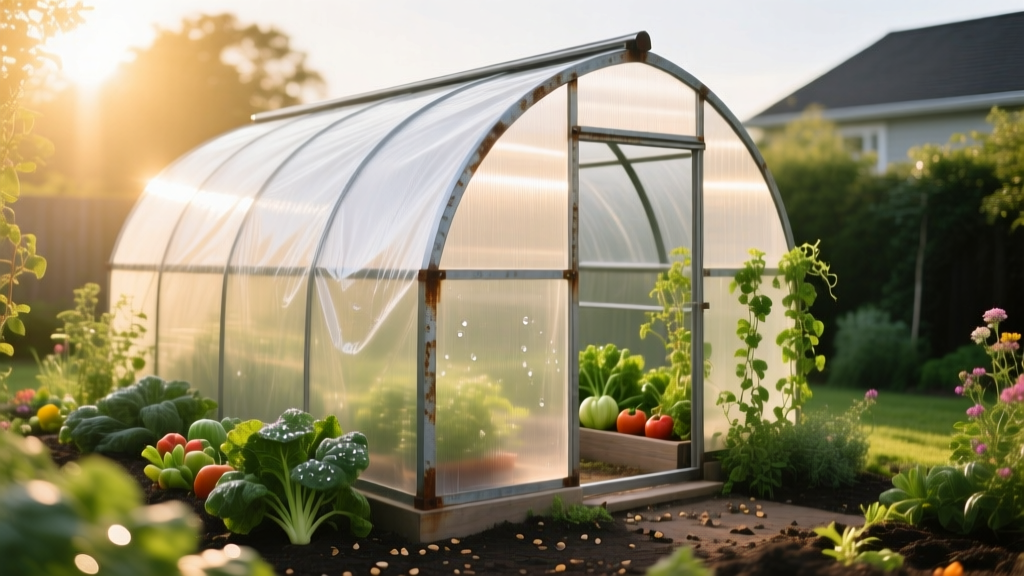
According to the USDA NRCS High Tunnel Initiative, extending the growing season by just 4 to 6 weeks on either end of the year can double the yield of high-value crops like tomatoes and peppers. At a total build cost of roughly $334, the return on investment for a serious home gardener or small-scale market farmer is typically realized within the first two growing seasons. Plan to inspect the UV-rated zip ties annually and budget for a replacement sheet of 6-mil poly every four years to maintain optimal light transmission and structural integrity.
Written by
Priya KapoorPriya Kapoor is a real estate market analyst and construction economics researcher with expertise in housing affordability, development feasibility, and infrastructure investment. She holds a Master of Regional Planning from Cornell University and previously worked as a senior analyst at CBRE's Investment Properties group, where she modeled returns for $4B in mixed-use development pipelines. Priya now runs an independent research practice advising developers, municipalities, and REITs on construction cost forecasting and market timing. She publishes the quarterly "BuildMat Market Pulse" report tracking material price indices across 12 commodity categories. Based in Austin, TX, Priya serves on the board of Habitat for Humanity Austin and is a marathon runner.
More from Priya Kapoor
View all
Construction Cost
Cost to Build a 1600 Sq Ft Home in 2026: Full Breakdown
Accurate 2026 cost to build a 1600 sq ft home—material, labor, and regional pricing breakdowns included. Plan your budget with real-time estimates.
Aug 11, 2026
Wood & Lumber
Name the Types of Wood for Pressure Treatment and Preservation
Learn how to name the types of wood best suited for pressure treatment. Compare species treatability, chemical retention levels, and 2026 preservation costs.
Aug 4, 2026
Stone & Masonry
Stone Veneer Suppliers Lindenhurst: 2026 Cost Analysis
Analyze 2026 stone veneer costs in Lindenhurst, NY. Compare local supplier pricing, delivery fees, and Suffolk County installation labor rates.
Aug 4, 2026