How Much Does It Cost to Build a Solar Panel System in 2026?
Discover exactly how much it costs to build a solar panel system in 2026. We break down DIY component pricing, hidden fees, and budget planning tips.

How Much Does It Cost to Build a Solar Panel System?
When homeowners and independent contractors ask how much does it cost to build a solar panel array, the answer depends entirely on whether they are sourcing components for a DIY assembly or hiring a turnkey installation crew. In 2026, the global supply chain for photovoltaic (PV) modules has stabilized, driving hardware costs down while labor and permitting fees continue to rise. Building your own solar panel system—meaning you procure the panels, inverters, racking, and balance of system (BoS) components, and handle the physical assembly—can cut your total project costs by 40% to 50% compared to professional installation.
However, budget planning for a DIY solar build requires a granular understanding of component pricing, electrical code requirements, and hidden interconnection fees. According to the National Renewable Energy Laboratory (NREL), the median cost for a professionally installed residential solar system hovers around $2.90 to $3.20 per watt. By contrast, a self-managed DIY build averages between $1.05 and $1.35 per watt. Below, we break down the exact budget required to build an 8-kilowatt (kW) system, which is the optimal size for an average American home consuming roughly 10,500 kWh annually.
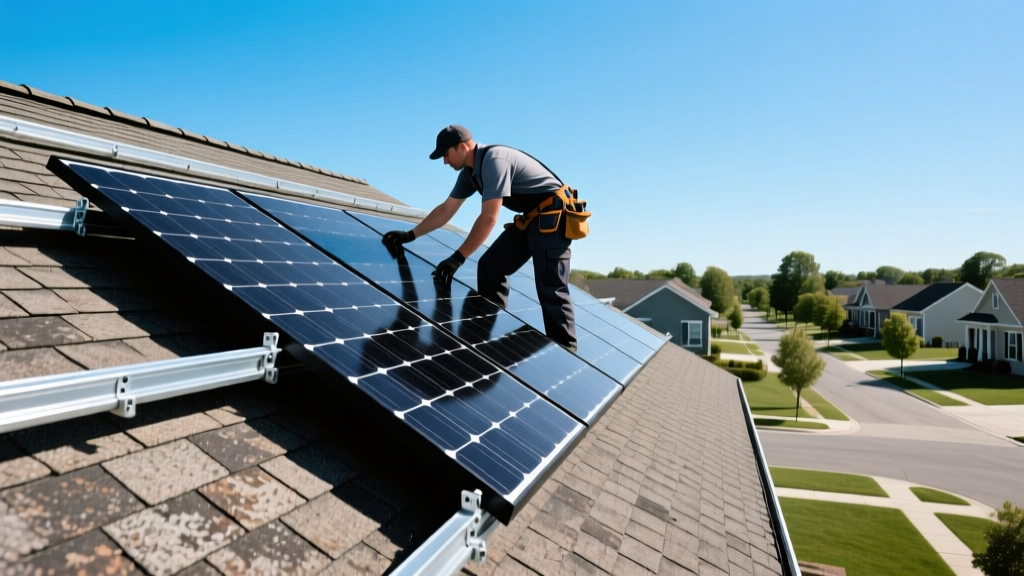
2026 Component Cost Breakdown: 8kW DIY Solar Array
To understand where your budget is going, you must separate the major hardware categories. The following table outlines the estimated costs for a high-efficiency 8kW system utilizing Tier-1 monocrystalline panels and microinverters.
| Component Category | Specific Equipment Example | Quantity | Estimated Cost | Cost Per Watt |
|---|---|---|---|---|
| PV Modules (Panels) | Canadian Solar 440W BiHiKu6 | 18 | $3,240 | $0.41/W |
| Microinverters | Enphase IQ8A-72-2-US | 18 | $2,880 | $0.36/W |
| Racking & Mounting | IronRidge XR100 Roof Kit | 1 System | $1,150 | $0.14/W |
| Balance of System (BoS) | 10 AWG PV Wire, Conduit, Disconnects | 1 Lot | $850 | $0.11/W |
| Permitting & Engineering | Local Building Permits & PE Stamp | 1 | $650 | $0.08/W |
| Total Estimated Build Cost | Complete 7.92 kW System | $8,770 | $1.10/W |
Note: Prices reflect early 2026 direct-to-consumer solar distributor averages. Shipping and sales tax will add approximately 8% to 12% to the hardware total depending on your state.
Deep Dive: Selecting Your Core Components
1. Photovoltaic Modules: Do not compromise on panel tier ratings. Stick to Bloomberg New Energy Finance (BNEF) Tier-1 manufacturers. In 2026, 440W to 500W bifacial monocrystalline panels are the standard. While bifacial panels are designed to capture albedo light reflection on the rear side, they require specific racking clearances (minimum 4 inches) to be effective on residential roofs. If your roof has low clearance, standard mono-facial panels like the REC Alpha Pure-R 420W are a better architectural fit.
2. Inverters: For DIY builds, microinverters like the Enphase IQ8 series are vastly superior to string inverters. String inverters require high-voltage DC runs (up to 600V) across your roof, which poses severe arc-flash risks for amateur installers. Microinverters convert DC to AC right at the panel, meaning you only run standard 240V AC wiring down to your main breaker panel, drastically simplifying the electrical work and ensuring compliance with NEC Article 690.12 rapid shutdown requirements.
The Hidden Budget Killers in Solar Construction
⚠️ Budget Warning: Electrical Upgrades & Interconnection
The most common reason DIY solar projects exceed their initial budget is the failure to account for legacy electrical infrastructure. Before purchasing a single panel, you must evaluate your Main Service Panel (MSP).
- Main Panel Upgrade (MPU): If your home has a 100-amp or 125-amp main service panel, you will likely need to upgrade to a 200-amp panel to accommodate the backfed solar breaker. Budget $1,800 to $2,500 for a licensed electrician to perform this upgrade.
- Utility Interconnection Fees: While net metering applications are often free, some municipal utilities charge grid-tie impact fees or require a dedicated external AC disconnect switch ($150–$300).
- Engineering Stamps: Many jurisdictions require a Professional Engineer (PE) to stamp your racking layout to prove it meets local wind and snow load requirements. Budget $300 to $600 for third-party solar engineering services.
DIY Assembly vs. Professional Installation: A Cost Matrix
Understanding the trade-offs between building it yourself and hiring a certified installer is crucial for long-term financial planning. Data from EnergySage market reports consistently shows that while DIY saves upfront capital, it shifts the liability and warranty burden onto the homeowner.
| Factor | DIY Solar Build (8kW) | Professional Installation (8kW) |
|---|---|---|
| Gross System Cost | $8,770 - $10,500 | $23,200 - $25,600 |
| 30% Federal ITC Value | -$2,631 | -$6,960 |
| Net Out-of-Pocket Cost | $6,139 - $7,869 | $16,240 - $18,640 |
| Workmanship Warranty | None (Voided if installed improperly) | 10 to 25 Years |
| Installation Timeline | 3 to 6 Months (Permitting + Weekends) | 2 to 4 Months (Turnkey) |
| Roof Penetration Liability | Homeowner assumes leak risk | Covered by installer warranty |
The 30% Federal Investment Tax Credit (ITC): Under the current provisions of the Inflation Reduction Act, homeowners who build and install their own solar panel systems are still eligible for the 30% tax credit, provided the system is placed in service and passes final utility inspection before the tax year ends. Always consult a CPA to verify your tax liability eligibility, as the credit is non-refundable and can only offset taxes owed.
Step-by-Step Budget Planning Framework
To ensure your solar construction project remains financially viable, follow this sequential budget planning framework recommended by the U.S. Department of Energy.
Step 1: Conduct a 12-Month Load Audit
Do not guess your system size. Pull your last 12 months of utility bills and calculate your exact kilowatt-hour (kWh) consumption. If your annual usage is 12,000 kWh, and your region receives an average of 4.5 peak sun hours per day, you need roughly a 7.5 kW system to offset 100% of your usage. Oversizing the system by 10% to 15% is recommended to account for panel degradation and cloudy weather anomalies.
Step 2: Map the Roof Azimuth and Shading
A south-facing roof (180-degree azimuth) yields the highest ROI. If your budget relies on maximizing production to achieve a sub-7-year payback period, avoid installing panels on north-facing slopes or areas shaded by mature deciduous trees. Even partial shading on a single cell of a mono-facial panel can drop the output of the entire module unless you are using microinverters or DC optimizers.
Step 3: Procure Tier-1 Hardware with Valid Warranties
When sourcing components, verify that the distributor is an authorized reseller. Purchasing 'grey market' or second-hand panels from online auction sites will immediately void the manufacturer's 25-year linear performance warranty. Budget an extra 5% of your hardware costs for specialized solar tools, including an MC4 crimping tool, wire strippers, and a digital multimeter for voltage testing.
Step 4: Factor in the Soft Costs and Timelines
Time is money. The permitting and utility interconnection approval process can take anywhere from 4 to 12 weeks. During this time, your capital is tied up in hardware sitting in your garage. Ensure your budget includes a buffer for potential permit revisions, as local building inspectors frequently reject DIY solar plans that lack detailed single-line electrical diagrams or fail to specify the exact flashing methods used for roof penetrations.
Final Considerations for the 2026 Solar Market
Building your own solar panel system is one of the most effective ways to reduce residential construction and energy costs, provided you approach the project with rigorous financial planning. By leveraging modern microinverter technology, adhering strictly to NEC rapid shutdown codes, and accurately forecasting hidden electrical upgrade costs, you can successfully navigate the DIY solar landscape. Always prioritize safety and code compliance over marginal hardware savings; a properly permitted and inspected DIY array will increase your property value and provide decades of reliable, inflation-proof energy.
Written by
Sarah WhitfieldSarah Whitfield is a chartered quantity surveyor (MRICS) and construction cost analyst with 15 years of experience in material pricing, procurement strategy, and project budgeting. She earned her degree in Construction Management from the University of Reading (UK) and has worked on projects ranging from $2M custom homes to $180M mixed-use developments across North America and Europe. Sarah currently leads cost estimating for BuildMat Insight, maintaining a proprietary database of 4,000+ material price points updated quarterly. She is a frequent contributor to RSMeans cost data panels and has presented at the International Cost Engineering Council (ICEC) congress. Based in Denver, CO, Sarah is an avid trail runner and volunteer mentor for Women in Construction.
More from Sarah Whitfield
View all
Wood & Lumber
What Are the Different Types of Wood? A Builder's Guide
Compare structural softwoods, finish hardwoods, and engineered lumber. Analyze Janka ratings, MOE values, and 2026 pricing for construction.
Aug 4, 2026

Walls & Panels
Steel Framing vs Wood Framing: Corrosion and Moisture Defense
Compare steel framing vs wood framing for moisture resistance. Learn about galvanized coatings, condensation risks, and corrosion protection strategies.
Jul 21, 2026

Stone & Masonry
How to Cut Stone Veneer: Wet Saw vs Grinder Comparison
Compare the best tools for cutting stone veneer. We review wet saws, angle grinders, and chop saws to help you achieve clean, chip-free cuts.
Jul 21, 2026