AZEK Decking Installation: Hidden Fastener & Framing Guide
Master AZEK decking installation with our pro guide. Learn concealed fastener techniques, joist spacing, and gapping specs for a flawless composite deck.
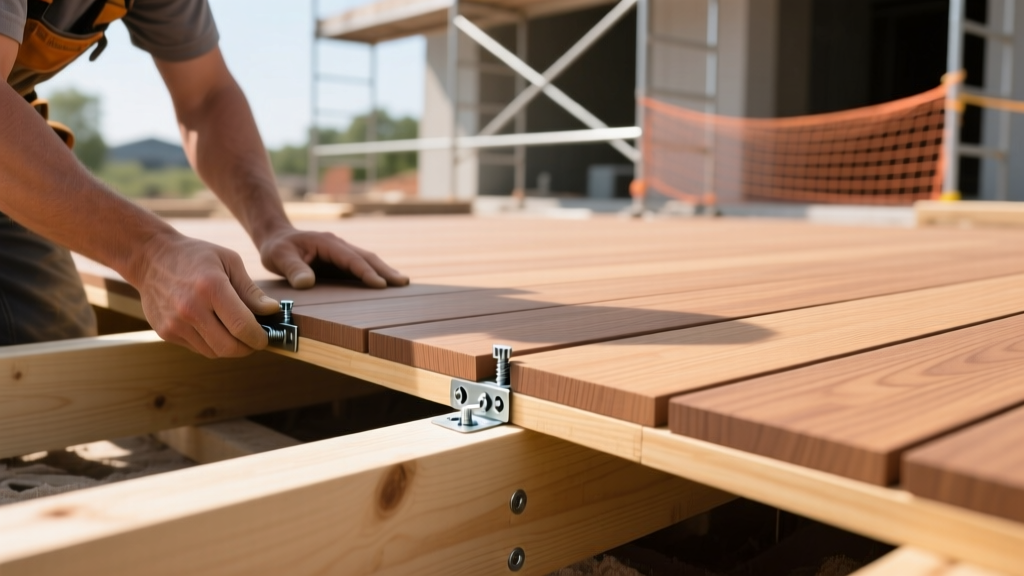
Substructure and Joist Framing Specifications
AZEK decking, encompassing the Vintage, Landmark, and Harvest collections, utilizes a proprietary capped polymer (PVC) construction that dictates specific substructural requirements. Unlike traditional wood-plastic composites, the polymer core is highly resistant to moisture but requires rigid framing to prevent deflection.
Before laying any AZEK boards, apply a high-quality butyl flashing tape (such as Grace Vycor or Trex Protect) to the top of all pressure-treated joists. This prevents moisture intrusion into the wood substructure, reduces board squeaking, and extends the lifespan of the framing by decades.
Span Limits and Blocking
For standard straight-lay installations, joists must be spaced at a maximum of 16 inches on center (OC). If you are installing the boards on a 45-degree diagonal, the joist spacing must be reduced to 12 inches OC to maintain structural rigidity. Furthermore, all butt joints must be supported by a continuous double joist or a dedicated blocking member to allow for independent fastening of both board ends without splitting the joist.
Acclimation and Storage Protocols
Capped polymer boards are sensitive to extreme temperature fluctuations prior to installation. Store AZEK boards flat on a level surface, fully supported, and out of direct sunlight for a minimum of 48 hours before installation. Stacking boards too high can trap heat in the center of the bundle, causing temporary warping that complicates hidden fastener engagement. Never store the material directly on the ground; use 4x4 dunnage spaced every 4 feet to allow airflow.
Thermal Expansion and Gapping Matrix
Polymer decking expands and contracts primarily along its length based on ambient temperature at the time of installation. Failing to account for this thermal movement is the leading cause of buckled boards and popped fasteners in composite decks. According to the TimberTech AZEK Installation Resources, side-to-side gapping is automatically managed by the hidden fastener system, but end-to-end gapping requires manual calculation.
| Installation Temperature | Required End-to-End Gap | Application Notes |
|---|---|---|
| Below 40°F (4°C) | 1/4 inch | Boards will contract in cold; max gap prevents excessive separation in winter. |
| 40°F to 70°F (4°C - 21°C) | 3/16 inch | Standard gapping for moderate spring/fall installation windows. |
| Above 70°F (21°C) | 1/8 inch | Boards are expanded; minimal gap prevents buckling during peak summer heat. |
CONCEALoc Hidden Fastener Step-by-Step Application
The CONCEALoc hidden fastener system provides a clean, screw-free surface while maintaining the critical 3/16-inch side-to-side gap. Follow this exact sequence to ensure uniform alignment and secure engagement.
- Install Starter Clips: At the house rim joist, attach CONCEALoc stainless steel starter clips using the provided T15 drive screws. Space these clips at every joist intersection. Slide the groove of the first AZEK board into the starter clips and secure it tightly against the house.
- Position the First Fastener Row: Place the CONCEALoc fasteners into the groove of the installed board at every joist. Ensure the fastener sits flush against the board profile.
- Drive at a 45-Degree Angle: Using a drill equipped with the CONCEALoc driver bit, drive the stainless steel screw through the fastener's angled channel directly into the joist. Apply firm downward pressure to prevent the fastener from riding up the groove. The screw should sit flush without stripping the composite material.
- Engage the Next Board: Slide the groove of the subsequent AZEK board onto the exposed tabs of the fasteners. Use a composite board bender or a dead-blow mallet with a scrap block of AZEK to tap the board tightly into the fastener clips.
- Maintain Consistent Tension: Periodically check the side-to-side gap using the 3/16-inch spacer tool included in the fastener box. If the gap widens, adjust the tension by slightly backing out the fastener screw, realigning the board, and re-driving.
Picture Framing, Mitering, and Fascia Application
Picture framing (using a perimeter border to hide end cuts) elevates the aesthetic of an AZEK deck but requires rigorous substructure preparation. The perimeter rim joists must be blocked every 12 inches OC to support the mitered corners and short border boards.
Cutting Specifications
Always use a 60-tooth carbide-tipped miter saw blade. Polymer boards melt and chip if cut with low-tooth-count blades. When cutting, ensure the board's finished face is oriented upward on a miter saw to prevent bottom-edge tear-out. For complex angles, score the cut line with a utility knife before running the saw to guarantee a factory-crisp edge.
When installing AZEK fascia boards over rim joists, never use hidden fasteners. Fascia must be face-fastened using the Cortex concealed fastening system. Drill the Cortex screws, then insert the color-matched polymer plugs. Crucially, leave a 1/8-inch gap between vertical fascia panels to allow for thermal expansion; otherwise, the fascia will buckle and pop the plugs during summer heat waves.
Ventilation and Ground Clearance Requirements
While AZEK boards themselves are impervious to water rot, the substructure is not. Proper ventilation is mandated by the North American Deck and Railing Association (NADRA) to ensure the longevity of the entire deck system.
- Unobstructed Airflow: A minimum of 2 inches of clear, unobstructed ventilation space is required between the bottom of the joists and the ground or solid surface below.
- Cross-Ventilation: The deck perimeter must remain open or utilize lattice/vented skirting. Fully enclosing a deck without installing active mechanical ventilation voids the warranty and accelerates joist decay.
- Drainage Slope: If installing over a solid surface (like a concrete patio), the substructure must be pitched at a minimum slope of 1/2 inch per 10 feet to direct water away from the house and prevent pooling beneath the deck.
Troubleshooting Common Polymer Decking Failures
Even experienced contractors encounter edge cases when working with capped polymer materials. Here is how to resolve the most frequent installation anomalies.
Mushrooming on Face Screws
If you must face-screw AZEK boards (e.g., at stair treads or transition boards), standard wood screws will push polymer material upward, creating a 'mushroom' effect. To fix this, use a dedicated composite countersink bit before driving the screw, or rely exclusively on the Cortex plug system, which removes the displaced material entirely before the plug is inserted.
Static Electricity Buildup
During dry, cold-weather installations, polymer boards can generate significant static electricity, attracting sawdust and debris into the grooves, which prevents hidden fasteners from seating properly. Wipe the grooves with a lightly dampened microfiber cloth or apply a commercial anti-static spray designed for composite materials before engaging the fasteners.
Board Crowning and Waviness
Like natural lumber, long composite boards can have a slight natural curve or 'crown'. Always inspect the board from the end profile before installation. Install the board with the crown facing upward. The weight of foot traffic and the tension of the CONCEALoc fasteners will naturally pull the crown down over time, resulting in a perfectly flat deck surface. Installing crown-down will result in permanent pooling and a visibly wavy deck.