How to Use a Deck Finder for Joist Location and Board Replacement
Master deck installation and repair with a deck finder. Learn step-by-step procedures for locating hidden joists, extracting fasteners, and spacing boards.
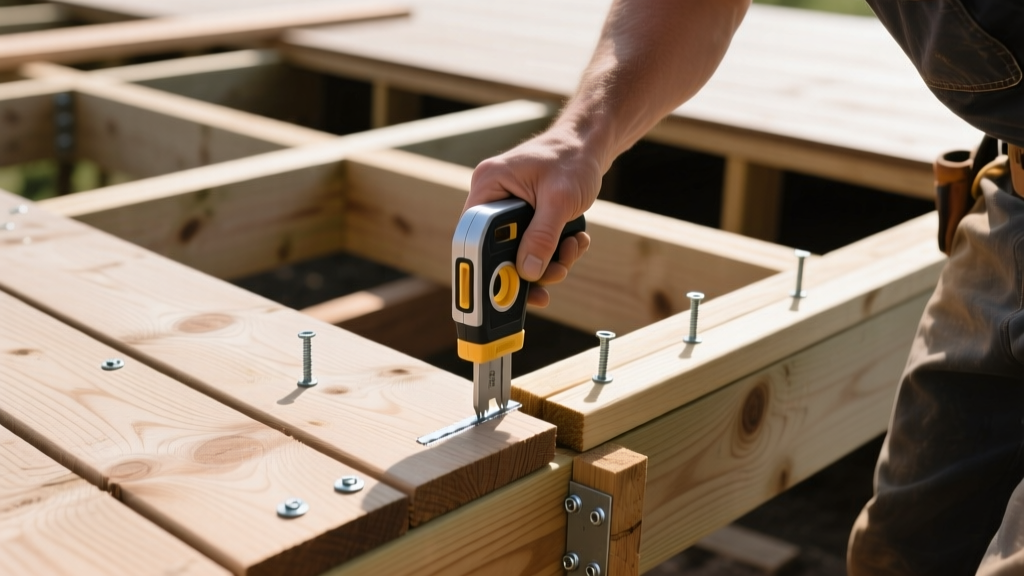
The Critical Role of a Deck Finder in Framing and Repair
When executing precision deck installations, structural retrofits, or targeted board replacements, guessing the location of underlying framing is a critical error. A deck finder—specifically engineered to locate hidden joists, concealed fasteners, and structural blocking beneath decking materials—prevents catastrophic framing damage and preserves the integrity of butyl joist tape. While standard stud finders are calibrated for interior drywall, outdoor applications require specialized deck finders capable of penetrating dense composite materials, PVC, and wet pressure-treated lumber to map the substructure accurately.
According to framing and safety guidelines established by the American Wood Council, maintaining the structural connection between deck boards and joists is paramount for load distribution. Blindly driving extraction screws or pry bars without a deck finder often results in split joists, compromised flashing, and voided manufacturer warranties on composite decking systems.
Deck Finder Technologies: Magnetic vs. Acoustic vs. Laser
Selecting the correct deck finder depends entirely on the installation phase and the specific fastening system used. Below is a technical comparison of the three primary deck finder categories utilized by professional installers.
| Finder Type | Detection Mechanism | Max Penetration Depth | Primary Application | Avg. Cost (2026) |
|---|---|---|---|---|
| Magnetic Deck Finder | Neodymium rare-earth magnets | 1.5 inches | Locating ferrous screws/nails for board extraction | $25 - $65 |
| Acoustic/Density Finder | Ultrasonic density mapping | 2.0 inches | Mapping wood joists behind hidden-clip systems | $50 - $140 |
| Laser Layout Finder | Multi-line cross-line lasers | N/A (Surface projection) | Aligning new joist spacing and board grids | $150 - $350 |
Step-by-Step Application: Locating Hidden Fasteners for Board Extraction
Replacing a damaged composite or PVC deck board without damaging adjacent boards or the underlying joist tape requires a systematic approach using a magnetic deck finder. This procedure assumes the use of standard 5/4x6 decking with top-down or angled face screws.
Step 1: Surface Preparation and Calibration
Clear the target area of metallic debris, tools, and loose hardware. Calibrate your magnetic deck finder by placing it on a known non-metallic surface, then test it against a single exposed decking screw to establish the baseline magnetic pull strength. For digital density finders, perform a wall-scan calibration in the air away from the deck surface to reset the baseline dielectric reading.
Step 2: The Grid Scan Technique
Do not sweep the tool in wide, erratic arcs. Move the deck finder in a tight, overlapping grid pattern at a speed of no more than 2 inches per second. When the tool registers a hit, mark the exact center of the magnetic field using a white lumber crayon or a specialized composite-safe chalk line. Avoid standard ink markers or carpenter pencils, which can permanently stain the porous cap layer of uncapped composite boards.
Step 3: Fastener Extraction and Joist Tape Preservation
Once the screw heads are mapped, use a high-torque impact driver with a fresh, perfectly sized Phillips or Torx bit. Apply downward pressure before engaging the trigger to prevent cam-out. As the screw clears the decking, immediately inspect the exposed joist tape. If the tape is torn, apply a 4-inch patch of butyl flashing tape before installing the replacement board to prevent moisture intrusion into the joist end-grain.
If the deck was installed using hidden fastener clips (e.g., Trex Hideaway or CAMO), a magnetic deck finder will only locate the screws securing the clips to the joists, not the board-to-clip connection. To remove these boards, you must use a specialized deck board removal tool to disengage the clip's locking tab, rather than attempting to pry the board vertically, which will snap the composite edge.
Edge-Case Troubleshooting: Moisture and Flashing Interference
Professional installers frequently encounter false readings due to environmental factors. Understanding these edge cases is critical for accurate substructure mapping:
- Wet Pressure-Treated Lumber: Moisture alters the dielectric constant of wood, causing acoustic density finders to register the entire joist as a solid mass without distinct edges. Switch to a magnetic finder to target the fasteners directly when the framing is wet.
- Metal Flashing False Positives: Z-flashing or ledger board flashing can trigger continuous magnetic alerts. To differentiate between a linear flashing edge and a point-fastener, drag the finder perpendicularly across the alert zone. A fastener will create a distinct, localized magnetic peak, while flashing will produce a sustained, linear pull.
- Composite Shielding: Some premium capped composites contain metallic flecks or dense mineral cores for UV and scratch resistance. Always test your deck finder on a scrap piece of the exact decking material before scanning the installed structure to adjust the sensitivity dial accordingly.
Integrating Deck Spacing Finders for New Installations
Beyond repair, the term 'deck finder' also applies to spacing and alignment jigs used during new construction to ensure uniform board gaps and structural compliance. The North American Decking and Railing Association emphasizes that improper spacing leads to inadequate drainage and accelerated material degradation.
For new builds, installers utilize deck spacing finder jigs—such as the CAMO Marksman Pro or the Trex Hideaway Spacing Tool. These jigs physically 'find' and lock into the edge of the previously installed board, automatically setting the exact 3/16-inch or 1/4-inch gap required for thermal expansion. When installing composite decking in temperatures below 40°F, the material is at its most contracted state. Installers must adjust their spacing finder jigs to the maximum 1/4-inch gap setting to prevent buckling when summer temperatures cause the boards to expand.
Preventing Structural Failures During Retrofitting
When adding structural blocking, installing heavy outdoor kitchens, or mounting pergola post bases to an existing deck, a deck finder is non-negotiable for locating the exact center of the joists. Driving lag bolts into the edge or shoulder of a 2x8 or 2x10 joist drastically reduces its shear strength.
For heavy load-bearing retrofits, never rely on a single scan. Use a magnetic deck finder to locate the fasteners, then use an acoustic density finder to map the physical width of the joist. Mark the outer edges of the joist, then find the exact mathematical center. This cross-verification ensures your structural lag bolts penetrate the true center of the framing member, maximizing pull-out resistance and preventing joist splitting.
Mastering the application of a deck finder transforms deck repair from a destructive guessing game into a precise, surgical procedure. By selecting the appropriate detection technology, adhering to strict scanning protocols, and accounting for environmental interference, installers ensure the longevity of both the decking surface and the underlying structural framework.