Deck Screws Maintenance Playbook: Inspect, Clean, and Replace
Learn how to inspect, clean, and replace deck screws to prevent structural failure and rust stains. A complete fastener maintenance playbook.
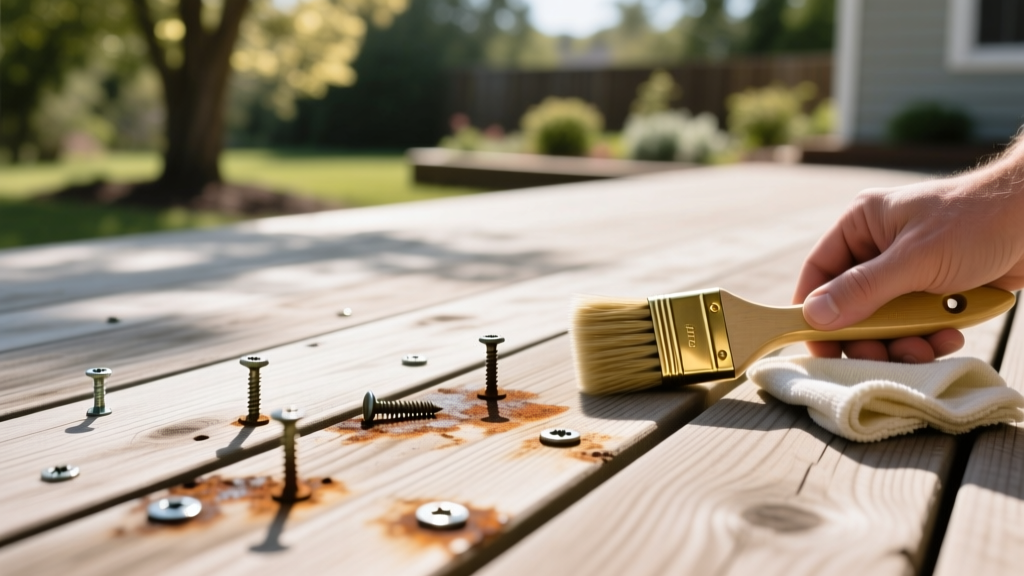
The Hidden Vulnerability: Why Fasteners Fail Before the Wood
Decking boards often outlast the fasteners holding them down. While homeowners focus on sealing wood or washing composite surfaces, the structural integrity of a deck relies entirely on the shear strength and corrosion resistance of its deck screws. Fastener failure rarely happens catastrophically; it manifests as popped heads, localized wood rot around the countersink, and iron-tannin staining. This playbook details the exact protocols for inspecting, cleaning, and extracting compromised deck screws to extend the lifespan of your outdoor structure.
Phase 1: The 'Walk-and-Tap' Inspection Protocol
Visual inspections miss subsurface fastener failures. A screw may appear seated while its threads have completely stripped the surrounding wood fibers due to seasonal thermal expansion and moisture cycling. To identify compromised deck screws, execute the Walk-and-Tap method:
- Tool Required: 16 oz rubber mallet or a dead-blow hammer.
- Execution: Walk the perimeter and joist lines of the deck, tapping each board directly above the underlying joists.
- Acoustic Diagnostics: A solid, sharp 'clack' indicates the screw is fully clamping the board to the joist. A dull, hollow 'thud' signifies the fastener has lost clamping force, allowing the board to float above the joist.
- Visual Check for 'Popping': Look for screw heads protruding 1/16-inch or more above the board surface. This occurs when the wood shrinks across its width, but the screw remains fixed in the joist, effectively pushing the board upward.
Phase 2: Cleaning Rust Bleed and Tannin Stains
Black or reddish-brown halos around deck screws are frequently misdiagnosed as pure rust. On cedar, redwood, and composite decking, these stains are often iron-tannin complexes. When moisture reacts with standard zinc or carbon-steel screws, it leaches iron ions that bind with the wood's natural tannic acid, creating a permanent black stain.
Chemical Removal Strategy
Do not use chlorine bleach. Bleach will temporarily lighten organic stains but will aggressively attack the passive chromium oxide layer on stainless steel deck screws, leading to micro-pitting and accelerated corrosion. According to the Trex Care and Cleaning guidelines, harsh alkaline or chlorine-based cleaners can permanently damage both composite surfaces and metal fasteners.
Instead, use an oxalic acid-based wood brightener. Oxalic acid chemically reduces the iron-tannin complex, dissolving the stain without harming 304 or 305 stainless steel fasteners. Apply the solution with a pump sprayer, agitate with a medium-bristle brush, and let it dwell for 10 to 15 minutes before rinsing.
If you are maintaining a deck built with ACQ or MCQ pressure-treated lumber, inspect the screw shafts for severe pitting. The copper-based preservatives in modern treated wood are highly corrosive to standard electroplated zinc screws. If you find white, powdery zinc oxide buildup or severe shaft degradation, the fasteners must be replaced with hot-dipped galvanized (HDG) or polymer-coated alternatives to prevent structural pull-through.
Phase 3: Extraction and Replacement Matrix
When a deck screw is stripped, snapped, or severely corroded, standard extraction methods often destroy the surrounding decking material. Follow this precision extraction workflow before installing replacements.
Step-by-Step Extraction Workflow
- Clear the Recess: Use a dental pick or a stiff wire brush to remove dirt, wood fibers, and corrosion from the screw's drive recess (typically T20 or T25 Torx).
- Break Static Friction: Do not immediately use an impact driver, which will cam-out and round the head. Place a manual handheld screwdriver with the exact matching Torx bit into the recess. Strike the back of the screwdriver handle sharply with a hammer to seat the bit and break the static friction bond.
- Extract: Switch to a cordless impact driver set to the lowest torque setting. Apply heavy downward pressure while reversing. If the head strips entirely, use a specialized screw extractor bit (e.g., Grabbit Micro Zip) that cuts a reverse thread into the damaged metal head.
Fastener Replacement Specifications
When replacing extracted deck screws, you must match the gauge, length, and material to the specific decking profile and environmental exposure. The following matrix outlines the exact specifications required for 2026 building standards:
| Decking Material | Recommended Screw Gauge & Length | Required Material / Coating | Estimated Cost per Screw |
|---|---|---|---|
| 5/4" Pressure-Treated Pine | #9 or #10 Gauge, 2.5" to 3.0" | Polymer-Coated Carbon Steel or 305 SS | $0.12 - $0.18 |
| Composite Decking (Solid) | #9 Gauge, 2.75" (Type 17 Auger Point) | 305 Stainless Steel (Color-Matched) | $0.25 - $0.35 |
| Tropical Hardwood (Ipe, Cumaru) | #10 Gauge, 3.0" (Pre-drilled) | 316 Marine-Grade Stainless Steel | $0.45 - $0.60 |
| PVC Decking (Capped Cellular) | #9 Gauge, 2.5" (Reverse Thread) | 305 Stainless Steel or Ceramic-Coated | $0.20 - $0.30 |
For coastal environments within 10 miles of saltwater, the Simpson Strong-Tie Corrosion Guide strictly mandates the use of 316 marine-grade stainless steel for all structural fasteners, as 305 stainless steel will succumb to chloride-induced pitting over time.
Preventative Maintenance: Lubrication and Galling Prevention
When driving replacement stainless steel deck screws into dense tropical hardwoods or heavily treated joists, the friction generates immense heat. This heat can cause 'galling'—a phenomenon where the stainless steel threads cold-weld to the surrounding material, snapping the screw shaft flush with the board surface.
To prevent galling during replacement maintenance:
- Apply a dry PTFE (Teflon) lubricant or pure beeswax to the threads of the replacement screw before driving.
- Avoid liquid soaps or silicone sprays, which can stain porous wood composites and attract dirt to the countersink.
- Drive the screw in two stages: sink it halfway, reverse slightly to clear the wood chips from the Type 17 auger point, then drive it flush. This prevents the flutes from clogging and reduces rotational friction.
Frequently Asked Maintenance Questions
Can I reuse extracted deck screws if they aren't rusted?
No. Once a deck screw has been torqued into a joist and subsequently extracted, the microscopic wood fibers that provided the withdrawal resistance are destroyed. Reusing the screw in the same hole will result in a 40% to 60% loss of pull-out strength. Always use a new fastener, and if the hole is stripped, step up to the next gauge size (e.g., move from a #9 to a #10) or plug the hole with a hardwood dowel and wood glue before re-driving.
How often should I perform the Walk-and-Tap inspection?
Execute this inspection bi-annually: once in early spring after the freeze-thaw cycle has shifted the joists, and once in late autumn before winter moisture sets in. Decks in high-humidity or heavy snow-load regions require annual full-fastener audits.