Carpet Tack Strips Maintenance: Fixing Water Damage and Rust
Expert playbook for carpet tack strips maintenance. Learn to diagnose water damage, prevent rust stains, and replace compromised perimeter anchors.
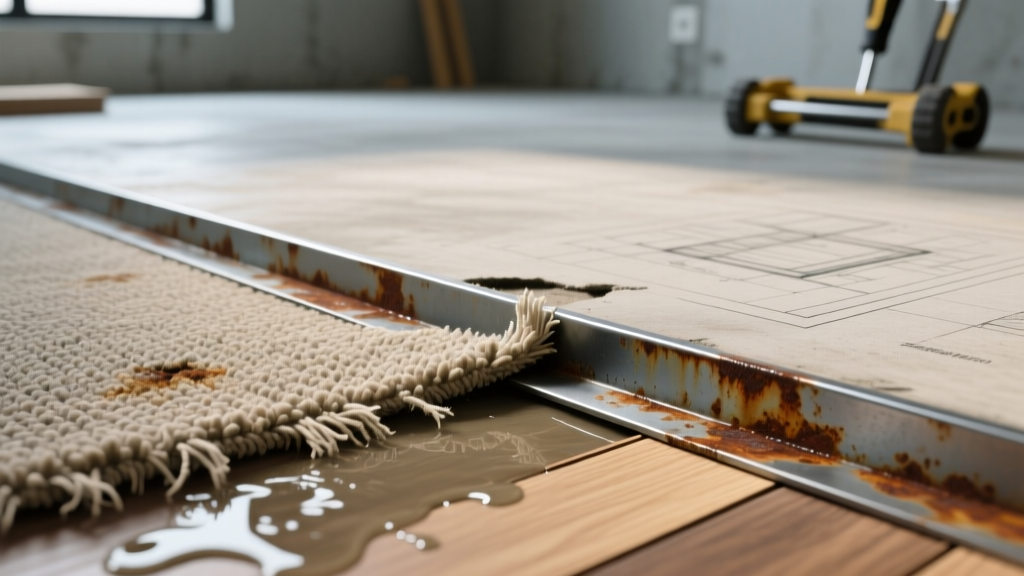
The Hidden Vulnerability of Perimeter Anchors
Carpet tack strips, frequently referred to as tackless strips, form the critical perimeter anchoring system for wall-to-wall carpet installations. While the carpet fibers and padding receive the bulk of maintenance attention, the tack strips dictate the structural integrity of the entire floor. Standard strips consist of 1-inch wide, 1/4-inch or 1/2-inch thick plywood or particleboard, embedded with angled, rust-resistant nails positioned at a 60-degree pitch toward the wall.
During routine hot-water extraction cleaning, minor plumbing leaks, or flooding events, these perimeter anchors become highly vulnerable. Because they sit in the lowest point of the room's perimeter and are often hidden beneath baseboards and carpet edges, moisture accumulates against them. When compromised, tack strips fail to hold tension, leading to carpet buckling, delamination, and severe rust staining on the carpet backing.
Diagnosing Tack Strip Failure Modes
Before initiating any repair or deep cleaning protocol, inspectors and maintenance technicians must accurately diagnose the failure mode. Misidentifying a rust issue as a simple carpet stain leads to recurring damage. Below is the diagnostic matrix for common tack strip failures.
| Failure Mode | Visual / Tactile Symptoms | Root Cause |
|---|---|---|
| Pin Oxidation (Rust) | Yellow/brown bleeding on carpet edges; metallic smell. | Use of high-pH (alkaline) carpet cleaning solutions without neutralization. |
| Matrix Swelling | Strip feels spongy; pins wobble loosely when touched. | Prolonged exposure to Category 1 or 2 water; particleboard delamination. |
| Subfloor Blowout | Carpet pulls away from wall; strip lifts entirely off subfloor. | Improper nailing into concrete or over-pressurization during knee-kicker stretching. |
| Biological Growth | Black/green spotting on wood; musty odor at baseboards. | Trapped moisture from over-wetting during steam cleaning; lack of airflow. |
Step-by-Step Water Damage Recovery Playbook
When a water intrusion event occurs, the tack strips must be evaluated immediately. The EPA Mold Cleanup Guidelines dictate that porous materials harboring moisture and biological growth cannot be effectively sanitized and must be removed. Use this playbook to determine salvageability.
Phase 1: Extraction and Assessment
- Detach the Carpet: Use a knee-kicker to release tension, then carefully pull the carpet backing off the tack strip pins. Fold the carpet back at least 3 feet from the affected wall.
- Moisture Mapping: Use a pin-type moisture meter on the tack strip. Plywood strips reading above 15% moisture content (MC) or particleboard strips above 12% MC require aggressive drying or replacement.
- Inspect the Subfloor: Check the subfloor directly beneath the strip. If the subfloor is compromised, the tack strip nails will not hold tension upon re-stretching.
Phase 2: Salvage vs. Replace Decision Matrix
Not all water damage requires a full tear-out. Use the following framework based on water contamination categories to make the final call:
- Category 1 (Clean Water): If dried within 24 hours using axial fans and dehumidifiers, plywood tack strips can usually be salvaged. Particleboard strips should be replaced if they show any edge swelling.
- Category 2 (Grey Water): Contains chemical or biological contaminants. Carpet and Rug Institute maintenance standards recommend replacing all porous tack strips exposed to grey water to prevent off-gassing and bacterial growth.
- Category 3 (Black Water): Contains sewage or pathogens. Mandatory replacement of all tack strips, padding, and potentially the carpet itself.
Replacing Compromised Carpet Tack Strips
If the assessment dictates replacement, precision in material selection and installation is non-negotiable. A poorly installed strip will result in carpet ripples within six months.
When installing new tack strips, maintain a gap between the strip and the wall that is exactly the thickness of the carpet minus 1/8 inch, or a standard 1/2 inch. This allows the carpet to tuck cleanly into the gully without bulging against the baseboard.
Material Selection for High-Moisture Environments
Standard particleboard strips (often included in budget builder-grade kits) are highly susceptible to humidity and minor spills. For maintenance-heavy environments, commercial spaces, or moisture-prone residential areas, upgrade your materials:
- Exterior-Grade Plywood Strips: Products like the Roberts 10-115 utilize multi-layer plywood that resists delamination when exposed to ambient humidity or minor wet-extraction overspray.
- Galvanized Pins: Ensure the replacement strips feature double or triple rows of galvanized, rust-proof pins. Standard blued-steel pins will oxidize when exposed to the alkaline residues left behind by commercial carpet shampoos.
- Concrete Subfloor Strips: For slab-on-grade installations, use strips pre-embedded with hardened masonry nails (e.g., Roberts 10-118), or opt for adhesive-backed strips if the concrete is sealed or radiant-heated.
Removal and Installation Protocol
- Sever the Nails: Do not pry old strips directly off the subfloor, as this will tear the top layer of plywood or OSB. Slide a flat pry bar under the strip, or use an oscillating multi-tool with a metal-cutting blade to slice the nails flush with the subfloor.
- Prep the Perimeter: Scrape away old adhesive, drywall mud, and debris. The subfloor must be perfectly flat to ensure the new strip's pins engage the carpet backing at the correct 60-degree angle.
- Secure the New Strip: Nail the new strip into the subfloor using ring-shank nails for wood subfloors. Space nails every 6 to 8 inches. Avoid nailing within 2 inches of the strip's end to prevent the plywood from splitting.
Preventative Maintenance During Routine Deep Cleaning
The most common cause of premature tack strip failure is improper hot-water extraction technique. Maintenance staff and professional cleaners must adopt the following protocols to protect the perimeter anchors:
1. Edge Guard Utilization
Standard extraction wands dispense high-pressure water and vacuum simultaneously. When pushed flush against a baseboard, the water jets blast directly into the tack strip gully. Always attach a Teflon edge guard or a specialized baseboard shield to the wand. This creates a physical 1/4-inch buffer, preventing direct water injection into the wood matrix.
2. pH Neutralization
Most heavy-duty carpet pre-sprays are highly alkaline (pH 9 to 11) to break down oils and soils. If this solution pools against the tack strip and is not thoroughly rinsed, it accelerates the oxidation of the metal pins. Always follow alkaline cleaning with an acidic neutralizer rinse (pH 4 to 5) to halt the chemical reaction and protect the metal components.
3. Perimeter Drying
Air movers (axial fans) are typically placed in the center of the room. To protect the tack strips, position at least one air mover to create a vortex along the perimeter walls. This ensures the gully area—where moisture naturally migrates via capillary action—is dried as rapidly as the center of the room.
By treating carpet tack strips as a critical structural component rather than a disposable installation accessory, facility managers and homeowners can extend the life of their carpet installations by years, preventing costly re-stretching and eliminating perimeter staining.