Top Tile Floor Options for Every Room: 2026 Guide
Explore the best tile floor options for 2026. Compare porcelain, ceramic, and stone specs, DCOF ratings, installation costs, and room-by-room matrices.
Decoding Tile Material Specifications
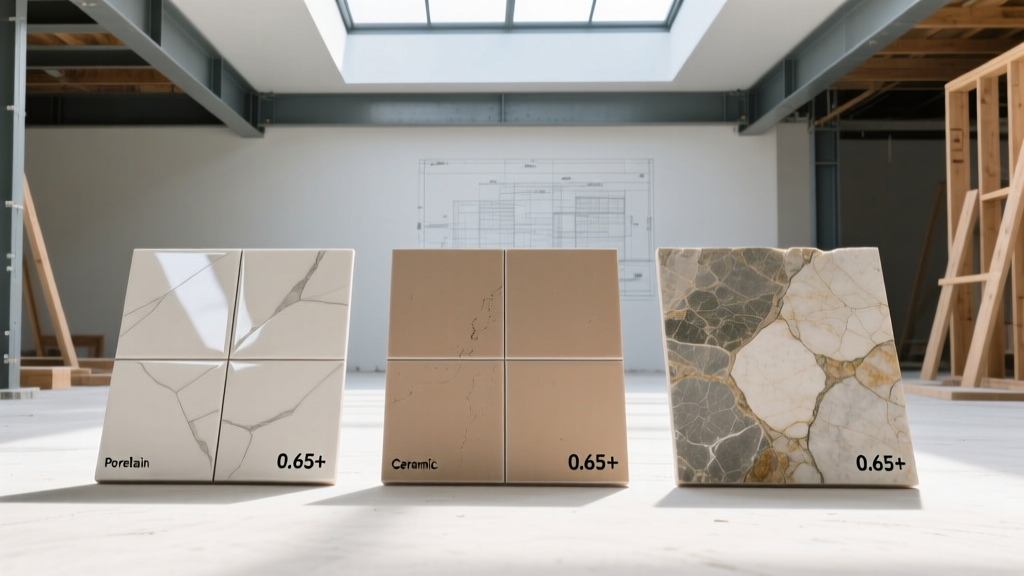
Selecting the right tile floor options requires looking beyond color and pattern. The structural integrity, slip resistance, and longevity of a tile installation depend on three critical manufacturing specifications. Ignoring these metrics is the primary cause of premature flooring failure in residential and commercial builds.
PEI (Porcelain Enamel Institute) Wear Ratings
The PEI rating measures the abrasion resistance of the tile's glaze. This metric dictates where the tile can be safely installed without showing premature wear paths.
- Class I & II: Wall applications and light-traffic residential bathrooms (barefoot or soft-soled footwear only).
- Class III: Moderate traffic. Suitable for residential living rooms, bedrooms, and hallways.
- Class IV: Heavy traffic. The minimum standard for residential kitchens, entryways, and mudrooms.
- Class V: Extra heavy traffic. Required for commercial spaces, retail stores, and high-volume public corridors.
DCOF (Dynamic Coefficient of Friction)
Replacing the outdated static COF measurement, the DCOF AcuTest (per ANSI A137.1) measures slip resistance while in motion. For level interior spaces expected to be walked on when wet, the Tile Council of North America (TCNA) mandates a minimum DCOF of 0.42. For ramps or pool decks, specify tiles with a DCOF of 0.50 or higher.
Rectified vs. Non-Rectified Edges
Rectified tiles are mechanically ground to exact dimensions after firing, allowing for ultra-narrow grout joints (1/16-inch). Non-rectified (pressed) tiles have slight size variations from the firing process and require wider grout joints (minimum 1/8-inch to 3/16-inch) to absorb the dimensional tolerances.
Room-by-Room Tile Floor Options Matrix
The following matrix outlines the optimal tile floor options based on environmental stressors, moisture exposure, and traffic loads for specific rooms.
| Room / Zone | Recommended Tile Type | Min. PEI Class | Min. DCOF | Ideal Format & Grout Joint |
|---|---|---|---|---|
| Kitchen | Color-body Porcelain | Class IV | 0.42 | 24x24 or larger; 1/8' joint |
| Bathroom (Wet) | Porcelain Mosaic or Textured | Class III | 0.50+ | 2x2 hex or smaller; 1/16' joint |
| Mudroom / Entry | Through-body Porcelain / Slate | Class IV | 0.45+ | 12x24 plank; 3/16' joint |
| Living Area | Wood-look Porcelain Plank | Class III | 0.42 | 8x48 plank; 1/8' joint |
| Laundry Room | Ceramic or Porcelain | Class III | 0.42 | 12x12 or 12x24; 1/8' joint |
Deep Dive: Top 4 Tile Categories for 2026
1. Large-Format Gauged Porcelain Tile Panels (GPTP)
Gauged Porcelain Tile Panels (formerly known as thin porcelain tile) are manufactured in massive formats—up to 5x10 feet—and reduced thicknesses (1/4-inch or 1/2-inch). Governed by the ANSI A137.3 standard, GPTP minimizes grout lines for a near-seamless aesthetic.
Installation Gotcha: GPTP requires an exceptionally flat substrate (maximum 1/8-inch deviation in 10 feet). Installers must use a 1/2-inch U-notch trowel, apply mortar to both the substrate and the back of the tile (back-buttering), and use a suction-cup vibration tool to collapse the mortar ridges and achieve the mandatory 95% coverage in wet areas.
2. Wood-Look Porcelain Planks
Advanced inkjet printing allows porcelain planks to replicate the grain, knotting, and texture of hardwood. Standard sizes include 6x36, 8x48, and 9x60 inches.
Installation Gotcha: Long porcelain planks naturally bow in the center during the kiln firing process. The National Tile Contractors Association (NTCA) strictly advises against a 50% (half-brick) offset stagger, which places the highest point of one tile directly next to the lowest point of the adjacent tile, causing severe lippage. Always specify a 33% (one-third) offset stagger for wood-look planks.
3. Encaustic Cement Tile
Unlike ceramic tiles, encaustic cement tiles are not fired in a kiln. They are cured, and the pattern is created by pouring mineral pigments into a mold, resulting in a color layer that is 1/8-inch thick. This allows the pattern to endure decades of foot traffic without fading.
Failure Mode: Cement is highly porous and alkaline. It must be sealed with a high-quality penetrating sealer (such as Miracle Sealants 511) before grouting to prevent pigment staining, and again after installation. Acidic cleaners (like vinegar) will permanently etch the surface.
4. Natural Stone (Travertine, Slate, Marble)
Natural stone offers unmatched geological variation. However, stone is classified by its absorption rate and structural density. Marble is prone to etching from acidic spills (wine, citrus), while unfilled travertine features natural voids that can trap dirt if not properly grouted.
Installation Cost Breakdown & Hidden Variables
Budgeting for tile floor options requires accounting for the entire assembly, not just the surface material. The following table reflects 2026 national average costs for a standard residential installation.
| Cost Category | Low-End (Basic Ceramic) | Mid-Range (Porcelain) | High-End (GPTP / Stone) |
|---|---|---|---|
| Tile Material | $2.50 - $4.00 / sq ft | $5.00 - $9.00 / sq ft | $10.00 - $22.00 / sq ft |
| Setting Materials (Mortar/Grout) | $1.00 / sq ft | $1.50 / sq ft | $3.00 / sq ft |
| Uncoupling Membrane (e.g., Ditra) | $1.50 / sq ft | $1.50 / sq ft | $1.50 / sq ft |
| Substrate Prep (Leveling) | $0.00 (Assumes flat) | $2.00 / sq ft | $4.50 / sq ft |
| Labor (Installation) | $6.00 - $8.00 / sq ft | $9.00 - $14.00 / sq ft | $16.00 - $28.00 / sq ft |
| Total Installed Cost | $11.00 - $14.50 / sq ft | $19.00 - $28.00 / sq ft | $34.50 - $59.00 / sq ft |
Hidden Cost Alert: Demolition of existing tile and mortar beds adds $3.50 to $6.00 per square foot. Furthermore, if the existing subfloor requires self-leveling underlayment (SLU), expect to pay $45 to $65 per 50lb bag, which covers approximately 40 square feet at a 1/4-inch depth.
Troubleshooting Common Tile Failures
Even premium tile floor options will fail if the installation assembly is compromised. Understanding these common failure modes allows you to audit your contractor's methodology.
Lippage (Uneven Tile Edges)
The Cause: Lippage occurs when adjacent tiles are not in the same plane, creating a tripping hazard and an unsightly shadow line. It is caused by warped tiles, uneven substrates, or improper troweling techniques.
The Fix: Mandate the use of a mechanical lippage control system (such as the LASH or Tuscan Leveling System) which uses interlocking clips and wedges to force tiles into the same plane while the mortar cures. The Schluter Systems Ditra Installation Handbook also recommends using uncoupling membranes to isolate minor substrate imperfections.
Hollow-Sounding Tiles
The Cause: A hollow sound when tapped with a coin or hard plastic mallet indicates a lack of mortar coverage. ANSI standards require a minimum of 80% mortar coverage for dry interior areas and 95% for wet areas and exteriors.
The Fix: Installers must use the correct trowel notch size (e.g., 1/4' x 3/8' for standard tiles, 1/2' x 1/2' for large format) and employ 'back-buttering' (applying a thin layer of mortar to the back of the tile) for any tile with a side longer than 15 inches.
Efflorescence (White Powdery Residue)
The Cause: Water-soluble salts migrate through the porous grout and tile body to the surface, leaving a white, crusty deposit. This is common in mudrooms, bathrooms, or over concrete slabs with high moisture vapor emission rates (MVER).
The Fix: Test the concrete slab for MVER before installation. If levels exceed 3 lbs per 1,000 sq ft per 24 hours (per ASTM F1869), apply an epoxy-based moisture mitigation primer before installing the underlayment. Use high-performance, stain-resistant epoxy or urethane grout instead of standard cementitious grout in moisture-prone zones.
Written by
Marcus ChenMarcus Chen is a licensed structural engineer (PE) and building materials analyst with over 12 years of experience across residential, commercial, and industrial construction. He holds a Master of Science in Civil Engineering from UC Berkeley and spent six years at Thornton Tomasetti before transitioning to independent consulting and technical writing. Marcus specializes in material selection for seismic-prone regions, concrete reinforcement strategies, and lifecycle cost analysis. His work has been cited by the American Concrete Institute (ACI) and the Structural Engineers Association of California (SEAOC). When he is not on a job site or at his desk, you will find him hiking the Sierra Nevada or restoring a 1920s craftsman bungalow in Oakland, CA.
More from Marcus Chen
View all
Construction Cost
How Much Did the Eiffel Tower Cost to Build?
How much did the Eiffel Tower cost to build in 1889? We adjust for inflation and compare its budget to modern skyscraper construction.
Aug 4, 2026
Fire Resistance
What Is a Fire Resistant Material? Testing & Certification Guide
Discover what is a fire resistant material through ASTM and UL testing. Learn how fire ratings, certifications, and assemblies work in construction.
Aug 4, 2026

Construction Cost
How Much Did the Burj Khalifa Cost to Build?
How much did the Burj Khalifa cost to build? We break down the $1.5B project and extract 5 money-saving strategies for your next build.
Jul 30, 2026