Flawless Epoxy Garage Floor Paint Application: Step-by-Step Guide
Master your epoxy garage floor paint application with this pro guide. Learn surface prep, mixing, rolling techniques, and how to prevent hot tire pickup.
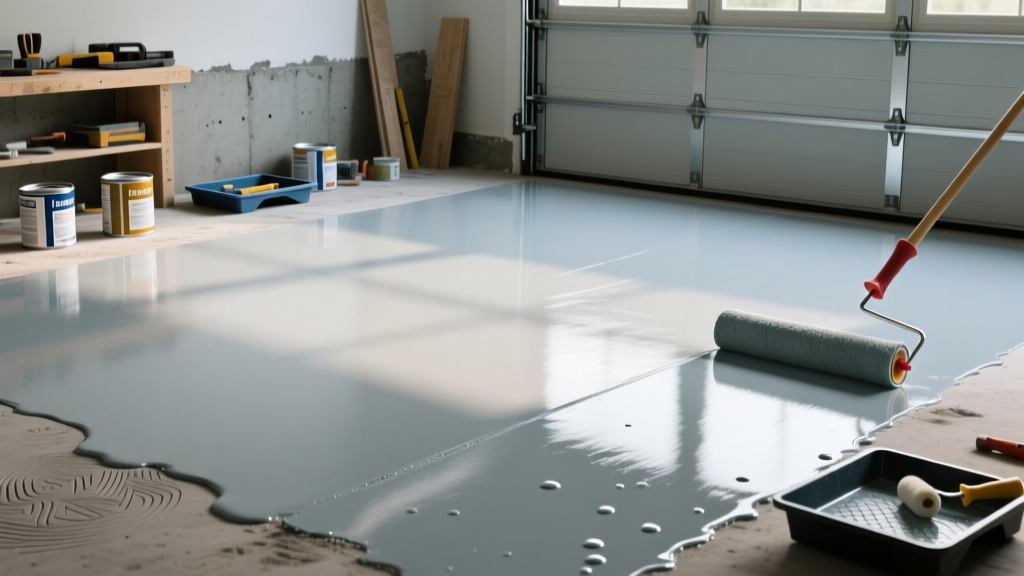
Approximately 80% of all DIY epoxy garage floor paint failures occur within the first six months, manifesting as peeling, bubbling, or hot tire pickup. The root cause is rarely the epoxy itself; it is almost always inadequate concrete surface preparation or improper environmental conditioning. Applying a high-solids epoxy requires treating the concrete slab as a complex chemical substrate rather than a simple painted surface.
Phase 1: Concrete Profiling and Moisture Verification
Before opening a single can of epoxy, the concrete must be profiled to achieve a Concrete Surface Profile (CSP) of 2 or 3. This creates a micro-texture that allows the epoxy to mechanically lock into the pores of the slab.
Diamond Grinding vs. Acid Etching
While older guides recommend muriatic acid etching, modern 100% solids epoxies and high-performance water-based formulations require mechanical abrasion. Acid etching is highly dependent on the concrete's alkalinity and can leave residual salts that cause adhesion failure.
- Diamond Grinding: Rent a walk-behind planetary concrete grinder equipped with 30-grit or 40-grit metal-bonded diamond segments. This uniformly opens the pores and removes laitance (the weak, milky layer of cement on the surface).
- Shot Blasting: For heavily contaminated or previously coated floors, a shot blaster is superior, though it requires more expertise to avoid leaving uneven 'track marks' in the slab.
Moisture Testing (ASTM Standards)
Epoxy is impermeable. If moisture vapor is migrating up through the slab, it will become trapped beneath the coating, creating hydrostatic pressure that blisters and delaminates the epoxy. Perform a Calcium Chloride test (ASTM F1869) or use an in-situ relative humidity probe (ASTM F2170). The moisture vapor emission rate (MVER) must be below 3 lbs per 1,000 square feet per 24 hours before application.
Phase 2: Selecting the Right Epoxy Formulation
Not all epoxies are engineered for the same environment. Selecting the correct formulation dictates your mixing workflow and long-term durability.
| Epoxy Type | Solids Content | Pot Life (at 70°F) | Best Application Scenario |
|---|---|---|---|
| Water-Based | 40% - 50% | 2 - 3 Hours | Light-duty residential, low VOC areas, primer coats. |
| Solvent-Based | 60% - 70% | 1 - 2 Hours | Penetrating sealers, damp concrete (breathable). |
| 100% Solids | 98% - 100% | 30 - 45 Minutes | Heavy-duty garage floors, commercial shops, flake systems. |
Phase 3: Mixing and the 'Induction Time' Secret
The most common amateur mistake is mixing the Part A (resin) and Part B (hardener) and immediately applying it to the floor. This traps unreacted air bubbles and results in a cloudy, uneven finish.
Always observe the manufacturer's specified 'induction time' (or sweat time). After mixing the two parts for a full 3 to 5 minutes, let the bucket sit undisturbed for 10 to 15 minutes. This allows the chemical cross-linking process to initiate, heat up, and release trapped micro-bubbles before the material hits the concrete.
Once the induction time has passed, mix the material briefly again. Do not mix more material than you can apply within the product's stated pot life. For 100% solids epoxies, the pot life shrinks rapidly as ambient temperatures rise above 75°F (24°C).
Phase 4: The Application Sequence
A flawless finish requires a systematic approach to maintain a 'wet edge' and ensure uniform mil thickness.
- Prime the Slab (If Required): For highly porous concrete, apply a thin, penetrating epoxy primer. This seals the pores and prevents outgassing (air escaping the concrete and creating pinholes in the topcoat).
- Cut in the Edges: Use a high-quality angled sash brush to paint a 3-inch border around the perimeter of the garage, including the cove base and around floor drains. Do this immediately before rolling to ensure the edges stay wet.
- Roll the Main Field: Use a 3/8-inch nap, lint-free woven roller cover (avoid knit rollers, which shed fibers). Pour the mixed epoxy in a continuous ribbon and spread it in a 4x4 foot section.
- Back-Roll for Uniformity: After spreading the epoxy, lightly 'back-roll' over the section in the opposite direction without applying downward pressure. This evens out the mil thickness and eliminates roller marks.
- Maintain the Wet Edge: Always overlap your previous section by 2 to 3 inches while it is still wet. If the edge begins to tack up, you will create visible lap marks.
Phase 5: Mandatory Topcoats for UV and Chemical Resistance
Epoxy is inherently susceptible to ultraviolet (UV) degradation. If sunlight enters your garage, an untopcoated epoxy floor will chalk, amber, and eventually degrade. Furthermore, raw epoxy is vulnerable to plasticizer migration from hot car tires, leading to 'hot tire pickup' where the epoxy peels up in sheets.
To seal and protect the system, apply a clear topcoat 12 to 24 hours after the base coat (check the manufacturer's re-coat window; if you miss it, you must sand the entire floor to re-establish a mechanical bond).
- Aliphatic Polyurethane: The industry standard for UV stability. It provides excellent gloss retention, resists yellowing, and offers superior resistance to automotive fluids and hot tires. Requires a 3/8-inch microfiber roller for application.
- Polyaspartic: A premium, fast-curing alternative. It can be applied in a wider temperature range and cures in hours rather than days, but it has a very aggressive pot life (often under 20 minutes) requiring a two-person application team.
Troubleshooting Common Application Failures
Amine Blush
If the cured epoxy feels waxy, sticky, or greasy to the touch, it has developed amine blush. This occurs when the hardener reacts with moisture and carbon dioxide in the air during curing, especially in high-humidity, low-temperature environments. The Fix: Wash the surface with warm water and a stiff nylon brush, rinse thoroughly, and allow it to dry completely before applying the topcoat.
Fish Eyes and Cratering
Small, circular depressions in the wet epoxy indicate surface contamination, typically silicone, oil, or wax. The Fix: Stop application immediately. Wipe out the fish eyes with a clean, lint-free rag dampened with denatured alcohol or acetone, and re-roll the section before the epoxy tacks up.
Outgassing Pinholes
Tiny bubbles that pop and leave small craters are caused by air escaping the concrete slab as the epoxy heats up during the curing exotherm. The Fix: Prevent this by applying a low-viscosity primer coat first, or by using a porcupine roller (bubble popper) immediately after back-rolling the base coat to burst trapped air before the material levels out.