The Ultimate Maintenance Playbook for Luxury Vinyl Tile Planks
Master the maintenance of luxury vinyl tile planks with our expert cleaning playbook. Learn exact pH ratios, stain removal, and wear layer protection.
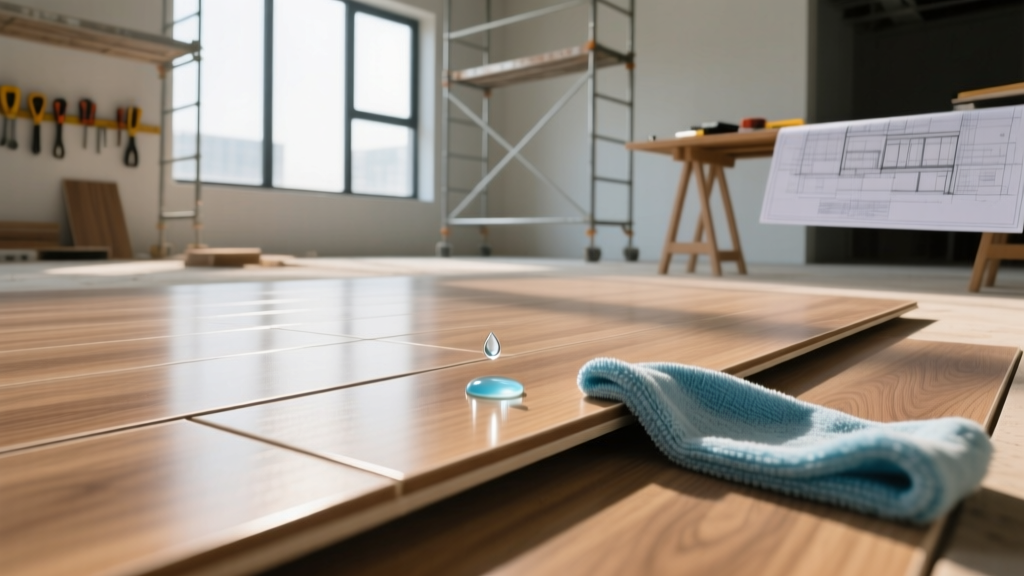
The Anatomy of LVT Plank Wear Layers
Before applying any chemical or mechanical action to luxury vinyl tile planks, you must understand what you are actually cleaning. You are not cleaning the vinyl core or the printed photographic layer; you are cleaning the transparent wear layer and its factory-applied topcoat. Most residential LVT planks feature a 12-mil to 22-mil polyurethane (PU) wear layer, often fortified with ceramic bead or aluminum oxide additives for scratch resistance.
The topcoat is typically UV-cured and engineered to be hydrophobic. When you use harsh alkaline cleaners or abrasive pads, you strip this microscopic topcoat, leaving the softer PU layer exposed. Once the PU layer degrades, the floor loses its sheen, attracts dirt faster, and becomes susceptible to permanent staining. According to Shaw Floors' official maintenance guidelines, preserving this factory finish requires strict adherence to pH-neutral cleaning protocols.
The Daily & Weekly Maintenance Playbook
Routine maintenance for luxury vinyl tile planks relies on mechanical removal of abrasive particulates before they can be ground into the urethane topcoat by foot traffic.
Daily: Dry Dusting and Particulate Removal
- Tool: Use a flat-head microfiber dust mop (minimum 18 inches wide) or a soft-bristle broom.
- Technique: Push debris in a single direction rather than sweeping back and forth, which scatters fine silica dust.
- Avoid: Cotton string mops and stiff-bristled corn brooms, which leave lint behind or cause micro-scratches.
Weekly: Damp Mopping Protocol
- Vacuum the floor using a hard-floor setting (beater bar turned OFF) to remove dust from the plank seams.
- Fill a spray bottle with a diluted, pH-neutral floor cleaner.
- Mist a 3x3 foot section lightly. The floor should look damp, not wet.
- Wipe immediately with a clean, damp microfiber mop pad.
- Rinse the mop pad in a separate bucket of clean water every 50 square feet to prevent redepositing suspended soil.
Deep Cleaning Protocols & Approved Chemical Matrices
When damp mopping fails to remove embedded grime or sticky residues, you must escalate to a deep clean. The critical metric for any cleaner used on luxury vinyl tile planks is its pH level. Cleaners with a pH above 8.5 will saponify oils and degrade the urethane, while acidic cleaners (pH below 6.0) will etch the surface. For verified safe formulations, look for products carrying the EPA Safer Choice label, which ensures the absence of corrosive and caustic ingredients.
| Product / Brand | pH Level | Dilution Ratio | Best Application |
|---|---|---|---|
| Bona Hard Surface Floor Cleaner | 7.5 - 8.0 | Ready-to-use (No dilution) | Weekly maintenance, light soil |
| Armstrong Once 'n Done | 7.8 | 1/4 cup per gallon of warm water | Bi-weekly deep cleaning |
| Shaw R2X Hard Surfaces Cleaner | 7.0 - 7.5 | Ready-to-use spray | Spot cleaning, sticky residues |
| Hilway Direct Plus Neutral Cleaner | 7.0 | 1 oz per gallon of water | Commercial/Heavy traffic areas |
Specialized brands like Bona formulate their hard surface cleaners specifically to evaporate quickly without leaving a polymer residue, which is a common issue with generic multi-surface cleaners.
Troubleshooting Matrix: Stains, Scuffs, and Scratches
Even with meticulous care, luxury vinyl tile planks will encounter localized damage. Use this decision matrix to address specific issues without damaging the surrounding planks.
1. Black Rubber Scuff Marks
Cause: Friction from shoe soles or furniture pads melting microscopic rubber onto the urethane.
Solution: Do not use chemical solvents. Take a clean, dry tennis ball and rub it vigorously over the scuff. The mild abrasiveness of the tennis ball felt lifts the rubber transfer instantly without scratching the floor.
2. Pet Urine and Organic Stains
Cause: Uric acid pooling in the micro-bevels and click-lock seams.
Solution: Blot immediately. Apply an enzymatic cleaner (e.g., Nature's Miracle Hard Floor Cleaner) directly to the spot. Let it sit for exactly 5 to 10 minutes to break down the proteins, then wipe completely dry. Never allow liquid to pool in the seams, as it can penetrate the click-lock mechanism and cause the HDF or WPC core to swell.
3. Micro-Scratches and Loss of Sheen
Cause: Dragging furniture or embedded silica grit wearing down the topcoat.
Solution: If the scratch is white, it has breached the wear layer and the plank must be replaced. If the floor simply looks dull and hazy, apply a vinyl floor rejuvenator (such as Bona Refresher). These products lay down a sacrificial acrylic layer that fills micro-scratches and restores the semi-gloss finish.
The 'Never Do This' Warning Zone
Critical Maintenance Prohibitions
- NO Steam Mops: Steam mops generate temperatures exceeding 212°F (100°C). Polyvinyl chloride (PVC) begins to soften and warp at approximately 160°F. The intense heat will permanently warp the planks, degrade the click-lock joints, and void your manufacturer warranty.
- NO Swiffer WetJet or Oil Soaps: Products like Murphy's Oil Soap or Swiffer WetJet solutions contain oils and heavy polymers that do not absorb into vinyl. They sit on the surface, creating a hazy, streaky film that traps dirt and makes the floor dangerously slippery.
- NO Ammonia or Bleach: High-alkaline chemicals will permanently cloud the clear wear layer, causing irreversible chemical etching.
- NO Abrasive Pads: Never use Scotch-Brite scouring pads or steel wool. Use only melamine sponges (Magic Erasers) with extreme caution and light pressure, as they act like ultra-fine sandpaper.
Long-Term Preservation and Seam Protection
The Achilles heel of luxury vinyl tile planks is the seam. While the surface is 100% waterproof, water can seep through the micro-bevels and reach the subfloor or the bottom backing layer. To mitigate this in high-moisture areas like kitchens and bathrooms, apply a vinyl seam sealer during the initial installation or as a retrofit.
Expert Tip: For glue-down LVT planks, maintain indoor relative humidity between 35% and 65%. Extreme fluctuations cause the PVC to expand and contract, which can lead to 'telegraphing' (where subfloor imperfections become visible through the vinyl) or joint peaking in floating floors.
By treating the urethane wear layer as a delicate, high-performance coating rather than an indestructible plastic sheet, you can easily extend the aesthetic lifespan of luxury vinyl tile planks by 10 to 15 years. Stick to pH-neutral chemistry, rely on microfiber mechanics, and eliminate heat-based cleaning tools entirely.