Flawless Garage Floor Paint Application: Step-by-Step Guide
Master your garage floor paint application with our step-by-step guide. Learn concrete prep, moisture testing, epoxy vs acrylic choices, and pro tips.
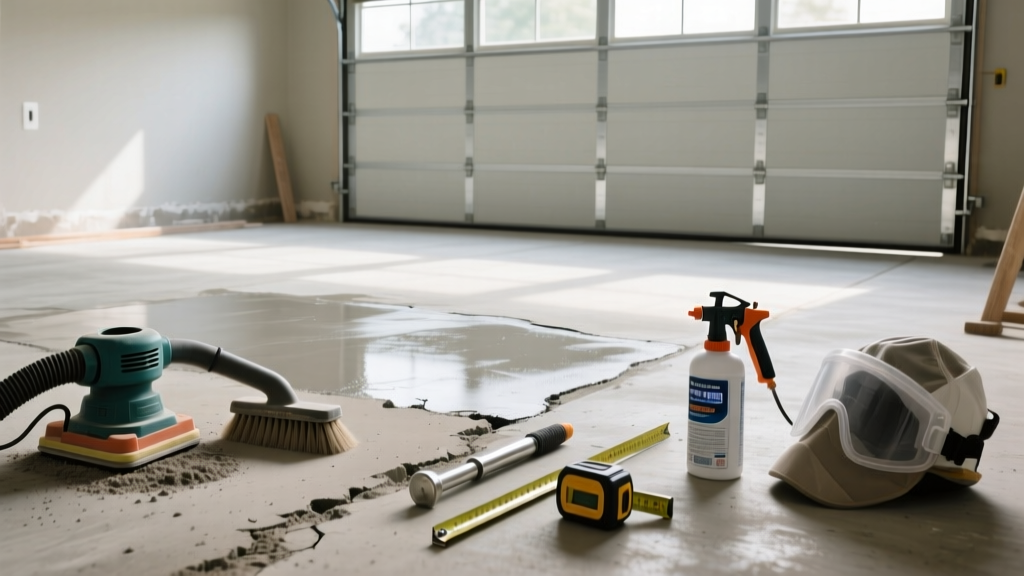
Most garage floor paint failures occur within the first six months due to hot tire pick-up, moisture vapor transmission, or inadequate surface profiling. Achieving a commercial-grade finish in a residential setting requires moving beyond simple sweep-and-roll tactics. This guide details the exact installation and application procedures required to ensure your garage floor coating adheres permanently and withstands vehicular traffic.
Concrete Moisture Testing and Surface Profiling
Before purchasing any coating, you must verify the concrete slab's moisture content and surface porosity. Applying a non-breathable garage floor paint over a damp slab will result in osmotic blistering within weeks.
The ASTM D4263 Plastic Sheet Test
To test for moisture vapor transmission (MVT), tape an 18x18-inch square of 4-mil clear polyethylene sheeting to the concrete using moisture-impermeable duct tape. Seal all four edges completely. Leave the plastic in place for 16 to 24 hours. If you observe condensation on the underside of the plastic or darkening of the concrete, the slab is emitting excessive moisture. You will need to apply a moisture-mitigating epoxy primer (such as Vapor-Tek 440) before proceeding with your topcoat.
Achieving the Correct CSP (Concrete Surface Profile)
Garage floor coatings require a CSP-2 or CSP-3 profile to achieve mechanical interlock. According to the Concrete Network, acid etching with muriatic acid is no longer recommended by top manufacturers due to environmental runoff concerns and inconsistent profiling. Instead, rent a walk-behind diamond grinder equipped with 40-grit metal-bond diamonds. This opens the pores of the concrete uniformly and removes latent curing compounds that block paint adhesion.
Material Selection Matrix: Paint vs. Epoxy vs. Polyurea
The term "garage floor paint" is often used as a catch-all, but true 1-part acrylic latex paints lack the chemical resistance for vehicular use. Below is a 2026 material comparison to help you select the correct chemistry for your application.
| Coating Type | Solids Content | Material Cost (per sq ft) | Drive-On Cure Time | Best Use Case |
|---|---|---|---|---|
| 1-Part Acrylic "Paint" | 30% - 40% | $0.30 - $0.50 | 3 - 5 Days | Low-traffic storage areas; walls. |
| Water-Based 2-Part Epoxy | 45% - 55% | $0.80 - $1.20 | 5 - 7 Days | Budget DIY garage floors; light workshops. |
| 100% Solids Epoxy | 98% - 100% | $1.50 - $2.50 | 3 - 4 Days | Heavy workshops; hot tire resistance; flake systems. |
| Polyaspartic / Polyurea | 70% - 90% | $2.50 - $4.00 | 24 - 48 Hours | 1-day professional installs; high UV exposure; extreme durability. |
When tires roll off a highway, they reach temperatures exceeding 140°F. If parked on low-solids acrylic paint or improperly cured water-based epoxy, the heat softens the coating. The plasticizers in the tire rubber then migrate and bond to the paint. As the tire cools and contracts, it literally rips the paint off the concrete. Always use a 100% solids epoxy or polyaspartic topcoat for areas where vehicles are parked.
Step-by-Step Application Procedure
Phase 1: Degreasing and Mechanical Prep
- Degrease: Apply a heavy-duty alkaline degreaser (like Simple Green Oxy Solv or a dedicated concrete cleaner) to all oil stains. Scrub with a stiff-bristle brush, let sit for 15 minutes, and power wash away. Oil left in the pores will cause fisheyes during painting.
- Grind: Diamond grind the entire slab. Overlap passes by 20% to ensure a uniform CSP-2 profile.
- Vacuum: Use a shrouded grinder attached to a HEPA vacuum, followed by a thorough sweeping and wiping with denatured alcohol to remove microscopic silica dust.
Phase 2: Patching and Crack Repair
Do not use standard hardware-store concrete patch for garage floors; it lacks tensile strength and will pop out under vehicular loads. Instead, use a 2-part epoxy mortar or a flexible polyurea crack filler (such as Sikaflex Self-Leveling Sealant for expansion joints). Trowel the epoxy mortar flush with the floor, let it cure, and grind the patched areas flat so they do not telegraph through your garage floor paint.
Phase 3: Base Coat and Flake Broadcast
If using a 2-part 100% solids epoxy, mix Part A and Part B using a low-speed drill (300-400 RPM) and a Jiffy mixer paddle for exactly 3 minutes. Scrape the sides and bottom of the bucket, then mix for 1 additional minute.
- Cut-In: Use a 3-inch angled nylon/polyester brush to cut in all edges and control joints.
- Roll: Pour the mixed epoxy onto the floor in a ribbon. Use a 3/8-inch nap woven or mohair roller cover. Standard thick-nap rollers leave lint and trap air bubbles. Roll in a 'W' pattern, then back-roll in a single direction to level the coating.
- Broadcast Flakes: While the base coat is still wet (within 20 minutes of rolling), toss color flakes upward toward the ceiling so they fall evenly like snow. This prevents clumping and ensures a uniform distribution.
Phase 4: Scraping and Topcoat Application
After the base coat cures (usually 12-16 hours), scrape the floor with a wide putty knife or floor scraper to knock down any vertical, standing flakes. Sweep and vacuum thoroughly. Apply a clear polyaspartic or urethane topcoat using the same 3/8-inch roller technique. This topcoat provides UV stability and chemical resistance against oil and antifreeze drips.
Curing Timelines and Environmental Variables
Cure times are heavily dependent on ambient temperature and relative humidity (RH). The baseline metrics provided by manufacturers assume 70°F and 50% RH. As noted in technical guides by Family Handyman, temperature fluctuations drastically alter the chemical cross-linking process.
| Ambient Temperature | Walk-On Time (100% Solids Epoxy) | Drive-On Time (100% Solids Epoxy) | Pot Life (Working Time) |
|---|---|---|---|
| 85°F (29°C) | 8 - 10 Hours | 48 Hours | 15 - 20 Minutes |
| 70°F (21°C) | 12 - 16 Hours | 72 Hours | 30 - 45 Minutes |
| 55°F (13°C) | 24 - 36 Hours | 7 - 10 Days | 60 - 90 Minutes |
Rule of Thumb: For every 10°F drop in temperature, your cure time will roughly double. Never apply garage floor paint or epoxy if the temperature is dropping below 40°F within 24 hours of application.
Troubleshooting Common Application Failures
Even with meticulous prep, environmental factors can cause coating defects. Here is how to identify and address the three most common failure modes:
- Fisheyes (Cratering): Small, circular depressions in the wet paint. Cause: Silicone contamination from tire shine sprays or WD-40. Fix: Stop rolling immediately. Wipe the area with a clean rag and denatured alcohol, then re-roll.
- Amine Blush: A waxy, greasy, or cloudy film on the surface of cured epoxy. Cause: High humidity and low temperatures reacting with the amine hardener. Fix: Wash the floor with warm water and a Scotch-Brite pad, rinse, dry completely, and lightly sand before applying the topcoat.
- Delamination (Peeling): The coating lifts in large sheets. Cause: Failure to remove laitance (the weak top layer of concrete) or applying over a damp slab. Fix: There is no spot-fix for delamination. The affected area must be stripped, diamond ground down to sound concrete, and recoated.
By adhering to strict moisture testing, mechanical profiling, and precise mixing protocols, your garage floor paint application will yield a seamless, industrial-grade surface capable of withstanding decades of vehicular and workshop abuse. For further reading on advanced concrete surface preparation standards, consult the Bob Vila technical archives on epoxy flooring systems.