How to Remodel Flooring for Low Maintenance: A Cleaning Playbook
Discover how to remodel flooring for low maintenance. This cleaning playbook covers material choices, post-install care, and long-term upkeep routines.
The Maintenance-First Approach to Remodeling
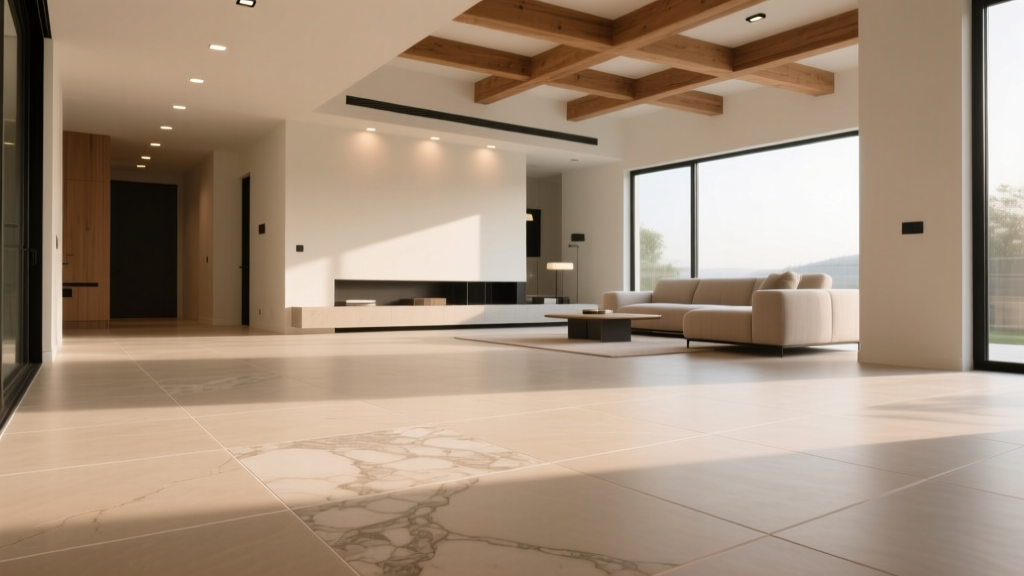
When researching how to remodel flooring, most homeowners and contractors hyper-focus on demolition, subfloor prep, and aesthetic selections. However, the true cost of ownership is determined by the next 15 to 20 years of daily upkeep. A maintenance-first remodeling strategy dictates that your material selection, installation methods, and immediate post-install protocols must align with your household's cleaning capacity. Choosing a high-porosity natural stone for a high-traffic mudroom, for instance, guarantees years of frustrating, expensive deep-cleaning cycles.
This playbook bridges the gap between the final installation nail and long-term surface preservation. By understanding the chemical tolerances, curing timelines, and mechanical vulnerabilities of modern flooring, you can remodel with absolute confidence in your long-term cleaning routine.
Material Selection Matrix: Upkeep vs. Durability
Before finalizing your remodel materials, evaluate them against this maintenance matrix. The ideal cleaner pH is critical; using highly alkaline cleaners (pH > 9) on polyurethane-finished floors causes saponification, leading to permanent hazing and peeling.
| Material Type | Daily Upkeep | Deep Clean Frequency | Ideal Cleaner pH | Avg. Pro Clean Cost (per sq ft) |
|---|---|---|---|---|
| Site-Finished Hardwood | Dry microfiber dusting | Annually (screen & recoat) | 6.5 - 7.5 (Neutral) | $1.50 - $2.50 |
| Pre-Finished Engineered Wood | Damp microfiber mopping | Bi-annually | 7.0 (Strictly Neutral) | $0.80 - $1.20 |
| Luxury Vinyl Plank (LVP) | Damp mopping | Quarterly | 7.0 - 8.0 | $0.50 - $0.90 |
| Porcelain/Ceramic Tile | Wet mopping | Bi-annually (grout focus) | 5.0 - 9.0 (Broad tolerance) | $0.75 - $1.50 |
| Polished Concrete | Auto-scrubber or damp mop | Annually (burnishing) | 7.0 - 8.5 | $0.40 - $0.80 |
The Post-Remodel Curing and Initial Cleaning Protocol
The most common point of failure in floor maintenance occurs in the first 30 days after installation. Construction dust, specifically drywall dust, is highly alkaline (pH 10-12). If left on a newly finished floor and exposed to moisture, it will chemically etch the topcoat.
Step 1: The 72-Hour Particulate Settlement
Do not attempt a wet clean immediately after installation. Allow 72 hours for airborne drywall and silica dust to settle. Use a HEPA-filtered shop vacuum with a soft brush attachment to remove bulk particulate. Never use a standard broom, which will grind silica into the fresh finish.
Step 2: Adhesive and Grout Curing Timelines
Moisture trapped beneath the surface ruins adhesives. Respect these curing windows before introducing liquid cleaners:
- LVP Glue-Down: Wait 48 to 72 hours before damp mopping. Moisture can break down acrylic adhesives before they fully cross-link.
- Cementitious Grout (Tile): Wait a minimum of 72 hours before wet cleaning. For sealing, wait 21 to 28 days for complete moisture evaporation.
- Site-Finished Polyurethane: While walkable in 24 hours, full chemical cure takes 30 days. Use only manufacturer-approved, non-residue cleaners during this window.
Step 3: The Builder's Clean vs. The Maintenance Clean
Contractors often use heavy-duty degreasers to remove boot marks and adhesive residue. As noted in the Shaw Floors care guidelines, these harsh chemicals strip the factory-applied aluminum oxide or urethane wear layers. Always neutralize the floor with a pH-balanced rinse after a builder's clean.
Room-by-Room Maintenance Playbooks
Kitchens: Managing Lipids and High Traffic
Kitchen floors accumulate aerosolized cooking oils that bind to dust, creating a sticky, yellowing film. The Playbook: Use a cleaner with a mild, non-ionic surfactant (like Bona Hard-Surface Floor Cleaner) that lifts lipids without leaving a soapy residue. Avoid oil soaps (e.g., Murphy's) on modern urethane finishes, as they create a build-up that prevents future screen-and-recoat adhesion.
Bathrooms: Moisture and Soap Scum Mitigation
Tile and grout in bathrooms suffer from hard water deposits and soap scum (calcium stearate). The Playbook: For porcelain tile, use a mildly acidic cleaner (pH 4.0 - 5.0) like Zep Acidic Toilet Bowl Cleaner diluted at 1:10 for grout lines, but never use acids on natural stone (marble, travertine) as it will instantly etch the calcium carbonate. For bathroom LVP, stick to neutral pH cleaners to prevent the wear layer from clouding.
Living Areas: Grit and UV Protection
Sand and grit act like sandpaper underfoot, micro-scratching the finish and dulling the reflection. The Playbook: Implement a 'no outdoor shoes' policy. Place high-quality, low-profile microfiber mats at all entries. According to the National Wood Flooring Association (NWFA), controlling relative humidity between 35% and 55% is just as critical as cleaning to prevent the micro-gapping that traps dirt.
Never use steam mops on engineered hardwood, LVP, or laminate. The combination of 212°F heat and forced moisture drives water vapor into the microscopic seams. In engineered wood, this delaminates the top veneer. In LVP, it softens the PVC core and breaks down the click-lock mechanisms, leading to peaking and gapping. The EPA's indoor air quality guidelines also warn that excessive moisture promotes subfloor mold growth, which steam mops easily exacerbate.
Common Remodeling Mistakes That Ruin Long-Term Cleanability
Even the best cleaning playbook will fail if the remodel itself introduces structural cleanability flaws. Avoid these common installation errors:
- Skipping the Transition Moldings: Failing to install proper T-moldings between floating LVP and tile creates a height differential. This ledge traps dirt and prevents a flush microfiber sweep, requiring constant hand-detailing.
- Using High-VOC Sealants in Unventilated Spaces: When remodeling with site-finished wood, opt for water-based, GREENGUARD Gold-certified polyurethanes. High-VOC oil-based finishes not only compromise indoor air quality but take significantly longer to cure, delaying your initial cleaning protocol.
- Grout Haze Left on Tile: If your contractor fails to remove polymer-modified grout haze within 24 hours of installation, it cures into a plastic-like film. Removing it later requires aggressive scraping and acidic strippers that can permanently dull the tile's glaze.
Do not rely on a single mop pad. Purchase a bulk pack of 12 high-density, looped microfiber pads. Use a color-coded system: Blue for living areas, Red for bathrooms, Yellow for kitchens. Wash them in hot water without fabric softener (which coats the fibers in silicone and ruins their absorbency). Replacing pads every 6 months ensures you are lifting dirt, not just pushing it around.
Finalizing Your Remodel Maintenance Strategy
Understanding how to remodel flooring extends far beyond the physical installation. By selecting materials that align with your maintenance capacity, enforcing strict post-install curing protocols, and utilizing chemically appropriate cleaning agents, you protect your investment. A successful remodel is one where the floor looks as pristine in year ten as it did on the day the baseboards were nailed back into place.