Master Installation Techniques for the Best Porch Flooring Options
Expert installation techniques for top porch flooring options. Learn framing, fastening, and slope requirements for composite, PVC, and tile.

Substructure Preparation and Joist Tape Chemistry
The longevity of any porch flooring option is dictated entirely by the substructure. Before installing composite, PVC, porcelain, or wood, the joist framing must be engineered to handle specific load deflections and moisture exposure. For standard residential porches, 2x8 or 2x10 pressure-treated joists spaced 16 inches on center (OC) are the baseline. If you plan to install any porch flooring on a diagonal pattern, you must reduce the joist spacing to 12 inches OC to prevent board deflection and fastener fatigue.
Applying joist tape is non-negotiable for protecting the top edge of the joists from moisture rot. However, material chemistry matters. Avoid asphalt-based joist tapes; they soften and lose adhesion when exposed to direct summer UV and high heat. According to guidelines from the North American Decking and Railing Association (NADRA), butyl-based flashing tapes (such as Trex Protect or G-Tape) maintain their adhesive integrity across temperature extremes ranging from -20°F to 180°F, providing a permanent moisture barrier that prevents the joist tops from checking and rotting.
Composite Decking: Hidden Fastener Systems and Thermal Gapping
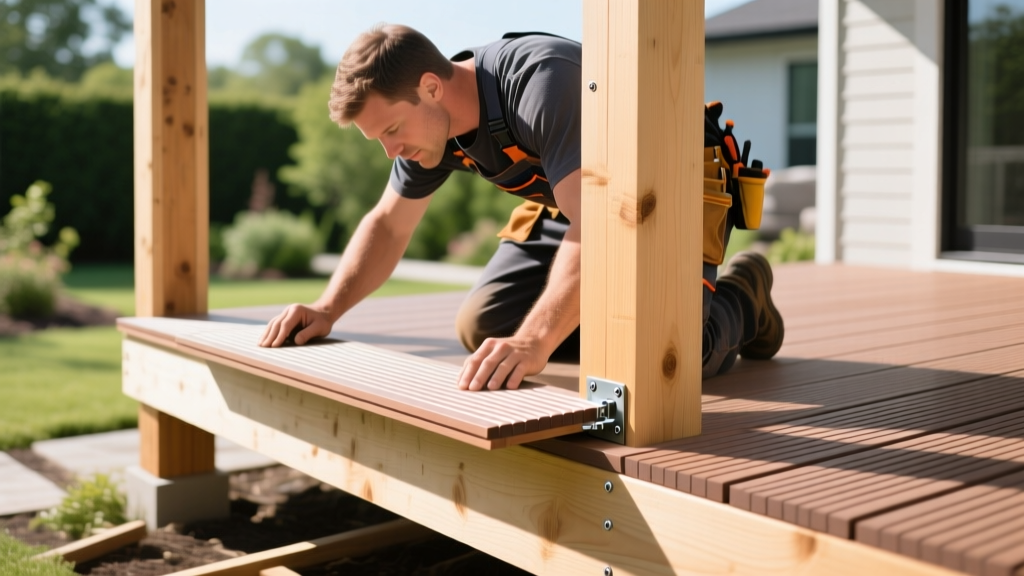
High-end capped composite boards (like Trex Transcend Lineage or TimberTech Landmark) are the most popular porch flooring options due to their low maintenance, but they are highly sensitive to thermal expansion. Installation requires a hidden fastener system and strict adherence to temperature-based gapping calculations.
Step-by-Step Hidden Fastener Installation
- Starter Board Face-Screw: The first board against the house must be face-screwed using color-matched composite screws (e.g., TrapEase 3). Pre-drill the holes at a 45-degree angle to prevent the dense composite cap from mushrooming.
- Insert Hidden Clips: Use manufacturer-specific stainless steel clips (such as Trex Universal or TimberTech CONCEALoc). Insert the clip into the groove of the starter board and drive the provided stainless steel screw into the joist at a 45-degree angle.
- Seat the Next Board: Slide the groove of the next board over the exposed clip tongue. Use a specialized composite spacing tool (like the Trex Hideaway Spacer) to maintain a uniform 3/16-inch side gap.
- End-Joint Staggering: Never align end joints on the same joist. Stagger end joints by at least two joist bays. When joining two boards end-to-end on a single joist, use a double-joist setup (sister two joists together) to allow each board its own dedicated fastening clip and independent expansion room.
Thermal Expansion Calculations
Composite boards expand and contract primarily along their length. The general rule for capped composites is to leave a 1/8-inch end gap for every 40°F difference between the installation temperature and the maximum expected summer temperature. If you are installing boards at 50°F in the spring, and your region hits 90°F in July (a 40°F delta), leave a 1/8-inch gap at all end joints and butt joints against walls. For a detailed breakdown of gapping charts by specific temperature zones, refer to the Trex Official Installation Guides.
Cellular PVC Porch Boards: Face Fastening and Plug Systems
Cellular PVC porch boards (such as AZEK Porch) feature a traditional tongue-and-groove profile, creating a solid, gapless floor ideal for covered porches or second-story decks where water drainage below is a concern. Because PVC expands and contracts at a significantly higher rate than wood or composite, hidden clip systems are rarely used. Instead, face fastening with concealed plugs is the industry standard.
| Specification | Capped Composite (Grooved) | Cellular PVC (T&G) |
|---|---|---|
| Max Joist Spacing (Perpendicular) | 16" OC | 16" OC |
| Max Joist Spacing (Diagonal) | 12" OC | 12" OC |
| Fastening Method | Hidden Stainless Clips | Face Screw + PVC Plug |
| Thermal Movement Rate | Low (1/8" per 40°F) | High (1/8" per 20°F) |
The Cortex Hidden Fastening System for PVC
To install PVC porch boards without visible screw heads, use the Cortex Hidden Fastening System. This system utilizes a specialized setting tool that drives a stainless steel screw and simultaneously countersinks it to the exact depth required. A pre-colored PVC plug (matched to the specific AZEK or TimberTech colorway) is then tapped into the hole using a rubber mallet. Pro-Tip: When installing PVC tongue-and-groove, do not force the tongue tightly into the groove. Leave a 1/32-inch gap inside the joint. If installed too tightly in cold weather, the PVC will buckle and warp when it expands in the summer heat. Blind-nailing through the tongue at a 45-degree angle with 2-inch stainless steel ring-shank nails is an acceptable alternative to face-plugging for covered, low-traffic porches.
Porcelain Pavers: Adjustable Pedestal Systems
For flat-roof porches, concrete slab porches, or high-end modern designs, 2cm thick exterior porcelain pavers installed over an adjustable pedestal system represent the pinnacle of durable porch flooring options. This method creates a floating floor, allowing water to drain freely beneath the pavers to the primary waterproof membrane below.
Pedestal Layout and Slope Correction
Pedestal systems (such as those manufactured by Buzon or Joubert) consist of a base, a telescoping stem, and a head that supports the corners of four adjacent pavers.
- Base Preparation: The substrate (concrete or EPDM/TPO membrane) must be clean and free of sharp debris. Place a protective rubber pad under each pedestal base to prevent membrane puncture.
- Height Adjustment: Pedestals are adjusted by rotating the collar on the stem. Use a digital laser level set to the desired finished floor height. Pedestals can accommodate height differences from 1 inch up to 36 inches.
- Slope Correctors: If the underlying concrete slab has a 1% to 5% slope for drainage, you must insert slope corrector shims into the pedestal head. This ensures the porcelain pavers remain perfectly level (0% slope) while the water drains on the sloped substrate below. Failure to use slope correctors will result in a sloped finished floor and rocking pavers.
The Tile Council of North America (TCNA) provides extensive guidelines on exterior tile assemblies, noting that 2cm porcelain pavers on pedestals can support concentrated loads exceeding 1,000 lbs per paver, making them suitable for heavy outdoor kitchen equipment and hot tubs.
Pressure-Treated Southern Yellow Pine: Traditional Face-Screwing
For budget-conscious projects or traditional aesthetics, Kiln-Dried After Treatment (KDAT) pressure-treated Southern Yellow Pine remains a viable option. Unlike standard wet PT lumber, KDAT wood has been re-dried after chemical treatment, significantly reducing post-installation shrinking, warping, and checking.
The CAMO Edge Fastening Method
To avoid the "mushrooming" effect caused by driving screws directly through the face of dense pine, use the CAMO Marksman Pro edge fastening tool. This jig clamps onto the board and guides a specialized #7 CAMO screw at a 45-degree angle directly into the side of the board, just below the surface. This leaves the top face completely smooth and free of water-catching screw heads. For the final board against the house, use the CAMO Marksman Edge tool to drive screws at an angle where they will be hidden by the final fascia trim.
2026 Installation Cost and Material Matrix
When budgeting for porch flooring options, material costs are only half the equation. Labor intensity varies drastically between hidden fastener systems, pedestal layouts, and traditional face-screwing. The following matrix outlines current 2026 national averages for professional installation, including substructure preparation, fasteners, and finishing.
| Porch Flooring Material | Material Cost (per sq. ft.) | Labor & Fasteners (per sq. ft.) | Total Installed Cost |
|---|---|---|---|
| KDAT Pressure-Treated Pine | $3.50 - $5.00 | $6.00 - $8.00 | $9.50 - $13.00 |
| Capped Composite (Grooved) | $8.00 - $12.50 | $9.00 - $13.00 | $17.00 - $25.50 |
| Cellular PVC (T&G Porch) | $9.50 - $14.00 | $11.00 - $15.00 | $20.50 - $29.00 |
| 2cm Porcelain on Pedestals | $11.00 - $18.00 | $14.00 - $22.00 | $25.00 - $40.00 |
Selecting the right porch flooring option requires matching the material's physical properties with your specific structural capabilities and budget. Whether you are engineering a solid-slope PVC porch to protect a lower-level patio, or deploying adjustable pedestals for a modern porcelain roof deck, strict adherence to manufacturer gapping tolerances, substructure slope requirements, and compatible fastener metallurgy will ensure the installation survives decades of thermal cycling and moisture exposure.
Written by
David NakamuraDavid Nakamura is a licensed architect (AIA) and construction technology writer focused on sustainable building methods, mass timber engineering, and high-performance building envelopes. He holds a Master of Architecture from the University of Washington and is a certified Passive House Consultant (CPHC). David spent eight years at the Seattle firm Mithun, where he led the design of three LEED Platinum projects, before founding his own practice specializing in net-zero residential design. He serves on the editorial advisory board of GreenBuilder Magazine and has authored peer-reviewed papers on cross-laminated timber (CLT) connections for the Journal of Structural Engineering. In his spare time, David teaches woodworking at Pratt Fine Arts Center and kayaks the Puget Sound.
More from David Nakamura
View all
Construction Cost
Labor Cost to Build a Deck Per Sq Ft: 2026 Installation Guide
Discover the exact labor cost to build a deck per sq ft in 2026. This installation guide breaks down contractor rates, complexity factors, and hidden fees.
Aug 4, 2026

Construction Cost
How Much Does It Cost to Build a 3 Bedroom House? Financing Guide
Learn exactly how much it costs to build a 3 bedroom house and explore 2026 financing options, construction loan types, and budget frameworks for your build.
Aug 4, 2026

Construction Cost
Cost to Build a Tennis Court: 2026 Guide
How much does it cost to build a tennis court in 2026? Breakdowns for asphalt, concrete, and synthetic surfaces plus fencing and lighting.
Jul 30, 2026