How to Install a Crushed Gravel Shed Foundation: Step-by-Step Guide
Learn how to install a crushed gravel shed foundation with our step-by-step guide. Includes material calculations, drainage tips, and compaction.
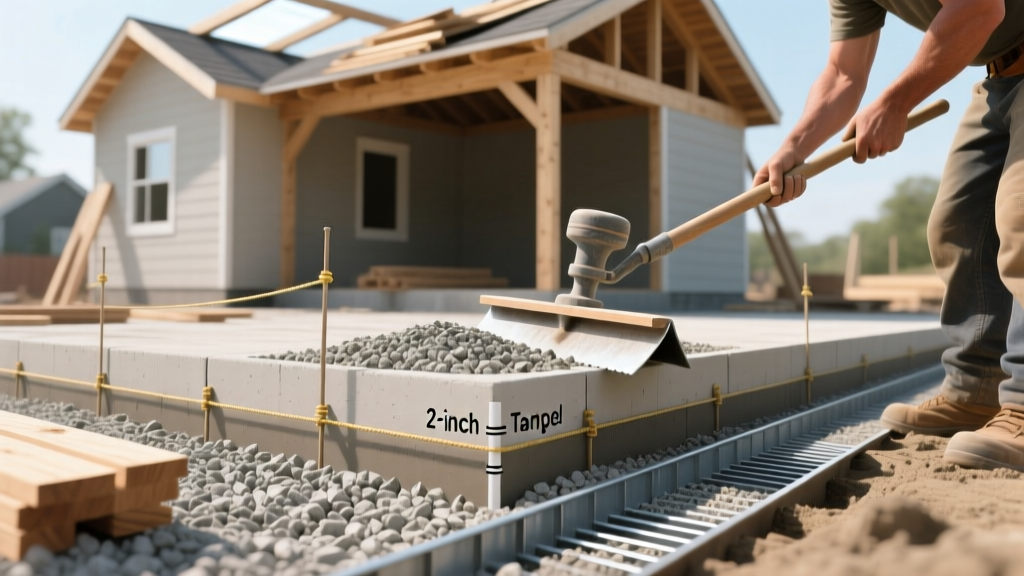
Why Choose a Crushed Gravel Base?
A crushed gravel shed foundation offers the optimal balance of structural support, drainage, and cost-efficiency for light to medium-duty outbuildings. Unlike concrete slabs that trap moisture and crack under frost heave, a properly constructed gravel pad allows water to percolate through the aggregate and disperse into the subgrade. The key to this system is using angular, crushed stone rather than smooth river rock. The sharp edges of crushed aggregate interlock under pressure, creating a semi-rigid surface that resists lateral shifting while maintaining high permeability.
Material and Tool Matrix for a 10x12 Foot Shed
Accurate material estimation prevents mid-project delays. The following matrix details the exact specifications and quantities required for a standard 10x12 foot (120 square feet) gravel pad with a 4-inch compacted depth and a timber perimeter.
| Item | Specification | Quantity (10x12 Pad) |
|---|---|---|
| Crushed Stone | 3/4-inch minus (#57 stone or crusher run) | 1.5 to 2 cubic yards |
| Perimeter Timbers | 4x4 Pressure-Treated (UC4A Ground Contact) | Four 12-foot lengths |
| Geotextile Fabric | 4 oz to 6 oz Non-Woven Polypropylene | One 10x15 foot roll |
| Structural Screws | 1/4-inch x 8-inch Hex-Head (e.g., Simpson SDS) | 16 screws |
| Landscape Spikes | 3/8-inch x 18-inch Galvanized Steel | 8 to 12 spikes |
Phase 1: Site Layout and Excavation
The most critical step in shed foundation installation occurs before any dirt is moved. A poorly squared layout will result in a timber frame that refuses to close, forcing you to compromise on structural integrity.
Step 1: Establishing the Perimeter and Diagonals
- Drive four wooden stakes into the ground, slightly outside the intended 10x12 footprint.
- Tie mason string tightly between the stakes to outline the 10-foot and 12-foot dimensions.
- Verify squareness using the Pythagorean theorem. For a 10x12 rectangle, the diagonal measurement must be exactly 15.62 feet (15 feet, 7.4 inches). Measure from the outside corner of one stake to the opposite corner. Adjust the stakes until both diagonal measurements match perfectly.
Step 2: Excavating the Subgrade
Remove all topsoil and organic matter within the string lines. Organic material retains moisture and compresses over time, leading to foundation settlement. Excavate to a depth of 8 inches: 4 inches for the subgrade base and 4 inches for the gravel fill. Use a hand tamper or the back of a steel rake to level the exposed subsoil. According to NRCS guidelines on site drainage, ensuring a slight 1% to 2% grade away from adjacent structures prevents surface water from pooling under the shed.
Phase 2: Perimeter Framing and Geotextile Installation
The timber frame acts as a retaining wall for the aggregate. Never use standard above-ground treated lumber (UC3B) for this application. You must purchase lumber stamped with the AWPA UC4A or UC4B designation, which indicates it is chemically rated for direct ground contact and resistance to fungal decay.
Constructing the Frame
Cut two 4x4 timbers to exactly 12 feet and two to exactly 10 feet (assuming you are overlapping the corners). Assemble the frame using half-lap joints or by overlapping the corners and driving two 1/4-inch x 8-inch structural timber screws through the face of one timber into the end grain of the adjacent piece. Pre-drill the holes with a 3/16-inch bit to prevent the dense pressure-treated wood from splitting. Once assembled, drop the frame into the excavated trench and drive 18-inch landscape spikes every 3 feet to anchor it to the subgrade.
Lining with Geotextile Fabric
Line the interior of the frame with non-woven geotextile fabric. Do not use cheap, woven black plastic weed barrier from big-box stores; plastic traps water and creates a slip plane under the gravel. Non-woven fabric allows water to drain while preventing the crushed stone from migrating down into the soil subgrade. Drape the fabric over the inside walls of the timber frame and secure it temporarily with landscape staples.
Never substitute crushed stone with pea gravel or smooth river rock for a shed foundation. Smooth stones lack angular edges and cannot interlock. Under the dynamic load of a shed (wind shear, door opening/closing, foot traffic), pea gravel will shift and roll, causing the shed floor joists to sag and the structure to rack out of square.
Phase 3: Gravel Spreading and Mechanical Compaction
Filling the pad is not simply a matter of dumping stone and raking it flat. Proper compaction is what transforms loose rock into a load-bearing platform.
- First Lift: Spread the first 2 inches of #57 crushed stone evenly across the geotextile fabric. Rake it level.
- Moisture Conditioning: Lightly mist the stone with a garden hose. Crushed stone compacts best at its Optimum Moisture Content (OMC). It should look damp, but water should not be pooling on the surface.
- Initial Compaction: Run a vibratory plate compactor (minimum 3,000 lbs of centrifugal force) over the first lift. Make two passes in perpendicular directions (North-South, then East-West).
- Second Lift: Add the remaining 2 inches of stone, rake level, mist with water, and repeat the compaction process.
- Final Grade: The finished gravel surface should be perfectly flush with the top edge of your 4x4 timber perimeter. Use a long, straight 2x4 as a screed board to strike off any high spots.
Common Installation Failures and Edge Cases
- Skipping the Plate Compactor: Hand tamping is insufficient for a 120-square-foot pad. Without mechanical vibration, the lower layers of gravel will settle months after the shed is built, causing the floor to bounce and doors to bind.
- Ignoring Frost Line Dynamics: In northern climates, a gravel pad is considered a 'floating' foundation. It will move slightly with seasonal frost heave. This is normal and acceptable for sheds, but if you are anchoring the shed to the pad, use flexible anchor brackets rather than rigid concrete straps that will snap when the pad shifts.
- Overhanging Roof Drip Lines: If your shed roof overhangs the gravel pad, rainwater will wash out the edges of the gravel over time. Install crushed stone riprap or a French drain along the perimeter to manage roof runoff.
Frequently Asked Questions
Can I build a shed foundation on a sloped yard?
Yes, but it requires modifying the excavation. For slopes greater than a 5% grade, you must excavate into the hillside to create a level terrace rather than building up the low side with fill dirt. Fill dirt on the low side will inevitably settle and wash out, taking your gravel pad with it. Retain the excavated cut with larger 6x6 timbers on the downhill side.
Do I need to treat the cut ends of my pressure-treated timbers?
Absolutely. Whenever you cut a pressure-treated 4x4, you expose untreated, vulnerable heartwood. You must brush on a copper naphthenate-based end-cut preservative (such as Copper-Green) to all cut faces and drilled holes before assembling the frame. Failure to do so will result in rot starting exactly at the corner joints.
How long should I wait before building the shed on the gravel pad?
Unlike concrete, which requires a 28-day curing period to reach full compressive strength, a mechanically compacted crushed gravel shed foundation is ready for immediate construction. Once the final pass with the plate compactor is complete and the surface is screeded level, you can begin laying your pressure-treated floor joists or skids the exact same day.