Smart Basement Ideas: Moisture-Proof Finishes & Cleaning Playbooks
Discover smart basement ideas featuring moisture-proof finishes, mold-resistant materials, and practical cleaning playbooks for below-grade spaces.
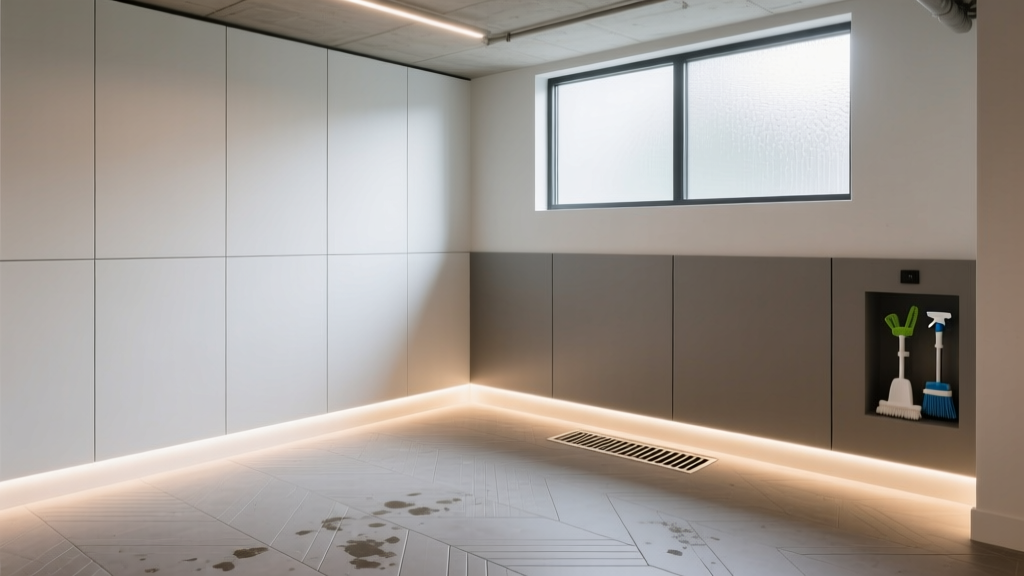
The Reality of Below-Grade Design: Why Standard Finishes Fail
Most basement remodeling projects prioritize aesthetics over building science, leading to catastrophic moisture failures within three to five years. When searching for basement ideas, homeowners frequently select organic materials like wood subfloors, paper-faced drywall, and fiberglass batt insulation. In a below-grade environment, these materials act as sponges. Concrete walls are inherently porous, allowing ground moisture to migrate inward via capillary action. When warm, humid summer air meets these cool, moisture-loaded surfaces, condensation forms, creating an ideal breeding ground for Stachybotrys and Aspergillus mold.
A maintenance-first approach to basement design flips the traditional remodeling playbook. By specifying inorganic, moisture-tolerant materials and designing for easy access and cleaning, you eliminate the root causes of below-grade degradation. This guide details the exact material specifications, assembly techniques, and ongoing cleaning playbooks required to keep a finished basement dry, healthy, and structurally sound.
Material Matrix: Traditional vs. Maintenance-Optimized Assemblies
The foundation of a low-maintenance basement lies in material substitution. The following matrix contrasts standard builder-grade choices with high-performance, moisture-resistant alternatives that drastically reduce long-term upkeep.
| Assembly Component | Traditional (High Maintenance Risk) | Maintenance-Optimized (Moisture-Proof) |
|---|---|---|
| Subfloor | Pressure-treated sleepers over poly sheeting | Delta-FL membrane or Dricore R+ panels |
| Wall Insulation | Fiberglass batts in direct contact with concrete | 2-inch XPS rigid foam (e.g., FOAMULAR) |
| Drywall | Standard paper-faced gypsum board | Fiberglass-mat gypsum (e.g., DensArmor Plus) |
| Finish Flooring | Carpet with synthetic pad or engineered hardwood | SPC Luxury Vinyl Plank (20-mil wear layer) |
| Trim & Baseboards | MDF or solid pine | Cellular PVC trim (e.g., AZEK) |
Flooring and Subfloor Playbooks
The concrete slab in a basement is never truly dry; it continuously off-gasses moisture vapor. Installing flooring directly over the slab traps this vapor, leading to adhesive failure and mold growth.
The Capillary Break Subfloor
Before laying any finish floor, install a dimpled polyethylene subfloor membrane like Delta-FL (approximately $1.60 per square foot) or interlocking OSB panels like Dricore ($2.50 to $3.00 per square foot). These products create a 5/16-inch air gap between the concrete and the flooring. This gap allows moisture vapor to dissipate laterally toward the perimeter, where it can be managed by the space's dehumidification system. Furthermore, this air gap provides a thermal break, raising the floor surface temperature by up to 5°F, which prevents the condensation that occurs when warm room air hits a cold slab.
Specifying the Right Finish Floor
Avoid Wood Plastic Composite (WPC) vinyl planks, as their foamed cores are susceptible to expansion and contraction in below-grade temperature fluctuations. Instead, specify Stone Plastic Composite (SPC) rigid core LVP. SPC features a dense limestone-polymer core that remains dimensionally stable between 50°F and 90°F. Ensure the product has a minimum 20-mil wear layer and an attached IXPE acoustic pad. When cleaning, SPC requires only a pH-neutral floor cleaner and a microfiber mop; it will never require the deep extraction cleaning that basement carpets demand.
Wall Assemblies That Resist Biological Growth
The most common failure mode in basement wall design is the placement of a polyethylene vapor barrier on the warm-in-winter side (the interior) of the wall assembly. According to Building Science Corporation, this traps moisture inside the wall cavity during the summer months when the interior air conditioning cools the drywall below the dew point of the interior air.
Never install a 6-mil polyethylene vapor barrier on the interior face of your basement wall framing. If moisture migrates through the concrete and into the cavity, the poly barrier prevents it from drying to the interior, guaranteeing mold growth inside the wall. Rely on the exterior waterproofing and interior rigid foam as your primary moisture control layers.
The Correct Framing and Insulation Sequence
- The Air Gap: Frame your 2x4 stud walls with a strict 1-inch gap between the back of the studs and the concrete foundation wall. This prevents capillary wicking from the concrete into the wood framing.
- Rigid Insulation: Adhere 2-inch thick extruded polystyrene (XPS) rigid foam boards directly to the concrete using a compatible foam adhesive. XPS (like Owens Corning FOAMULAR) has a perm rating of roughly 1.1, acting as a Class II vapor retarder while providing an R-10 thermal break.
- Seal the Seams: Tape all XPS seams with Tyvek Acrylic Tape or compatible sheathing tape, and spray expanding polyurethane foam (like Great Stuff Pro Gaps & Cracks) along the perimeter where the foam meets the slab and the rim joist.
- The Drywall: Install Georgia-Pacific DensArmor Plus or an equivalent fiberglass-mat drywall. Because it lacks the paper facing of traditional gypsum, it offers no food source for mold spores, even if the cavity experiences a minor humidity spike.
The Quarterly Cleaning and Inspection Playbook
Even with perfect material selection, a basement requires a structured maintenance routine to manage the inevitable dust, organic debris, and humidity fluctuations. Implement this specific cleaning playbook to maintain optimal air quality.
Monthly: Dust and Dehumidifier Maintenance
- HEPA Vacuuming: Vacuum all SPC flooring and baseboards using a sealed-system HEPA vacuum. Standard vacuums exhaust micro-particulates back into the room, which settle and feed dust mites.
- Dehumidifier Coil Cleaning: Unplug the dehumidifier and use a soft brush attachment to remove dust from the intake grill and condenser coils. A clogged coil forces the compressor to work 30% harder, increasing energy costs and risking premature compressor burnout.
- Filter Replacement: If your basement HVAC return utilizes a MERV-11 or MERV-13 filter, replace it every 60 days. Below-grade air handles heavier particulate loads from soil gases and concrete dust.
Quarterly: Biological Inspection and Surface Cleaning
- Perimeter Inspection: Run a digital moisture meter (such as the General Tools MMD4E) along the bottom 12 inches of all drywall and baseboards. Readings above 15% indicate a hidden leak or capillary failure requiring immediate investigation.
- Condensate Line Flush: Pour a 50/50 mixture of distilled white vinegar and warm water down the dehumidifier's continuous drain line. This clears biofilm and algae buildup that can cause the line to clog and overflow onto the floor.
- Mold Remediation Prep: Keep a bottle of Concrobium Mold Control on hand. If you spot surface mold on non-porous surfaces, avoid bleach. Bleach is 90% water; it kills surface spores but the water content penetrates porous materials, feeding the root structure. Concrobium uses sodium carbonate to crush the mold spore at the root without adding moisture.
"Moisture control is the key to mold control. If mold is a problem in your home, you need to clean up the mold and fix the moisture problem."
— United States Environmental Protection Agency (EPA)
HVAC and Air Quality Management
A finished basement cannot rely on the home's primary HVAC system alone for moisture management. The cooling load of a basement is often too low to trigger the central air conditioner frequently enough to dehumidify the space, especially during the shoulder seasons (spring and fall) when humidity is high but temperatures are mild.
Sizing and Installing a Dedicated Dehumidifier
For a standard 1,000-square-foot basement, specify a 50-pint dehumidifier rated under the current Department of Energy (DOE) testing standards (which measure capacity at 65°F and 60% relative humidity, unlike the older 80°F standard). Models like the AlorAir Storm or Frigidaire 50-Pint are engineered for continuous below-grade operation.
Installation Specifics:
- Elevate the unit on a sturdy platform or shelf to improve air circulation and make filter access easier.
- Run a 3/4-inch PVC or clear vinyl continuous drain hose to a floor drain or sump pit.
- Maintain a strict downward pitch of 1/4 inch per foot for the entire length of the drain hose. Any sagging in the hose will create a P-trap effect, halting gravity drainage and triggering the unit's internal bucket-full shutoff switch.
- Set the target relative humidity to 45%. Dropping it below 40% in a basement will overwork the compressor and potentially draw excessive moisture through the concrete slab, leading to slab curling or efflorescence.
By integrating these moisture-proof materials and adhering to a strict, data-driven cleaning playbook, your basement will remain a dry, healthy, and highly functional extension of your living space for decades, entirely bypassing the costly teardowns associated with traditional below-grade finishes.