Master Composition Shingles Installation: Step-by-Step Guide
Master composition shingles installation with our pro guide. Learn exact nailing patterns, underlayment specs, and flashing techniques for a leak-proof roof.
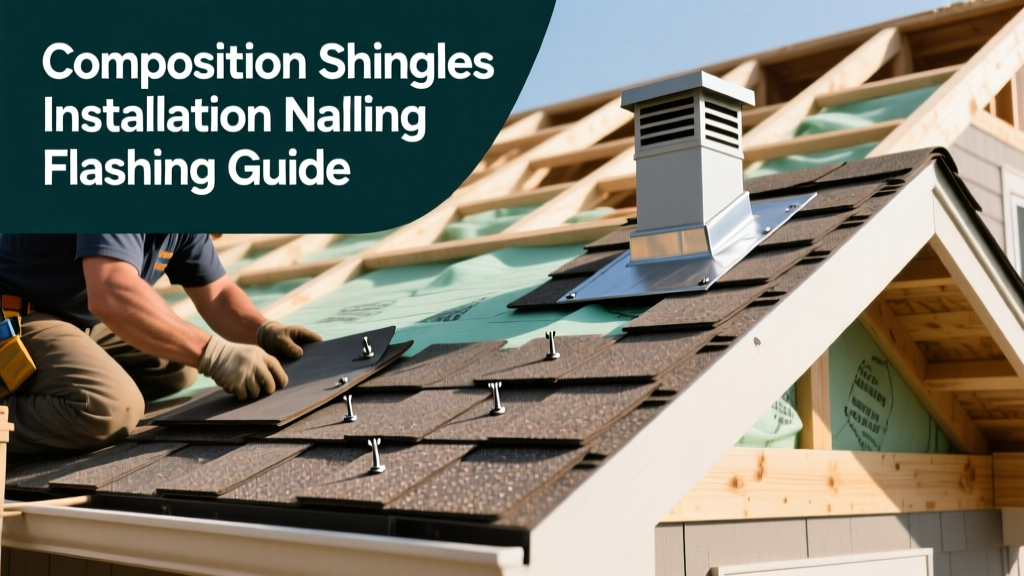
Technical Prerequisites for Composition Shingle Systems
Composition shingles—technically classified as asphalt-saturated fiberglass mat shingles under ASTM D3462—remain the dominant residential roofing material in North America. However, the transition from standard 3-tab to heavy-weight architectural laminates (such as GAF Timberline HDZ or Owens Corning Duration) has fundamentally altered installation tolerances. Modern architectural shingles feature thicker sealant strips, varied shadow lines, and stricter wind-uplift requirements. A flawless application requires strict adherence to manufacturer offsets, precise pneumatic pressure calibration, and code-compliant underlayment sequencing.
This guide details the exact installation procedures, material specifications, and nailing matrices required to secure a composition shingle roof system that meets 2026 International Residential Code (IRC) standards and qualifies for enhanced wind warranties.
Material and Fastener Specifications
Before loading the roof, verify all materials meet current industry standards. Using outdated or mismatched components is the primary cause of premature system failure.
- Shingles: Architectural laminates (minimum 240 lbs per square). Verify the UL 790 Class A fire rating and ASTM D3161 Class F wind resistance (110 mph).
- Underlayment: Synthetic roofing underlayment (e.g., TigerPaw or Deck-Armor) meeting ASTM D226 Type II equivalents. Avoid traditional #15 asphalt felt, which absorbs moisture and wrinkles under modern thick shingles.
- Ice and Water Shield: Self-adhering polymer-modified bitumen membrane meeting ASTM D1970. Required at eaves, valleys, and penetrations.
- Fasteners: 11 or 12-gauge hot-dipped galvanized roofing nails. Minimum shank diameter of 0.113 inches. Length must be 1-1/4 inches for standard decking, or 2 inches if installing over an existing single layer of shingles.
Calibrate your coil roofing nailer every morning and after any compressor change. The nail head must sit perfectly flush with the shingle surface. Overdriven nails fracture the fiberglass mat, voiding the warranty, while underdriven nails will puncture the overlapping shingle and prevent the sealant strip from engaging.
Deck Preparation and Underlayment Sequencing
The longevity of composition shingles relies entirely on the substrate. Inspect the roof deck (minimum 15/32-inch OSB or plywood for 24-inch rafter spacing) for delamination, soft spots, or protruding fasteners. Replace any compromised sheeting and hammer down all raised nails.
Drip Edge and Ice Barrier Integration
The sequencing of drip edge and underlayment is a common point of failure that violates building codes if executed incorrectly.
- Eaves (Bottom Edge): Install the metal drip edge directly to the deck. Roll the synthetic underlayment over the drip edge. This ensures water traveling down the underlayment exits over the metal, not behind it into the fascia.
- Rakes (Side Edges): Install the synthetic underlayment first, then install the drip edge over the underlayment. This prevents wind-driven rain from blowing up and under the side edges.
- Ice and Water Shield: Apply the self-adhering membrane over the underlayment at the eaves, extending at least 24 inches past the interior warm wall line. In valleys, center a 36-inch wide strip of ice and water shield directly over the valley centerline.
Starter Strip and First Course Alignment
Never skip the starter strip, and never substitute it by simply flipping a standard 3-tab shingle upside down. Flipping a 3-tab places the sealant strip at the bottom edge, where it cannot bond to the first course of architectural shingles, leaving the eaves vulnerable to wind uplift.
Use a dedicated continuous starter strip (like GAF Pro-Start) or cut the tabs off a 3-tab shingle, leaving the top sealant portion intact. Install the starter strip with a 1/4-inch to 3/4-inch overhang past the drip edge. Fasten with four nails per piece, positioned low enough to be covered by the first course of shingles but high enough to catch the deck.
Most architectural composition shingles require a strict 5-5/8 inch or 6-inch exposure per course. Snapping horizontal chalk lines every 5-5/8 inches from the eave to the ridge is mandatory. Relying on the shingle's top edge to self-align will result in severe aesthetic waviness and structural weakness by the time you reach the ridge.
Architectural Shingles Nailing Matrix
Proper nailing is the single most critical factor in achieving the manufacturer's wind warranty. According to the Asphalt Roofing Manufacturers Association (ARMA), nail placement must fall strictly within the designated nailing zone—typically a 1-inch to 1-1/2-inch band located just below the sealant strip.
| Wind Zone / Condition | Nail Count | Placement Zone | Deck Penetration |
|---|---|---|---|
| Standard (Up to 110 mph) | 4 Nails per shingle | 5-5/8' down from top edge | Min. 3/4' into wood deck |
| High Wind (110 - 130 mph) | 6 Nails per shingle | Manufacturer specific HVHZ zone | Min. 3/4' into wood deck |
| Rake Edges & Eaves | 6 Nails per shingle | Standard nailing zone | Min. 3/4' into wood deck |
| Ridge Caps | 2 Nails per piece | 1' from edge, 1' from end | Penetrate both roof planes |
For comprehensive wind uplift resistance, the IBHS FORTIFIED Home standard mandates 6-nail patterns across the entire roof deck in hurricane-prone regions, combined with sealed roof decks to prevent water intrusion if shingles are lost during a storm.
Valley Flashing and Ridge Vent Integration
Valleys channel the highest volume of water and are the most common leak sources. For modern thick architectural composition shingles, the woven valley method is obsolete; the laminates are too thick to lay flat when woven. Use the closed-cut valley method.
- Install the 36-inch ice and water shield in the valley center.
- Run shingles from the low-slope side across the valley, extending at least 12 inches onto the adjoining roof plane.
- Run shingles from the steep-slope side over the valley, and snap a chalk line 2 inches from the valley centerline on the low-slope side.
- Cut the steep-slope shingles along the chalk line. Apply a 3-inch wide bead of roofing cement (ASTM D4586) under the cut edge to seal it against water infiltration.
Ridge Vent Installation
Proper attic ventilation is required to maintain the shingle manufacturer's warranty. When installing a ridge vent (such as Cobra SnowCountry), cut a continuous 1-inch slot on both sides of the ridge board. Do not cut into the ridge board itself. Install the vent using 2-1/2 inch galvanized roofing nails that penetrate through the roof deck, securing the system against extreme uplift forces.
Top 4 Installation Failure Modes to Avoid
Even premium composition shingles will fail prematurely if subjected to poor workmanship. Monitor your crew for these critical errors:
Architectural shingles require a specific side-to-side offset between courses (usually 5-5/8 inches or 6 inches, depending on the brand). Failing to maintain this offset aligns the vertical joints, creating a continuous channel for wind-driven rain and severely weakening the roof's shear strength.
If a nail is placed too high, it pierces the adhesive sealant strip. This prevents the shingle above from bonding properly, resulting in 'zippering' during high winds where entire rows peel off sequentially.
Composition shingles become brittle below 40°F (4°C). Installing in freezing temperatures without hand-sealing the tabs with roofing cement will result in immediate blow-offs. Conversely, installing in extreme heat (>90°F) can cause scuffing and permanent granule loss from foot traffic.
Pre-folded ridge caps must be installed with the exposed portion facing away from the prevailing wind. Each piece must overlap the previous one by at least 5 inches, with nails placed where they will be covered by the next overlapping piece.
Frequently Asked Questions
Can I install new composition shingles over an existing layer?
While building codes often permit a second layer of shingles, it is highly discouraged. A tear-off allows for deck inspection, proper installation of modern synthetic underlayment, and ensures the new shingles lay flat. Installing over existing shingles voids most manufacturer wind warranties and traps heat, accelerating the aging of the new shingles.
How long does the sealant strip take to activate?
The asphalt-based sealant strips require direct sunlight and ambient temperatures above 50°F to melt and bond. In winter installations, or on north-facing slopes, you must manually apply dabs of ASTM D4586 roofing cement under each tab to secure the shingles until warmer weather arrives.
What is the required slope for composition shingles?
Standard composition shingles require a minimum roof slope of 4:12 (4 inches of vertical rise for every 12 inches of horizontal run). For slopes between 2:12 and 4:12, you must use a double layer of underlayment or a fully adhered ice and water shield membrane across the entire deck, per NRCA guidelines. Never install composition shingles on slopes below 2:12; use a flat roof membrane system instead.