Roof Drip Edge Flashing Cost & Quantity Calculator Guide 2026
Calculate roof drip edge flashing costs and quantities for 2026. Learn material pricing, linear foot estimators, and installation labor rates.
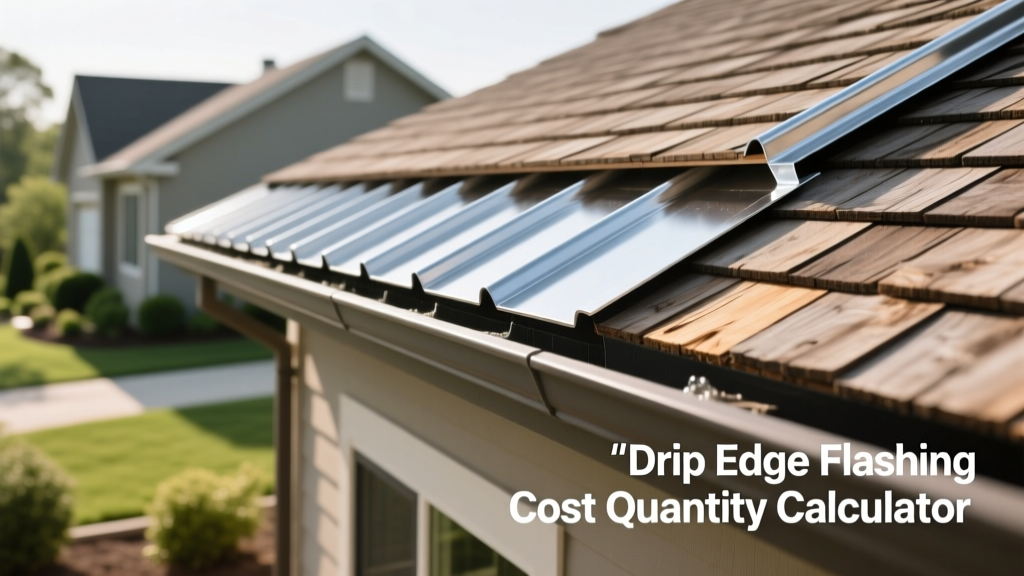
Why Accurate Drip Edge Estimation Matters in 2026
Roof drip edge flashing is no longer an optional upgrade; it is a critical component of modern building envelopes. Mandated by the International Code Council (ICC) under IRC Section R905.2.8.5, drip edge prevents wind-driven rain from wicking back under the shingles and rotting the roof deck and fascia. Furthermore, the Insurance Institute for Business & Home Safety (IBHS) requires sealed drip edges for their FORTIFIED Roof designation, which can lower home insurance premiums by up to 15% in hurricane-prone regions.
Despite its importance, drip edge is frequently miscalculated in roofing estimates. Contractors often use a simplistic perimeter measurement, ignoring mandatory overlaps, waste factors, and material-specific fastener requirements. This guide provides a comprehensive 2026 cost estimation framework and quantity calculator to ensure you order the exact materials needed without overspending or facing project delays due to shortages.
2026 Roof Drip Edge Flashing Material Cost Matrix
Material selection dictates both the upfront cost and the lifecycle of the flashing. In 2026, supply chain stabilization has normalized prices, but premium metals like copper continue to track with global commodities markets. Below is the current pricing matrix for standard 10-foot lengths.
| Material | Gauge / Thickness | Cost per Linear Foot | Cost per 10ft Piece | Expected Lifespan | Best Application |
|---|---|---|---|---|---|
| Aluminum (Mill Finish) | 0.019" (Standard) | $1.25 - $1.50 | $12.50 - $15.00 | 20-30 Years | Standard residential asphalt roofs |
| Aluminum (Painted) | 0.024" (Heavy) | $1.80 - $2.40 | $18.00 - $24.00 | 30-40 Years | Color-matched architectural shingles |
| Galvanized Steel | 26-Gauge | $1.60 - $2.10 | $16.00 - $21.00 | 15-25 Years | Budget-conscious builds, painted metal roofs |
| Galvanized Steel | 24-Gauge | $2.20 - $2.80 | $22.00 - $28.00 | 25-40 Years | High-wind zones, commercial low-slope |
| Copper | 16 oz (Standard) | $7.50 - $9.50 | $75.00 - $95.00 | 50+ Years | Slate, tile, and premium cedar roofs |
| Copper | 20 oz (Heavy) | $10.00 - $13.00 | $100.00 - $130.00 | 70+ Years | Historical restorations, coastal environments |
The Linear Foot Quantity Calculator Formula
The most common mistake in roofing estimation is assuming a 10-foot piece of flashing covers exactly 10 linear feet of roof edge. It does not. The National Roofing Contractors Association (NRCA) and the IRC mandate a minimum 2-inch overlap between pieces to prevent water infiltration during high-wind events.
Step 1: Calculate True Coverage per Piece
A standard 10-foot piece is 120 inches long. Subtracting the mandatory 2-inch overlap leaves 118 inches of actual coverage.
- 118 inches ÷ 12 inches/foot = 9.83 linear feet of true coverage per piece.
Step 2: Determine Base Perimeter
Measure the total length of all eaves (bottom edges) and rakes (gable/side edges). Do not include valleys or ridges, as drip edge is not used in those transitions.
Example Scenario: A simple gable roof with two 40-foot eaves and two 25-foot rakes. Total perimeter = 130 linear feet (LF).
Step 3: Apply the Waste and Complexity Factor
Roofs are rarely perfectly square, and cutting angles for corners generates scrap. Apply a waste multiplier based on roof complexity:
- Simple Gable Roof: Add 5% waste (Multiplier: 1.05)
- Hip Roof (Multiple Corners): Add 10% waste (Multiplier: 1.10)
- Complex Roof (Dormers, Turrets): Add 15% waste (Multiplier: 1.15)
Step 4: Final Piece Calculation
Using the 130 LF gable roof example with a 5% waste factor:
- Adjusted LF = 130 × 1.05 = 136.5 LF
- Pieces Required = 136.5 LF ÷ 9.83 LF/piece = 13.88 pieces
- Final Order Quantity: 14 pieces (Always round up to the nearest whole piece).
Fastener and Accessory Cost Adders
Flashing cannot be installed with standard smooth-shank nails or staples. You must use ring-shank or spiral-shank roofing nails to resist wind uplift. Furthermore, the fastener material must match the flashing material to prevent galvanic corrosion, which will rapidly destroy the metal.
⚠️ Galvanic Corrosion Warning
Never use galvanized steel nails with copper or aluminum flashing. The dissimilar metals will create an electrochemical reaction, causing the nails to corrode and fail within 3 to 5 years. Always use copper nails for copper flashing, and aluminum or stainless-steel nails for aluminum flashing.
| Fastener Type | Size | Cost per 1lb Box (~150 nails) | Compatible Flashing |
|---|---|---|---|
| Galvanized Ring-Shank | 1.5" (11 or 12 gauge) | $8.50 - $11.00 | Galvanized Steel only |
| Aluminum Ring-Shank | 1.5" (12 gauge) | $14.00 - $18.00 | Aluminum, Painted Steel |
| Copper Smooth/Ring-Shank | 1.5" (12 gauge) | $35.00 - $45.00 | Copper only |
| Stainless Steel (304) | 1.5" (11 gauge) | $22.00 - $28.00 | All metals (Universal) |
Estimation Rule of Thumb: You will need approximately 4 to 5 nails per linear foot (spacing nails 12 inches apart in the field, and 4 inches apart at overlaps). For a 130 LF roof, plan for 650 nails, which requires roughly 4.5 pounds of fasteners.
Labor Rates and Pitch Multipliers
If you are hiring a professional roofing contractor, drip edge installation is typically bundled into the overall roof replacement cost, usually adding $1.50 to $3.00 per linear foot to the total invoice. However, if you are requesting a line-item estimate or doing a partial repair, labor costs fluctuate based on roof pitch and accessibility.
The Roof Pitch Multiplier
Working on a steep roof requires specialized fall protection, roof jacks, and slower movement. Contractors apply a pitch multiplier to the base labor rate:
- Low Slope (2/12 to 4/12): Base rate (Multiplier 1.0) — $1.50 to $2.00/LF
- Conventional Slope (5/12 to 8/12): Standard rate (Multiplier 1.2) — $1.80 to $2.40/LF
- Steep Slope (9/12 to 12/12): Premium rate (Multiplier 1.5) — $2.25 to $3.00/LF
- Extreme Slope (13/12+): Custom rigging required (Multiplier 2.0+) — $3.00 to $4.50+/LF
Hidden Cost Triggers & Edge Cases
When budgeting for drip edge replacement, estimators often overlook the preparatory work required before the metal can be nailed down. Factor these potential hidden costs into your 2026 budget:
🔍 Pre-Installation Inspection Checklist
- Fascia Board Rot ($8.00 - $15.00 per LF to replace): Drip edge must be nailed to solid wood. If the existing fascia is spongy or rotted from previous ice damming, it must be replaced. Nailing into rotted wood violates building codes and voids manufacturer warranties.
- Gutter Detachment and Reinstallation ($3.00 - $6.00 per LF): If you are replacing the drip edge without replacing the entire roof, the gutters must be removed to access the existing flashing nails, and reinstalled afterward.
- Ice and Water Shield Integration ($1.50 - $2.50 per sq ft): In northern climates, ice and water shield is required at the eaves. The drip edge must be installed in a specific sequence with this membrane (see code nuances below).
Code Nuances: Eave vs. Rake Installation Sequence
One of the most critical technical details in drip edge installation—and a frequent point of failure in municipal inspections—is the sequencing of the underlayment relative to the flashing. The IRC dictates different installation methods for the eaves (horizontal bottom edges) versus the rakes (sloped side edges).
At the Eaves (Bottom Edge)
The underlayment (or ice and water shield) must be installed over the drip edge. This ensures that any water that gets beneath the shingles flows down the underlayment, over the top flange of the drip edge, and into the gutter. If the drip edge is placed over the underlayment at the eave, water can wick backward under the metal and rot the fascia board.
At the Rakes (Gable/Side Edges)
The underlayment must be installed under the drip edge. Because wind-driven rain hits the rake edges horizontally, placing the metal over the underlayment acts as a physical shield, preventing wind from blowing water up and under the felt or synthetic membrane.
Getting this sequence wrong is a primary reason roofs fail early in high-wind and ice-dam regions. Ensure your contractor explicitly outlines this sequencing in their scope of work.
DIY vs. Professional Installation ROI
Installing drip edge on a single-story, low-pitch shed or garage is a highly viable DIY project. A homeowner can complete a 100 LF perimeter in an afternoon using basic tin snips and a drill, saving roughly $250 in labor. However, for multi-story homes or roofs with a pitch steeper than 6/12, the ROI of DIY plummets due to safety risks and the need for specialized metal brakes to bend custom outside corners. Professional crews possess the insurance, fall protection, and pneumatic coil nailers required to install the flashing rapidly and to code, making professional installation the only logical choice for primary residences.