How to Install Rolled Roofing on Low-Slope Sheds and Outbuildings
Step-by-step guide to installing rolled roofing on sheds and outbuildings. Covers deck prep, adhesive methods, nailing patterns, and seam sealing.
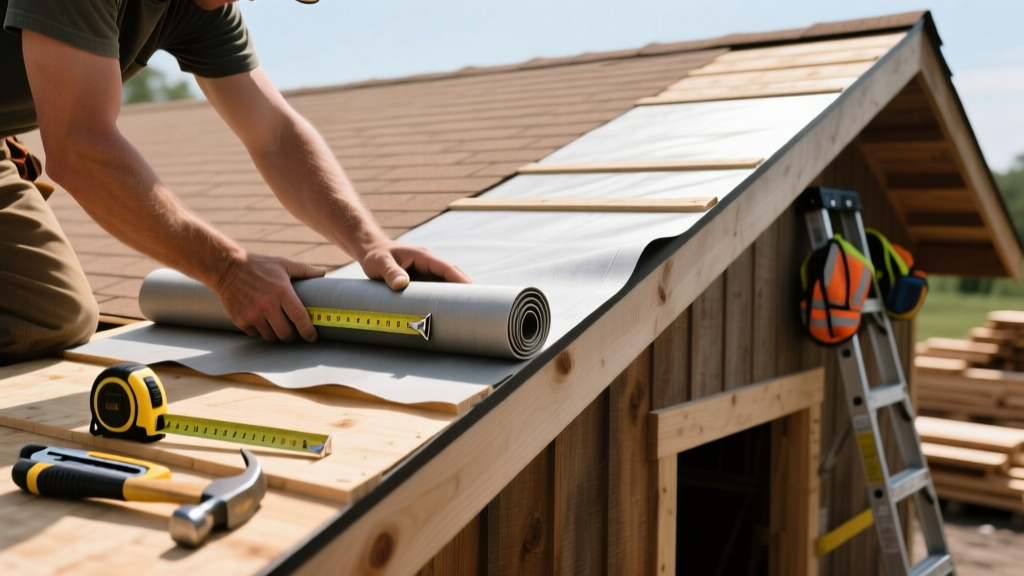
Assessing Roof Pitch and Material Selection
Mineral-surfaced roll roofing (MSR) is an asphalt-based membrane reinforced with organic or fiberglass mats, designed specifically for budget-conscious applications on secondary structures like sheds, barns, and detached workshops. While it shares a chemical lineage with asphalt shingles, its installation protocol is entirely different. The most critical pre-installation metric is roof pitch. Rolled roofing requires a minimum slope of 2:12 (a 2-inch vertical drop for every 12 horizontal inches). Installing MSR on slopes below 2:12 guarantees water ponding, which will rapidly degrade the asphalt matrix and cause seam failure.
When selecting materials, look for fiberglass-reinforced options over organic felt mats. Fiberglass mats (such as those used in GAF Ruberoid or IKO Roll Roofing) offer superior tensile strength and resist the tearing that commonly occurs when the roof deck expands and contracts during seasonal temperature swings. Expect to pay between $0.50 and $0.85 per square foot for premium fiberglass MSR, compared to $0.35 for lower-grade organic mats.
Essential Tools and Material Specifications
Proper fastening and sealing dictate the lifespan of a rolled roof. Do not substitute standard smooth-shank nails or generic caulks for the specialized fasteners and cements required for MSR.
| Material / Tool | Specification Requirement | Purpose |
|---|---|---|
| Roofing Nails | 11-gauge galvanized, 3/4' to 1' head, 1' to 1.25' shank | Prevents rust bleed and provides adequate pull-out resistance in OSB/plywood. |
| Roof Cement | Asphalt plastic cement (e.g., Henry 208R or Karnak 99) | Creates a watertight, flexible bond at overlaps and penetrations. |
| Underlayment | Synthetic felt or #15 asphalt-saturated felt | Secondary water barrier and slip sheet to prevent asphalt adhesion to the wood deck. |
| Chalk Line | Blue or white chalk (never red) | Red chalk contains dyes that will permanently bleed through light-colored MSR granules. |
Step-by-Step Installation Procedure
1. Deck Preparation and Edge Flashing
The roof deck must be clean, dry, and structurally sound. Sweep away all sawdust, debris, and protruding nail heads. If using OSB (Oriented Strand Board), ensure the gaps between panels are at least 1/8-inch to allow for thermal expansion; without this gap, the OSB will buckle and telegraph ridges directly through the thin rolled roofing membrane. Install aluminum or galvanized steel drip edge flashing along the eaves and rakes. Fasten the drip edge every 12 inches using the same 11-gauge roofing nails, ensuring the nails penetrate at least 3/4-inch into the roof deck.
2. Underlayment Application
While some budget installations skip underlayment, applying a #15 felt or synthetic underlayment is critical for preventing the asphalt in the roll roofing from bonding directly to the wood deck. If the roofing bonds to the wood, natural deck movement will tear the membrane. Roll the underlayment horizontally, starting from the eave, overlapping successive rows by 2 inches. Cap-nail the underlayment every 24 inches to hold it in place temporarily.
3. The Concealed-Nail First Course
Unroll your first sheet of MSR along the eave, allowing a 1/4-inch to 1/2-inch overhang past the drip edge. The industry best practice for the first course is the concealed-nail method. Drive your galvanized nails in two rows along the top edge of the roll, spacing them 12 inches apart on center, and keeping them 1 inch away from the top edge. Because the next course will overlap this section, the nails remain hidden and protected from UV degradation and direct water exposure.
4. Overlapping, Cementing, and Sealing
Before laying the second course, apply a continuous 3-inch wide bead of asphalt plastic roof cement along the bottom edge of the first course using a notched trowel. The cement should be spread to an even thickness of roughly 1/16-inch. Unroll the second sheet directly over the cemented area, aligning it with the manufacturer's printed lap line (usually a 2-inch to 4-inch overlap). Immediately press the seam down using a heavy linoleum roller to force out air pockets and ensure full contact with the adhesive. For the top edge of the second course, repeat the concealed-nailing pattern. Continue this process up to the ridge.
Common Installation Failures and Edge Cases
Even with premium materials, rolled roofing installations frequently fail within 3 to 5 years if specific edge cases are ignored. Understanding these failure modes is essential for long-term durability.
- Seam Lifting (Wind Uplift): Occurs when installers rely solely on nails at the overlap without using roof cement, or when the cement is applied too thickly, causing it to crack under thermal stress. Always use the 3-inch cemented lap method.
- Ridge Cap Blow-offs: At the peak of the roof, the final overlapping sheet must be bent over the ridge and nailed on the opposite slope. If the bend is sharp and unheated, the asphalt mat will fracture. In cold weather, use a heat gun to gently warm the MSR at the ridge fold before pressing it down and nailing it.
- Blistering: Trapped moisture in the wood deck or underlayment vaporizes under solar heat, creating bubbles under the membrane. Ensure the deck is completely dry and avoid installing MSR immediately after a rainstorm.
Thermal Expansion and Cold-Weather Constraints
Temperature dictates the behavior of asphalt. Rolled roofing should never be installed when ambient temperatures are below 40°F (4°C). At lower temperatures, the asphalt membrane becomes brittle and will crack when unrolled or bent over ridges. Furthermore, asphalt plastic cement will not cure or bond properly in freezing conditions, leading to immediate seam failure.
Conversely, installing MSR in peak summer heat (above 90°F) presents its own challenges. The material becomes overly pliable and can stretch during installation. If stretched while hot, the membrane will contract and pull tight as temperatures drop in the autumn, potentially tearing the material at the nail heads. To mitigate this, unroll the material and let it relax and acclimate on the roof deck for at least 30 minutes before cutting and fastening.
Finally, because rolled roofing creates a nearly impermeable vapor barrier, outbuildings with heated interiors or high humidity (like workshops with washing stations) require proper roof ventilation. Without adequate intake and exhaust ventilation, condensation will form on the underside of the roof deck, rotting the plywood from the inside out. As detailed in building science research regarding attic and roof ventilation dynamics, ensuring a continuous airflow path is just as critical as the exterior membrane installation.