Step-by-Step Installation for 5 Common Types of Roofing
Master installation procedures for common types of roofing. Get step-by-step application guides, deck prep, and fastener specs for asphalt, metal, and tile.
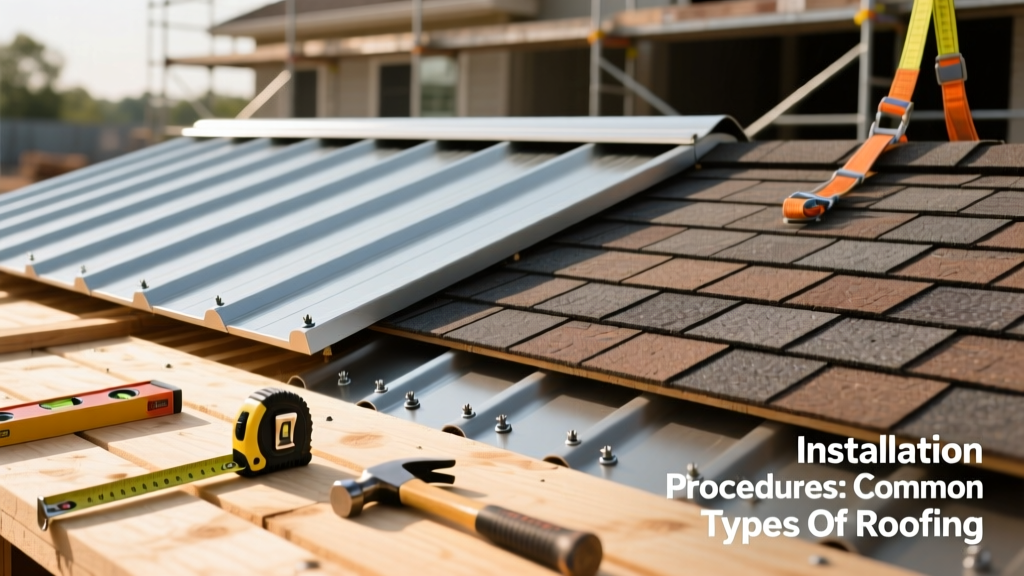
Substrate and Deck Preparation Protocols
The longevity of any roofing system is dictated by the structural integrity of the deck beneath it. Before unrolling underlayment or racking shingles, the substrate must meet strict deflection and moisture criteria. For residential steep-slope applications, the industry standard requires a minimum of 15/32-inch CDX plywood or 7/16-inch OSB (Oriented Strand Board) rated for roof applications.
Deck preparation varies by the specific types of roofing being applied, but universal rules apply to the wood itself:
- Moisture Content: Wood decking must be at or below 19% moisture content before covering. Trapping higher moisture levels beneath synthetic underlayment or ice-and-water shield guarantees wood rot and mold proliferation.
- Expansion Gaps: Leave a 1/8-inch gap between all plywood or OSB panel edges to accommodate thermal expansion. Use H-clips on unsupported horizontal edges of OSB to prevent edge sagging.
- Fastener Flushness: All deck fasteners must be driven flush. Protruding nail heads will telegraph through asphalt shingles and puncture single-ply membranes under foot traffic.
Architectural Asphalt Shingles: High-Wind Nailing & Sealant Activation
While 3-tab shingles are largely obsolete in premium installations, architectural (dimensional) shingles remain the dominant residential choice. Proper installation goes far beyond overlapping rows; it requires precise fastener placement to activate the asphalt sealant strips and prevent wind uplift.
Fastener Specifications and Placement
Use 1-1/4-inch to 1-1/2-inch hot-dipped galvanized roofing nails with a minimum 3/8-inch head. Pneumatic coil nailers must be calibrated daily; over-driven nails fracture the fiberglass mat, while under-driven nails prevent the overlying shingle from laying flat, delaying sealant activation.
According to the Insurance Institute for Business & Home Safety (IBHS) FORTIFIED Home standards, high-wind regions (110+ mph basic wind speeds) mandate a 6-nail pattern per shingle rather than the standard 4-nail pattern. The nails must be placed exactly 1 inch below the factory-applied sealant strip. Nailing too high (into the sealant strip) compromises the adhesive bond; nailing too low exposes the nail head to the elements on the underlying shingle.
Ice and Water Shield Application
Do not rely on standard #15 felt in critical transition zones. Apply a self-adhering polymer-modified bitumen membrane (e.g., Grace Ice & Water Shield HT) at all eaves, valleys, rakes, and around penetrations. In climates with freezing temperatures, extend this membrane a minimum of 24 inches past the interior heated wall line to prevent ice dam water intrusion.
Standing Seam Metal: Thermal Movement and Clip Spacing
Standing seam metal roofing (typically 24-gauge or 26-gauge Galvalume) relies on a concealed fastener system. The most common installation failure in metal roofing is restricting thermal movement, which causes panel buckling, fastener back-out, and seam tearing.
"Metal panels expand and contract significantly with temperature fluctuations. A 20-foot long steel panel can expand up to 1/2-inch between winter and summer extremes. The clip system must accommodate this travel without binding." — Metal Construction Association (MCA) Technical Guidelines.
Fixed vs. Sliding Clip Deployment
Installers must establish a 'fixed point' on the roof, typically at the eave or a structural hip. At this fixed point, panels are pinned with fixed clips. As you move up the slope toward the ridge, you must transition to sliding clips. The sliding clip features a movable tab that allows the panel to shift longitudinally. If an installer mistakenly uses fixed clips on a 30-foot continuous run, the panel will buckle violently during the first summer heatwave.
Clay and Concrete Tile: Batten Systems and Secondary Drainage
Tile roofing is fundamentally different from asphalt or metal. The tiles themselves are not the primary waterproofing layer; they are a weather shield. The underlying underlayment is the actual water barrier. Therefore, the installation procedure focuses heavily on ventilation and secondary drainage.
- Underlayment Deployment: Apply a minimum of two layers of ASTM D226 Type II felt, or a high-tensile synthetic underlayment, lapped 6 inches horizontally and 12 inches vertically.
- Batten Installation: Install 1x4 or 2x4 pressure-treated wood battens vertically (following the water flow) to create an air channel between the underlayment and the tile. This 'counter-batten' system allows any water that breaches the tile to drain down the underlayment without being trapped by horizontal wood strips.
- Tile Fastening: In wind zones under 100 mph, tiles can often be hung on the battens via their integral lugs and secured with a single copper or stainless steel nail at the head. In high-wind zones, every tile must be nailed and additionally secured with a copper wire tie or structural adhesive at the tail.
Low-Slope TPO and EPDM: Seam Welding and Adhesive Application
For commercial or residential low-slope applications (pitches between 1/4:12 and 2:12), single-ply membranes like TPO (Thermoplastic Polyolefin) and EPDM (Ethylene Propylene Diene Monomer) are standard. The installation procedures for these two materials are radically different.
TPO Heat Welding Procedures
TPO seams are fused using hot air welders. The welder nozzle must be set between 1000°F and 1150°F, depending on ambient temperature and wind speed. The installer feeds the membrane overlap (minimum 1.5 inches) through the welder while applying immediate pressure with a silicone hand roller.
Quality Control: Perform destructive peel tests on test welds at the start of the day, after lunch, and whenever the weather changes. A proper TPO weld will result in 'film tearing' (the membrane itself rips before the seam separates). If the seam peels apart cleanly, the temperature is too low or the travel speed is too fast.
EPDM Adhesive and Tape Seaming
EPDM cannot be heat-welded. Instead, seams are joined using factory-applied seam tape or liquid contact adhesives. The edges of the EPDM must be thoroughly cleaned with a proprietary splice wash (usually a naphtha-based solvent) to remove factory release agents. Apply the primer, allow it to flash off until it is dry to the touch but tacky, and then carefully roll the seam tape into place, using a steel stitch roller to apply 100 lbs of pressure per square inch.
Installation Matrix: Labor, Pitch, and Fastener Specifications
The following matrix outlines the core installation variables across the primary types of roofing discussed. Use this as a baseline for project scoping and crew allocation.
| Roofing Material | Minimum Pitch | Primary Fastener / Attachment | Underlayment Requirement | Avg. Labor Hours per Square (100 sq ft) |
|---|---|---|---|---|
| Architectural Asphalt | 2:12 (4:12 preferred) | 1.25" Galvanized Roofing Nails (4 or 6 per shingle) | Synthetic or #15 Felt + Ice & Water at eaves | 1.5 - 2.5 hours |
| Standing Seam Metal | 3:12 (1/4:12 with sealant) | Concealed Sliding/Fixed Clips (Pancake screws to deck) | High-temp synthetic or peel-and-stick | 3.5 - 5.0 hours |
| Concrete / Clay Tile | 4:12 | Copper wire ties, stainless nails, or structural foam | Double-layer #30 felt or heavy synthetic | 4.0 - 6.0 hours |
| TPO Single-Ply | 1/4:12 | Heat-welded seams; mechanically attached or fully adhered | Polyiso insulation board + cover board | 2.0 - 3.0 hours |
Adhering strictly to the manufacturer's application procedures and local building codes is non-negotiable. The National Roofing Contractors Association (NRCA) provides exhaustive, material-specific manuals that should be kept on-site during all major installations to resolve edge-case detailing in real time.