Starlink Roof Mount Cost Calculator & Material Guide
Calculate exact Starlink roof mount costs for 2026. Get material lists, flashing requirements, labor rates, and leak-prevention specs for shingle and metal roofs.
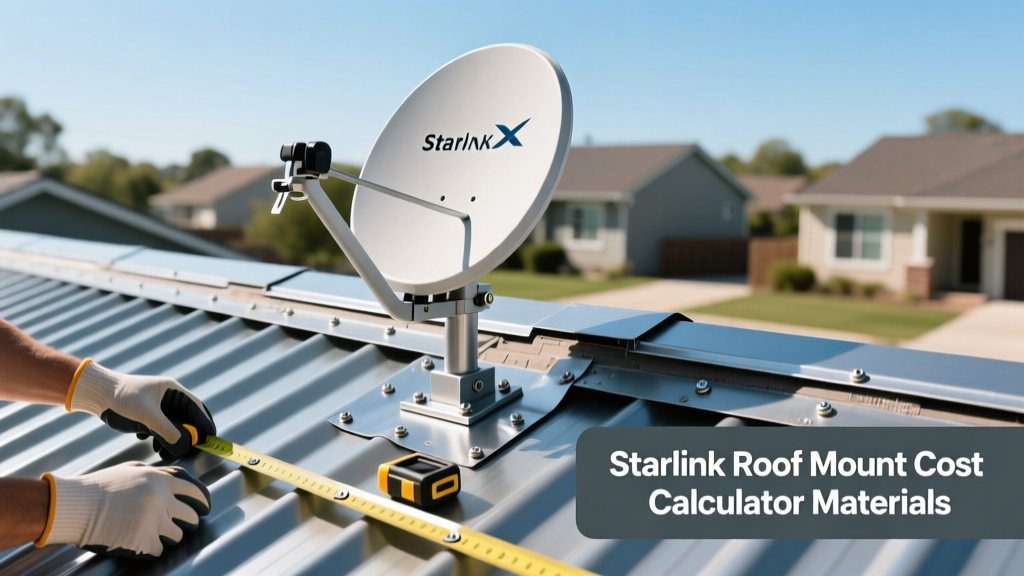
The True Cost of Starlink Roof Penetrations
Installing a Starlink satellite dish on a residential or commercial roof is not merely an IT project; it is a structural roofing modification. While the Starlink hardware itself represents a fixed cost, the roofing materials, flashing kits, and labor required to mount the dish without compromising the building envelope vary wildly based on roof composition. A poorly executed mount using cheap sealants instead of proper mechanical flashing will inevitably lead to water intrusion, voided shingle warranties, and interior damage that costs thousands to remediate.
This guide provides a precise cost estimation framework and material quantity calculator for mounting Starlink hardware (including the larger V3/V4 Standard dishes with increased wind-load profiles) across asphalt shingle, standing seam metal, and flat membrane roofs in 2026.
Base Hardware & Mounting Pole Cost Matrix
Starlink does not include a roof-penetrating pole in the standard box. You must purchase the official adapters or utilize aftermarket structural mounts. The Starlink Pipe Adapter fits poles with an outer diameter (OD) between 1.25 inches and 2.0 inches.
| Component | Specification / Model | Estimated Cost (2026) | Notes |
|---|---|---|---|
| Starlink Pipe Adapter | Official Starlink Accessory | $40 - $50 | Required to attach dish to standard poles. |
| Starlink Pivot Mount | Official Starlink Accessory | $50 - $60 | Allows angle adjustment; requires flat surface. |
| Structural Mounting Pole | 1.66" OD Galvanized Steel (e.g., Schedule 40) | $35 - $85 | Standard chain-link top rail fits Starlink adapter perfectly. |
| Aftermarket Roof Mount | IronRidge SAT-100 or Quick Attach SAT | $120 - $180 | Includes integrated flashing and pole; engineered for high wind. |
Material Quantity Calculator by Roof Type
The waterproofing strategy dictates your material list. According to the National Roofing Contractors Association (NRCA), any roof penetration must utilize a primary flashing integrated into the roof covering, supplemented by a secondary sealant. Relying solely on caulk is a critical failure point.
1. Asphalt Shingle Roofs (Sloped)
For composition shingles, the mounting pole must pass through a base flashing that is layered correctly: under the upslope shingle and over the downslope shingle.
- Base Flashing: 14" x 14" Aluminum or Lead-coated copper roof flashing with a neoprene/rubber boot (e.g., Oatey or Quick Attach). Quantity: 1 per penetration. Cost: $35 - $65.
- Fasteners: 5/16" or 3/8" x 3" 18-8 Stainless Steel Lag Bolts with neoprene washers. Quantity: 4 per mount. Cost: $12 per box.
- Sealant (Secondary): Polyurethane roofing sealant (e.g., Geocel 2300 or Loctite PL S30). Do not use silicone, which degrades under UV and does not adhere well to asphalt. Quantity: 1 tube. Cost: $9 - $14.
- Roofing Cement: Asphalt-compatible plastic roof cement for sealing the upslope shingle edge. Quantity: 1/2 gallon. Cost: $15.
2. Standing Seam Metal Roofs
Drilling into a standing seam metal roof panel voids the manufacturer's warranty and invites leaks. The only acceptable method is using mechanical clamps that grip the seam.
- Seam Clamps: S-5! Standing Seam Clamps (specifically matched to your seam profile, e.g., S-5-U or S-5-E). Refer to the S-5! Attachment Solutions catalog for exact profile matching. Quantity: 2 per mount. Cost: $50 - $75 per clamp.
- Mounting Plate & Pole: Aluminum L-bracket or Unistrut channel to bridge the two clamps, attached to a 1.66" pole. Cost: $45 - $80.
- Fasteners: Stainless steel set screws (included with S-5! clamps) and stainless bolts for the Unistrut. Cost: $10.
- Sealant: None required at the roof level if clamps are used correctly, eliminating the leak risk entirely.
3. Flat Roofs (TPO, EPDM, PVC, Modified Bitumen)
Flat roofs require either hot-welded flashings (penetrating) or weighted ballast systems (non-penetrating). Given the high wind-sail area of the Starlink V3/V4 dishes, non-penetrating mounts require significant weight.
- Non-Penetrating Ballast Mount: Solar-grade ballast trays (e.g., IronRidge Ballast) paired with concrete pavers. Quantity: 1 tray + 80-120 lbs of concrete block. Cost: $150 - $250.
- Protective Pad: 1/2" thick EPDM rubber matting to prevent the concrete from abrading the TPO/EPDM membrane. Quantity: 2 sq ft. Cost: $15.
- Penetrating Alternative (TPO): Requires a TPO-wrapped pipe boot and hot-air welding by a certified commercial roofer. Material cost is low ($40), but labor requires a specialized contractor.
Labor Rates & Structural Wind Load Calculations
If you are not performing a DIY installation, professional labor costs depend on the trade you hire. Satellite technicians often lack roofing waterproofing expertise, while roofers may not understand Starlink's field-of-view requirements.
Warning: Wind Uplift & ASCE 7-22 Compliance
The Starlink Standard dish acts as a parabolic sail. In high-wind zones (e.g., Florida, Texas, coastal regions), a 6-foot pole mounted to a single flashing plate will fail under ASCE 7-22 wind load calculations. For poles exceeding 3 feet in height above the roof deck, you must install structural standoffs bolted directly into the roof trusses/rafters, not just the plywood decking. Always use a stud finder to locate rafters before drilling lag bolts.
| Professional Service | Average Hourly Rate | Typical Total Labor Cost | Best For |
|---|---|---|---|
| Licensed Roofing Contractor | $90 - $150 / hr | $350 - $600 | Shingle/Metal flashing, warranty preservation. |
| Satellite / AV Technician | $75 - $120 / hr | $250 - $450 | Cable routing, network setup, dish alignment. |
| Commercial Flat Roof Specialist | $125 - $200 / hr | $500 - $900 | TPO/EPDM hot-welding and structural ballast. |
Total Cost Estimation Formula
To calculate your exact project budget, use the following formula based on your specific roof type and hardware choices:
Total Project Cost = (Starlink Adapter/Pivot) + (Pole/Clamp Hardware) + (Flashing/Ballast Kit) + (Fasteners & Sealants) + (Professional Labor if applicable) + (Interior Cable Routing Materials)
Scenario A: DIY Asphalt Shingle Mount (Budget Approach)
- Starlink Pipe Adapter: $45
- 10ft Galvanized Pole (1.66" OD): $55
- 14x14 Aluminum Flashing Boot: $40
- Stainless Lag Bolts & Geocel Sealant: $25
- Total Material Cost: $165 (Excludes tools and interior cable routing)
Scenario B: Professional Standing Seam Metal Mount (Premium Approach)
- Starlink Pipe Adapter: $45
- S-5! Clamps (x2) + Unistrut + Pole: $180
- Roofing Contractor Labor (2 hours): $260
- Total Project Cost: $485 (Zero roof penetrations, warranty intact)
Step-by-Step Procurement & Installation Checklist
Before scheduling your installation or heading to the hardware store, verify the following material specifications to ensure structural integrity and waterproofing.
- Verify Pole OD: Measure the outer diameter of your chosen pole. It must be strictly between 1.25" and 2.0" to fit the Starlink Pipe Adapter. If using PVC pipe, use Schedule 80 for UV and wind resistance, not Schedule 40.
- Locate Rafters: For sloped roofs, the mounting flashing must be centered over a structural rafter. The lag bolts must penetrate the rafter by a minimum of 1.5 inches to withstand wind shear.
- Pre-Drill Flashing Holes: Never drill directly through the flashing into the roof without pre-drilling the metal flashing first. This prevents the metal from binding and tearing the waterproofing boot.
- Apply Butyl Tape: Before setting the flashing onto the shingles, apply a 1/4" bead of butyl tape under the flashing's upslope edge for a secondary waterproofing barrier.
- Cable Drip Loop: When routing the Starlink proprietary cable down the roof, create a "drip loop" (a U-shape in the cable) before it enters the wall penetration. This prevents rainwater from running down the cable directly into the wall hole.
- Seal the Wall Penetration: Use a dedicated low-voltage exterior wall plate and expanding polyurethane foam (e.g., Great Stuff Window & Door) to seal the interior/exterior cable route, finished with exterior silicone.
The Hidden Cost of Failure: Leak Remediation
Choosing a $20 plumbing vent boot from a big-box store instead of a $60 specialized satellite/solar flashing kit often results in the neoprene gasket cracking within 24 months due to UV exposure and pole vibration. The average cost to repair a roof leak caused by a failed satellite mount includes:
- Roof leak detection and diagnostic fee: $250 - $400
- Drywall repair and interior paint (water stain remediation): $400 - $800
- Flashing replacement and shingle integration: $350 - $550
- Total Remediation Cost: $1,000 - $1,750+
Investing in high-grade 18-8 stainless steel fasteners, UV-stable EPDM boots, and engineered flashing systems from the start is not optional; it is a mandatory cost of maintaining the building envelope. Calculate your materials accurately, respect the wind load dynamics of the Starlink dish, and prioritize roofing best practices over quick hardware hacks.