Through the Roof Sealant Maintenance: A Leak Prevention Playbook
Learn how to inspect, clean, and reapply through the roof sealant around penetrations. Prevent leaks with this step-by-step maintenance playbook.
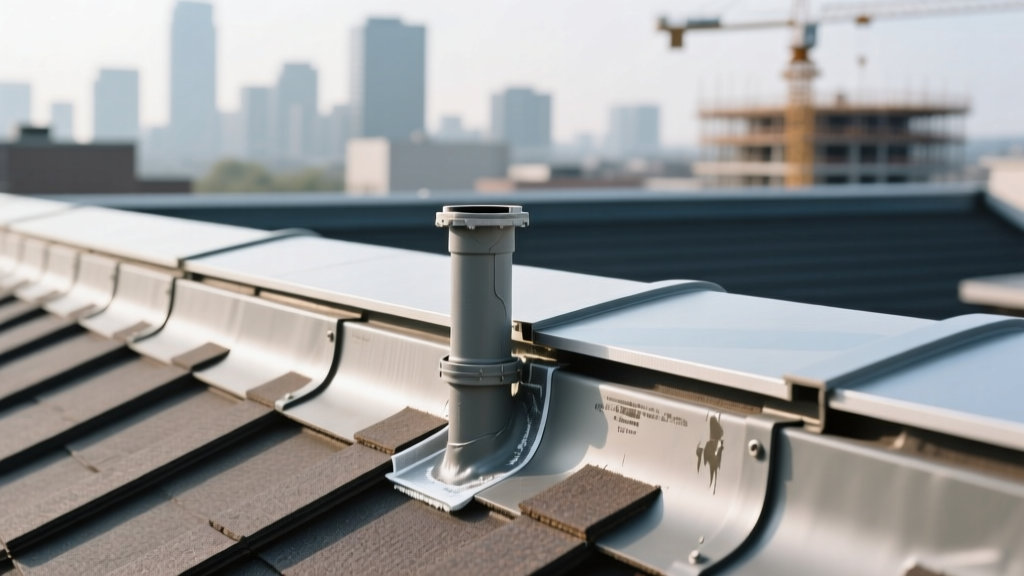
The Anatomy of a Roof Penetration Leak
Roof penetrations—where pipes, HVAC curbs, skylights, and vent stacks breach the roofing membrane—are statistically the most vulnerable points on any commercial or residential roof system. While the primary waterproofing is handled by the membrane and metal flashing, the through the roof sealant acts as the critical secondary defense. When this sealant degrades, capillary action and wind-driven rain force water beneath the flashing, leading to concealed deck rot and interior damage.
Failure rarely occurs due to the sealant simply 'wearing out.' In 80% of cases, adhesion loss is triggered by substrate contamination, thermal expansion tearing the bead, or chemical incompatibility between the sealant and the single-ply membrane. Understanding the exact failure mode dictates your maintenance approach.
Sealant Selection Matrix: Polyurethane vs. Silicone vs. Asphalt
Selecting the correct chemistry for your specific roof membrane is non-negotiable. Using an asphalt-based product on an EPDM or TPO roof will cause plasticizer migration, literally melting the rubber membrane and voiding the manufacturer's warranty. Refer to the Holcim Elevate technical documents for specific membrane compatibility charts.
| Sealant Type | Recommended Brands | Compatible Membranes | UV Resistance | Avg. Cost (per 10oz tube) |
|---|---|---|---|---|
| Polyurethane | Sikaflex-11 FC, Geocel 2300 | TPO, PVC, Metal, Modified Bitumen | Excellent | $12 - $18 |
| Silicone | Dow Corning 795, Momentive Spectrem | EPDM, TPO, PVC, Glass | Superior | $15 - $24 |
| Asphalt/Bitumen | Karnak 19, Henry 208 | Modified Bitumen, BUR, Metal | Poor (Requires coating) | $6 - $10 |
| MS Polymer | Soudaflex 40, ChemCurb | All Single-Ply, Metal, Concrete | Very Good | $14 - $20 |
The 4-Step Inspection and Cleaning Protocol
Proper adhesion requires a surgically clean substrate. Applying new through the roof sealant over old, oxidized material or dirt guarantees a failure within one thermal cycle. Follow this exact protocol before any reapplication.
- Mechanical Removal: Use a plastic or hardwood putty knife to scrape away the old, failed sealant. Never use steel wire brushes or metal scrapers on TPO or EPDM membranes, as scoring the surface creates pathways for water ingress and compromises the membrane's structural integrity.
- Solvent Cleaning: Wipe the pipe and the surrounding 3-inch membrane radius with a specialized membrane cleaner. For EPDM, use a dedicated splice wash (like Firestone Splice Wash) or denatured alcohol. Never use mineral spirits, acetone, or xylene on EPDM, as these solvents will extract the essential oils from the rubber, causing it to become brittle and crack.
- Abrasion (For Metal Pipes Only): If sealing to a galvanized or aluminum pipe, lightly scuff the metal surface with a Scotch-Brite pad to remove oxidation and create a mechanical profile for the sealant to grip.
- Moisture Verification: Ensure the joint is bone dry. Polyurethane sealants will cure prematurely and bubble if applied over trapped moisture, while silicone will refuse to adhere entirely. Use a clean, lint-free microfiber cloth for the final wipe-down.
Reapplication Playbook: Measurements and Curing
According to NRCA maintenance guidelines, the geometry of your sealant bead is just as important as the chemistry. A bead that is too thin will tear under thermal movement; a bead that is too thick will trap internal stresses and split down the center.
Bead Sizing and Tooling
Aim for a continuous bead with a minimum width of 1/2 inch and a depth of 1/4 inch. For larger gaps exceeding 3/8 inch in depth, you must first pack the joint with a closed-cell polyethylene backer rod. This creates an 'hourglass' shape in the sealant, allowing it to stretch and compress without losing adhesion at the edges. After extruding the bead, use a plastic jointing tool or a wet finger (dipped in a mild soap solution for polyurethane, or pure alcohol for silicone) to tool the sealant. Tooling forces the material into the microscopic pores of the substrate, increasing surface contact area by up to 40%.
Curing Timelines and Weather Constraints
Standard polyurethane sealants cure at a rate of roughly 1/16 inch per 24 hours at 70°F (21°C) and 50% relative humidity. If temperatures drop below 40°F (4°C), the curing process stalls. Do not apply through the roof sealant if rain is forecasted within 4 hours of application, or if the ambient temperature is expected to drop below freezing before the skin has fully formed.
Never use asphalt-based flashing cements (often sold in cheap caulking tubes at big-box stores) to seal penetrations on EPDM, TPO, or PVC roofs. The petroleum distillates in the asphalt will chemically attack the synthetic rubber, causing the membrane to swell, blister, and ultimately dissolve, leading to catastrophic leaks that require full membrane replacement rather than a simple patch.
FAQ: Troubleshooting Through the Roof Sealant Failures
Why is my new polyurethane sealant bubbling and blistering?
Bubbling is almost always caused by moisture trapped in the joint or substrate. As the sun heats the roof, the trapped water turns to steam and expands, pushing through the partially cured sealant. To fix this, cut out the blistered section, allow the substrate to dry completely (use a heat gun on a low setting if necessary), and reapply using a backer rod to minimize the volume of sealant needed.
The sealant keeps tearing away from the PVC pipe. What am I doing wrong?
PVC pipes often have a manufacturing release agent or a layer of UV oxidation on the surface that prevents adhesion. You must aggressively clean the PVC with a PVC-specific primer or a heavy-duty cleaner like Geocel ProFlex cleaner before applying the sealant. Additionally, ensure you are using a sealant specifically rated for plastics; some high-modulus polyurethanes are too rigid and will pull away from flexible PVC during temperature swings.
How often should through the roof sealant be inspected?
Penetration sealants should be inspected bi-annually—once in the spring after the freeze-thaw cycle, and once in the late fall. During these inspections, physically press on the sealant bead. If it feels spongy, detaches when pulled gently, or shows deep alligator cracking, it has reached the end of its service life and must be removed and replaced, regardless of how many years it has been installed.
For comprehensive installation standards regarding pipe boots and pitch pockets, always refer to the GAF installation instructions or the specific membrane manufacturer's current technical bulletins to ensure your maintenance practices align with warranty requirements.