Professional Basement Waterproofing Services: Installation Procedures
Expert guide to installation procedures used by basement waterproofing services, covering exterior membranes, interior drains, and sump systems.
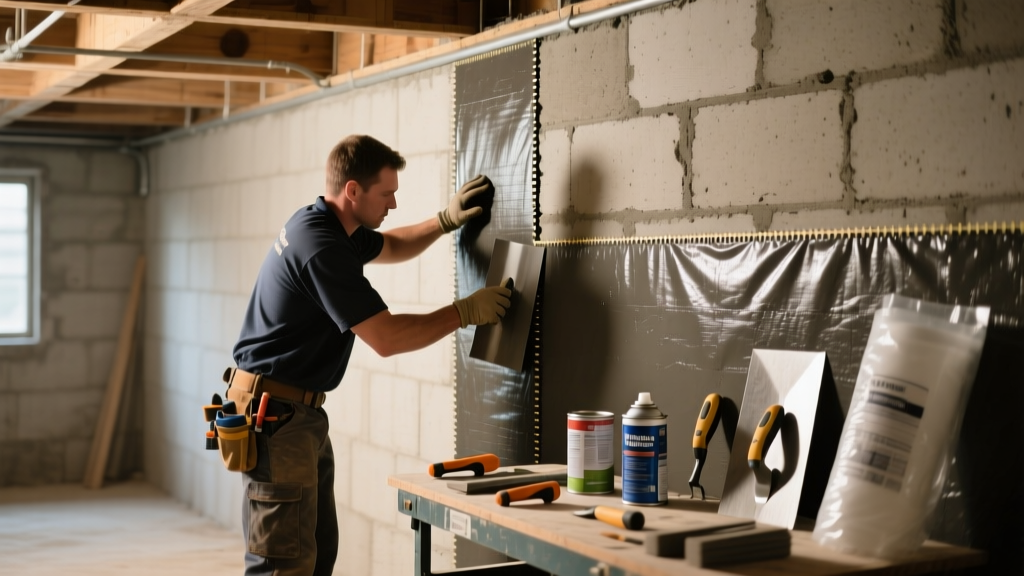
The Anatomy of Professional Basement Waterproofing Services
Water intrusion in below-grade structures is rarely a surface-level issue; it is a symptom of unmanaged hydrostatic pressure and capillary action. Professional basement waterproofing services do not merely apply sealants to damp walls. They engineer comprehensive moisture management systems designed to intercept, channel, and discharge groundwater before it breaches the structural envelope. Understanding the exact installation procedures these contractors use is critical for general contractors, facility managers, and homeowners evaluating bids or overseeing quality control.
According to Building Science Corporation, a properly designed below-grade assembly must manage bulk water, capillary water, and water vapor. Substandard installations often fail because they address only one of these vectors. The procedures outlined below represent the industry standard for comprehensive waterproofing systems in 2026.
Exterior Excavation and Membrane Application Procedures
Exterior waterproofing is the most effective method for stopping water intrusion because it addresses hydrostatic pressure on the positive side of the wall. The installation procedure requires heavy equipment and precise material sequencing.
Step 1: Excavation and Surface Preparation
Contractors excavate a trench along the foundation perimeter, typically 3 to 4 feet wide, down to the footing. The exposed concrete or masonry wall is power-washed to remove soil, efflorescence, and loose debris. Any structural cracks wider than 1/16 inch are routed out and filled with a hydraulic cement or flexible polyurethane injection resin. The wall must be completely dry before membrane application; applying asphalt-based membranes to damp concrete traps moisture and causes delamination.
Step 2: Primer and Membrane Installation
A solvent-based or water-based primer is rolled onto the foundation to ensure adhesion. Once tacky, the primary waterproofing membrane is applied. Professional services typically use a 40-mil to 60-mil self-adhering rubberized asphalt membrane (such as Tremco Paraseal or Polyguard 650 XT). The membrane is unrolled vertically, overlapping seams by a minimum of 3 inches. All inside and outside corners receive an additional 6-inch reinforcing strip to prevent tearing when the backfill settles.
Step 3: Protection Board and Drainage Mat
The membrane alone is vulnerable to puncture during backfilling. A dimpled high-density polyethylene (HDPE) drainage mat (e.g., Platon or Tremco Delft) is mechanically fastened or adhered over the membrane. This mat serves a dual purpose: it protects the asphalt layer from soil abrasion and provides a continuous air gap that channels water down to the footing drain via gravity.
Interior Perimeter Drainage: The Jackhammer and Trench Method
When exterior excavation is structurally or financially unfeasible, professional basement waterproofing services install interior perimeter drainage systems (often colloquially called interior French drains). This procedure relieves hydrostatic pressure from beneath the slab.
Concrete Cutting and Trenching
Using a walk-behind concrete saw with a diamond blade, contractors cut the basement floor parallel to the foundation wall, typically 12 to 18 inches away from the edge. The concrete is broken up with a pneumatic jackhammer and removed. The trench is excavated to a depth of 14 to 20 inches below the original slab elevation, extending below the footing to intercept rising groundwater.
Pipe Bedding and Weep Hole Drilling
Before laying the pipe, professionals drill 1/2-inch weep holes into the bottom course of hollow concrete block walls or the cove joint (where the wall meets the footing) to allow trapped water to escape into the trench. A 4-inch perforated PVC or corrugated HDPE pipe is laid in the trench, bedded in 2 to 3 inches of washed, rounded river gravel. The pipe must maintain a continuous slope of at least 1/8 inch per foot toward the sump pit. The gravel is wrapped in a non-woven geotextile filter fabric to prevent silt from clogging the pipe perforations over time.
System Comparison: Interior vs. Exterior Procedures
| Feature | Exterior Membrane & Drain | Interior Perimeter Drain |
|---|---|---|
| Hydrostatic Relief | Prevents pressure buildup entirely | Allows pressure to build, then relieves it at the cove joint |
| Typical Cost (2026) | $80 - $150 per linear foot | $50 - $90 per linear foot |
| Property Disruption | High (destroys landscaping, hardscaping) | Low (confined to interior basement space) |
| Wall Protection | Keeps concrete dry, preventing rebar corrosion | Walls remain saturated; requires interior vapor barrier |
Sump Pump Pit Construction and Discharge Routing
The perimeter drain is useless without a properly engineered discharge point. Professional services install heavy-duty sump basins and configure redundant pumping systems.
Pit Liner and Pump Selection
A structural polyethylene pit liner (minimum 18-inch diameter, 24-inch depth) is set into the excavated sump pit. The liner features perforated sides to accept water from the perimeter drain pipes. For standard residential applications, a 1/3 HP or 1/2 HP cast-iron submersible pump (such as the Zoeller M53 or Liberty Pumps 257) is installed. Cast iron dissipates heat significantly better than thermoplastic housings, extending the motor's lifespan during continuous operation.
Check Valves and Discharge Line Routing
A swing-style or spring-loaded check valve is installed on the discharge pipe immediately above the pump to prevent water from flowing back into the pit when the pump cycles off, which reduces pump fatigue. The discharge line must be routed out of the basement, buried below the local frost line, and extended a minimum of 10 feet away from the foundation. Discharging water directly at the foundation wall creates a recursive loop where water simply re-enters the perimeter drain system.
For comprehensive moisture management, the U.S. Department of Energy also recommends pairing these drainage systems with rigid foam insulation (XPS or EPS) on the interior walls, which prevents condensation by keeping the wall surface temperature above the dew point.
Red Flags: How to Spot Substandard Installation Practices
Not all basement waterproofing services adhere to these rigorous procedures. When inspecting an ongoing or completed installation, look for these critical failure points:
- Solid Pipe in the Trench: If a contractor uses solid (non-perforated) PVC pipe for the interior or exterior drain, water cannot enter the system until it rises above the top of the pipe. Perforated pipe is mandatory.
- Omitted Filter Fabric: Skipping the geotextile wrap around the gravel and pipe guarantees the system will silt up and fail within 3 to 5 years.
- Improper Slope: Perimeter pipes laid perfectly flat will not drain efficiently. A laser level should confirm the 1/8-inch per foot minimum slope.
- Shared Discharge Lines: Tying the sump pump discharge into the home's sanitary sewer or downspout lines is a severe code violation in most municipalities and risks sewage backup during heavy storms.
Frequently Asked Questions Regarding Waterproofing Installations
Can interior waterproofing paint replace a drainage system?
No. Products marketed as "waterproofing paint" (such as standard acrylic or epoxy masonry sealers) only resist negative-side hydrostatic pressure up to 10-15 PSI. In a saturated clay environment, hydrostatic pressure easily exceeds 20 PSI, causing the paint to blister and peel. Sealers are vapor retarders, not bulk water management systems.
How long does a professional exterior membrane installation last?
When installed correctly with a protection board and proper backfill, rubberized asphalt exterior membranes have a functional lifespan of 50 to 75 years. The HDPE drainage mat typically carries a 50-year manufacturer warranty against crushing and degradation.
Is a battery backup sump pump necessary for the installation?
While not strictly required by code in all jurisdictions, a battery backup system (such as the Wayne WSS30V or Zoeller Aquanot) is highly recommended. Primary pumps fail due to power outages during severe storms—the exact conditions when groundwater levels peak. A backup system with a 12-volt deep-cycle marine battery ensures continuous discharge during grid failures.
For further reading on below-grade moisture dynamics and inspection standards, the International Association of Certified Home Inspectors (InterNACHI) provides detailed visual guides on identifying failing drainage assemblies and compromised foundation envelopes.