Waterproof Paint Application: Step-by-Step Masonry Guide
Learn the exact procedures for waterproof paint application on masonry and concrete. Includes surface prep, product specs, and troubleshooting tips.
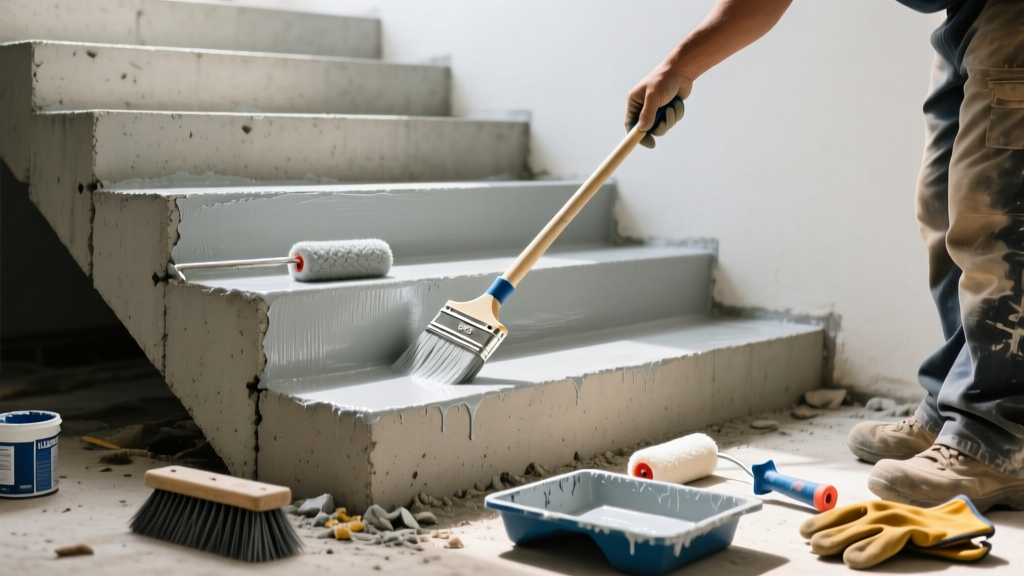
The Physics of Waterproof Paint: Why Prep Dictates Performance
Applying waterproof paint to masonry and concrete is not a simple cosmetic upgrade; it is the installation of a continuous, impermeable membrane designed to resist hydrostatic pressure. Unlike standard architectural coatings that merely shed surface moisture, true masonry waterproofers penetrate the microscopic pores of concrete and block capillary action. However, the ultimate failure rate of these systems in the field hovers around 18%, almost entirely due to improper surface profiling and ignoring active hydrostatic loads.
Material Selection Matrix: Acrylic vs. Polyurethane vs. Cementitious
Selecting the correct formulation requires matching the coating's chemical properties to the substrate's condition and the expected moisture load. In 2026, low-VOC elastomeric acrylics dominate the residential market, while two-part polyurethanes remain the standard for commercial sub-grade structures.
| Coating Type | Hydrostatic PSI Rating | Coverage (sq ft/gal) | Best Application Scenario | Avg. Cost (2026) |
|---|---|---|---|---|
| Elastomeric Acrylic (e.g., UGL Drylok Extreme) |
12 - 15 PSI | 75 - 100 | Interior basement walls, minor dampness, DIY applications | $45 - $65 |
| Hybrid Cementitious (e.g., Zinsser Watertite) |
28 - 32 PSI | 60 - 85 | Exterior foundation walls, high moisture load, CMU blocks | $55 - $80 |
| Two-Part Polyurethane | 40+ PSI | 150 - 200 | Commercial sub-grade, plaza decks, high-traffic foundations | $120 - $180 |
Phase 1: Surface Profiling and Efflorescence Removal
The National Park Service Preservation Brief #1 explicitly warns against applying impermeable coatings to masonry that has not been properly cleaned and profiled. Waterproof paint requires a Concrete Surface Profile (CSP) of 2 to 3 to achieve mechanical adhesion. A smooth, troweled concrete wall will reject the coating under pressure.
Step-by-Step Preparation Protocol
- Efflorescence Eradication: White, powdery salt deposits indicate active moisture migration. According to the Portland Cement Association, efflorescence must be removed mechanically with a stiff nylon or brass bristle brush. If brushing fails, apply a 10% phosphoric acid solution. Avoid muriatic acid, which can permanently alter the masonry's pH and lead to alkali-silica reactions.
- Structural Patching: Rake out all mortar joints and cracks wider than 1/16-inch to a depth of 1 inch. Fill these voids with a fast-setting hydraulic cement (e.g., Quikrete Hydraulic Water-Stop Cement). Hydraulic cement expands as it cures, locking into the void. Standard acrylic caulks will compress and fail under hydrostatic load.
- Acid Etching (If Required): For poured concrete walls that are smooth or form-oiled, etch the surface using a commercial masonry etching solution (typically a buffered sulfamic or phosphoric acid). Rinse thoroughly with a pressure washer at 1,500 PSI until the water runs completely clear and the pH of the wall returns to neutral (7.0).
- Moisture Testing: Tape a 2-foot by 2-foot square of 6-mil clear polyethylene sheeting tightly to the wall. Wait 24 hours. If condensation forms under the plastic, the moisture vapor transmission rate (MVTR) is too high for standard acrylic waterproofers, and you must switch to a breathable silane/siloxane penetrating sealer or a cementitious coating.
Phase 2: Precision Application Techniques
Applying waterproof paint is fundamentally different from rolling standard interior latex. The goal is to build a specific Dry Film Thickness (DFT) without trapping air pockets in the masonry's pits and crevices.
Tool Specifications
- Roller Nap: Use a 3/4-inch to 1-1/4-inch woven polyester nap roller cover (such as the Purdy Pro-Extra or Wooster PRO Doo-Z). Shorter naps will not force the material into the deep pores of CMU (Concrete Masonry Units).
- Brushes: Use a 2.5-inch or 3-inch nylon/polyester blend angled sash brush for cutting in corners and mortar joints.
- Airless Sprayers: For large commercial jobs, use an airless sprayer with a 0.021 to 0.025-inch tip at 2,500 to 3,000 PSI. Note: Spraying must always be followed immediately by back-rolling.
The Cut, Roll, and Back-Brush Method
- Cut the Mortar Joints: Before rolling the flat surface, use your brush to aggressively work the paint into all mortar joints, corners, and pipe penetrations. Mortar is more porous than the concrete block and requires a thicker initial build.
- Apply the First Coat: Roll the paint onto the wall in 3-foot by 3-foot sections. Apply at a wet film thickness (WFT) of 18 to 22 mils. Do not over-roll or stretch the paint; you should leave a heavy, textured stipple on the surface.
- Inspect for Pinholes: Masonry is riddled with tiny air voids. As the thick paint settles, these voids will release air, creating pinholes. Inspect the wet coat and use a dry brush to dab extra material directly into any visible pinholes.
- Cure and Recoat: Allow the first coat to cure for a minimum of 4 to 6 hours at 70°F (21°C) and 50% relative humidity. High humidity will drastically extend cure times. Apply the second coat perpendicular to the direction of the first coat to ensure complete, cross-hatched coverage.
Troubleshooting Common Application Failures
Even with premium materials, environmental and chemical factors can compromise the membrane. Understanding these failure modes allows contractors to diagnose and correct issues before they result in warranty claims.
1. Saponification (Alkali Burn)
Symptom: The paint turns into a slimy, soap-like substance and loses all adhesion within days of application.
Cause: Fresh concrete and mortar are highly alkaline (pH 12-13). When moisture interacts with high alkalinity, it breaks down the esters in acrylic and oil-based binders, creating a soap (saponification).
Fix: Never apply waterproof paint to masonry that has cured for less than 28 days. Always test the pH with litmus paper. If the pH is above 9, wash the wall with a mild acid solution or apply an alkali-resistant masonry primer before the waterproofer.
2. Blistering and Delamination
Symptom: Large, fluid-filled bubbles form under the paint film, eventually popping and peeling away in sheets.
Cause: This is almost always caused by applying the coating over a damp surface, trapping moisture behind the impermeable film, or applying the paint when the substrate temperature is below 50°F (10°C), preventing proper coalescence of the acrylic polymers.
Fix: Scrape away all blistered material. Allow the wall to dry completely (use industrial dehumidifiers if necessary). Re-profile the exposed concrete with a wire brush and reapply the coating, ensuring ambient and surface temperatures are strictly within the manufacturer's specifications.
3. Chalking and UV Degradation (Exterior Applications)
Symptom: The exterior coating turns chalky, fades, and washes away during heavy rain.
Cause: Standard interior basement waterproofers (like basic cementitious blends) lack UV stabilizers and are not formulated for direct sunlight exposure.
Fix: For exterior, above-grade foundation walls that will be exposed to sunlight before backfilling, or for exposed architectural concrete, you must use a 100% elastomeric acrylic specifically rated for UV resistance, or topcoat the cementitious layer with a UV-stable masonry topcoat.
Curing Timelines and Topcoat Protocols
Waterproof paint reaches touch-dry status in hours, but full chemical cross-linking takes up to 14 days. During this 14-day window, the membrane is vulnerable to physical damage and standing water. Do not backfill exterior foundations or place framing directly against interior basement walls until the full cure cycle is complete.
If you intend to paint over the waterproofing membrane with a decorative architectural color, you must wait a minimum of 30 days. The topcoat must be a high-quality, breathable 100% acrylic latex. Applying an oil-based or alkyd topcoat over a waterproof membrane will trap residual moisture vapor between the two layers, leading to catastrophic intercoat delamination. Always prioritize breathability in the final decorative layer to allow the wall system to function as a cohesive, moisture-managing assembly.