Building Envelope Material Testing: Lab vs. Field Compared
Compare lab and field building envelope material testing methods. Discover costs, ASTM standards, and when to use mock-ups versus in-situ evaluations.
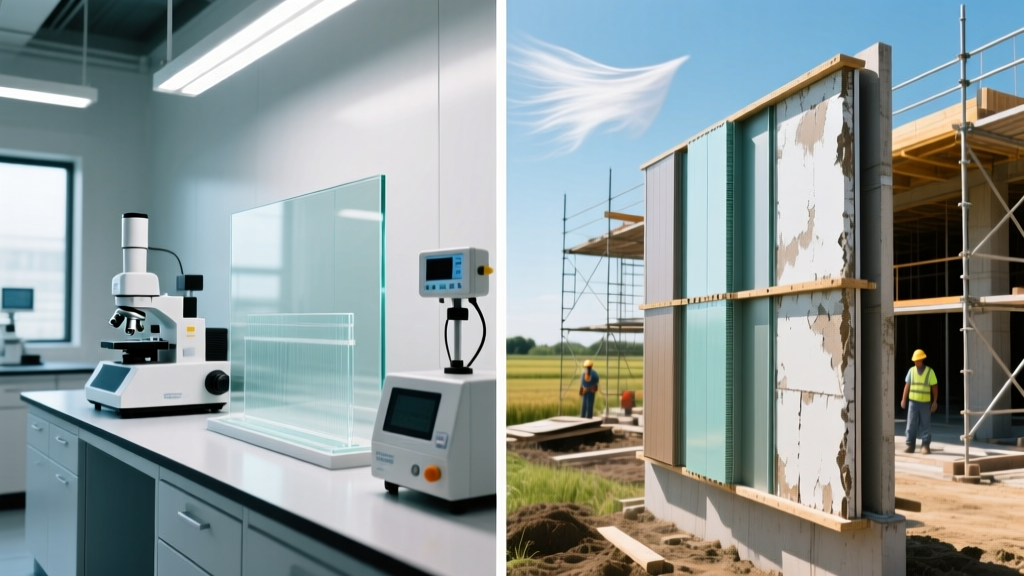
The Core Dilemma in Building Envelope Material Testing
Water intrusion accounts for nearly 70% of all construction defect litigation in commercial and high-rise residential projects. To mitigate this risk, architects and general contractors rely on rigorous building envelope material testing to validate the performance of exterior wall assemblies, fenestration, and roofing transitions. However, specifying the wrong testing protocol can lead to catastrophic project delays or undetected vulnerabilities. The fundamental decision lies between controlled laboratory mock-up testing and in-situ field testing. Each methodology serves a distinct diagnostic purpose, governed by different ASTM and AAMA standards, and carries vastly different cost and schedule implications.
Quick Diagnostic Definitions
Laboratory Mock-Up Testing: Evaluating a representative, purpose-built sample of the exterior wall assembly inside a climate-controlled testing chamber prior to manufacturing or installation.
In-Situ Field Testing: Evaluating the actual installed materials and workmanship on the constructed building facade using portable spray racks or localized vacuum chambers.
Laboratory Mock-Up Testing: Controlled Precision
Laboratory testing is the gold standard for validating the design of a building envelope system. Conducted before materials are mass-produced, this method subjects a full-scale mock-up (often 12 to 15 feet wide and spanning two floor levels) to extreme, highly controlled environmental stressors.
Governing Standards and Parameters
The primary standard for laboratory water penetration testing is ASTM E331. This protocol requires a sealed test chamber capable of applying a uniform static or cyclic air pressure differential across the assembly. Simultaneously, a calibrated spray rack grid delivers water at a minimum rate of 5.0 gallons per minute per square foot (gpm/ft²) to simulate wind-driven rain.
- Pressure Differentials: Test pressures are typically set at 15% to 20% of the project's calculated design wind load, often ranging from 1.57 psf to 6.24 psf (pounds per square foot).
- Dynamic Cycling: Advanced protocols, such as AAMA 501.1, introduce dynamic pressure cycling to simulate the fluctuating gusts of a hurricane or severe thunderstorm, which can force water through capillary paths that static pressure misses.
- Seismic and Thermal Racking: Labs can also perform AAMA 501.4 (seismic racking) and thermal cycling tests to ensure sealants and gaskets do not lose adhesion or tear when the building structure sways or materials expand and contract.
Advantages and Limitations
The primary advantage of lab testing is the ability to isolate design flaws. If a custom aluminum curtain wall extrusion lacks adequate weep holes, or if a specific membrane transition is fundamentally incompatible with a structural substrate, the lab will expose it before thousands of units are fabricated. The limitation is that lab testing assumes perfect installation conditions; it cannot account for poor workmanship on the actual job site.
In-Situ Field Testing: Real-World Validation
While the lab validates the design, field testing validates the installation. According to the Whole Building Design Guide (WBDG), field testing is critical for identifying workmanship errors, material damage during transit, and site-specific substrate deviations that a laboratory mock-up could never replicate.
Governing Standards and Execution
Field water testing is predominantly governed by ASTM E1105 and AAMA 501.2. Because constructing a massive negative-pressure chamber on the side of a 40-story building is often impractical, field testing relies heavily on standardized water application techniques.
- AAMA 501.2 (Hose Test): A quality control method specifically for storefronts, curtain walls, and sloped glazing systems. A technician uses a specialized nozzle delivering 3 to 5 gpm at a pressure of 25 to 30 psi, held exactly 12 inches from the joints, moving at a rate of 1 foot per second.
- ASTM E1105 (Spray Rack): A more comprehensive test utilizing a multi-nozzle spray rack mounted to the exterior via scaffolding or swing stages. To achieve the required negative pressure differential, contractors may have to seal off the interior room and use heavy-duty exhaust fans to pull a vacuum, simulating wind suction.
Advantages and Limitations
Field testing catches the most common causes of real-world leaks: unprimed sealant joints, torn weather-resistive barriers (WRB), missing backer rods, and clogged weep holes caused by construction debris. However, it is highly weather-dependent. Wind speeds exceeding 15 mph can blow the spray rack water off-target, invalidating the test, and freezing temperatures preclude water-based testing entirely.

Head-to-Head Comparison Matrix
| Feature | Lab Mock-Up (ASTM E331) | Field Testing (ASTM E1105 / AAMA 501.2) |
|---|---|---|
| Primary Objective | Validate system design and material compatibility | Validate installation workmanship and site conditions |
| Pressure Control | Absolute precision; uniform static/cyclic pressure | Variable; reliant on interior vacuum seals and ambient wind |
| Water Application | Calibrated grid (5.0 gpm/ft²) | Spray rack or handheld nozzle (3-5 gpm localized) |
| Destructive Capability | High; mock-up is often dismantled post-test | Low; non-destructive to the finished facade |
| Schedule Impact | Front-loaded; requires 8-12 weeks before fabrication | Concurrent; performed as installation progresses |
2026 Cost and Schedule Implications
Budgeting accurately for building envelope material testing requires understanding the distinct cost structures of each approach. As of 2026, specialized testing agencies price these services based on assembly complexity, chamber size, and site accessibility.
Laboratory Mock-Up Costs
$25,000 – $55,000+
This includes mock-up construction by the glazier/cladder, shipping to the lab facility, chamber calibration, 3 to 5 days of testing (including air, water, and structural phases), and the final engineering report. Complex assemblies requiring seismic racking or thermal cycling can push costs past $75,000.
In-Situ Field Testing Costs
$3,500 – $8,000 per drop
Pricing is typically calculated per "drop" or elevation. Costs escalate significantly if swing stages, scaffolding, or interior containment sealing are required. A standard 10-story mid-rise might require 15 randomized field tests, totaling roughly $50,000 to $80,000 for the entire project phase.
Diagnostic Decision Framework: Which Method is Required?
Choosing between lab and field testing is not always an either/or scenario; many high-performance projects mandate both. Use this framework to determine the minimum required testing protocol based on your project parameters.
Mandate Laboratory Mock-Up Testing When:
- Custom Extrusions: The project utilizes custom-designed aluminum profiles, non-standard mullion depths, or proprietary rain-screen cladding systems that lack historical performance data.
- High-Rise / Extreme Wind Zones: The building is located in a hurricane-prone region (HVHZ) or exceeds 400 feet in height, where wind-driven rain pressures exceed standard commercial ratings.
- Complex Transitions: The envelope features intricate intersections, such as curved glass meeting angled metal panels, or roof-to-wall parapet transitions with multiple membrane layers.
Mandate Field Testing When:
- Repetitive Production: The project uses standard, pre-engineered, and previously lab-tested window or curtain wall systems installed across hundreds of repetitive openings.
- Workmanship Verification: The general contractor is utilizing multiple subcontractors for framing, waterproofing, and glazing, increasing the risk of trade coordination errors and sequence damage.
- Forensic Investigation: You are diagnosing an active leak in an existing building where laboratory testing is impossible, and localized hose testing (AAMA 501.2) is required to isolate the exact point of water ingress.
Common Failure Modes Caught by Each Method
Understanding what each test is actually designed to catch helps project teams interpret failure reports and implement corrective actions efficiently. The U.S. Department of Energy emphasizes that envelope failures are rarely due to a single material defect, but rather systemic integration errors.
Failures Exposed in the Lab
Laboratory testing excels at identifying design and manufacturing defects. Common failures include inadequate internal weep channels within a mullion that cause water to dam up and overflow the interior glazing pocket. It also exposes incompatible material pairings, such as a specific brand of silicone sealant failing to adhere to a fluoropolymer-coated aluminum panel under cyclic pressure, or gasket shrinkage leaving open corners at the mullion-to-transom intersections.
Failures Exposed in the Field
Field testing excels at identifying installation and sequencing defects. The most frequent field failure is the omission of sealant dams at the base of vertical mullions, allowing water to bypass the weep system and enter the interior slab edge. Other common field failures include torn self-adhered flashing membranes at rough openings, missing or improperly compressed pre-compressed foam tape, and sealant joints that were applied to dusty or damp substrates without the manufacturer-required primer, resulting in cohesive tearing during the water test.
By strategically deploying both laboratory and field building envelope material testing protocols, project teams can eliminate design vulnerabilities before fabrication and ensure installation integrity before handover, effectively neutralizing the most expensive risks in modern construction.
Written by
James ThorntonJames Thornton is a construction industry veteran with 25 years of hands-on experience in wood framing, lumber grading, and residential building codes. He started as a framing carpenter in rural Oregon, earned his ICC Residential Building Inspector certification, and eventually became a senior plan reviewer for the City of Portland Bureau of Development Services. James holds a B.S. in Wood Science & Technology from Oregon State University and is a certified lumber grader through the West Coast Lumber Inspection Bureau (WCLIB). He has inspected over 3,000 residential construction sites and authored the city's internal guide on advanced framing techniques (2x6 at 24" O.C.). James lives in Bend, OR, where he builds custom timber-frame cabins and competes in lumberjack sports.
More from James Thornton
View all
Insulation
Best Home Insulation Materials: Complete 2026 Guide
Compare top home insulation materials for 2026. Find R-values, installed costs per square foot, and best uses for fiberglass, spray foam, and mineral wool.
Aug 4, 2026

Sustainable Building
Certify Your Green Building Material for LEED and WELL
Step-by-step guide to certifying a green building material for LEED v5 and WELL v2. Master EPDs, HPDs, and VOC limits for 2026 project specifications.
Aug 4, 2026

Stone & Masonry
Veneer Stacked Stone Panels: Interior Design & Style Showcase
Discover how veneer stacked stone panels transform interiors. Explore modern design profiles, material pairings, and technical installation specs.
Aug 4, 2026