Advanced Thermal Insulation Installation for 2x6 Exterior Walls
Master advanced thermal insulation installation for 2x6 exterior walls. Compare flash-and-batt vs. dense-pack cellulose with exact costs and R-values.
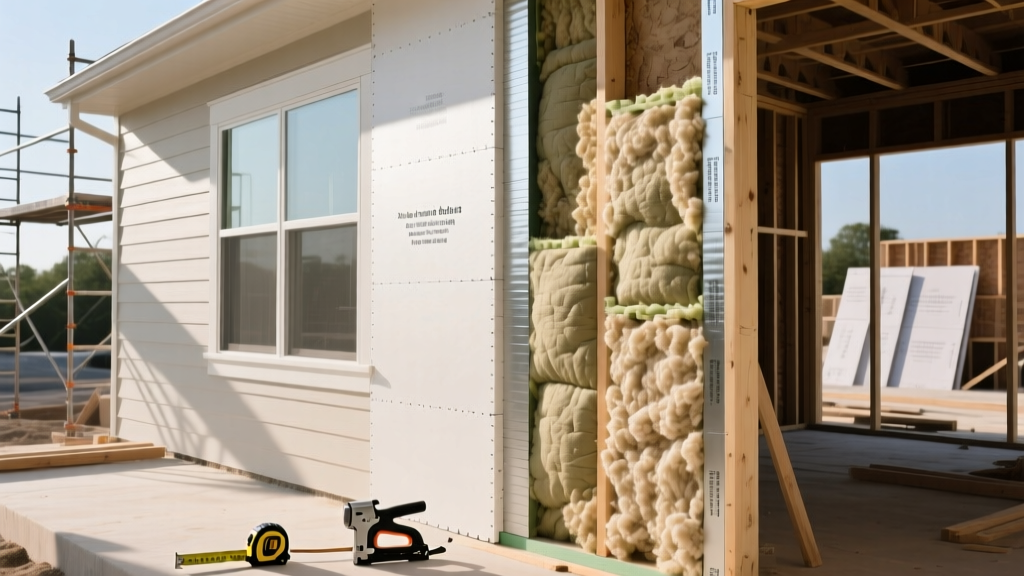
The Performance Gap in Standard 2x6 Wall Cavities
Standard fiberglass batt installation in a 2x6 wall cavity rarely achieves its labeled R-21 performance. Field studies consistently show that compression, gaps, and convective looping reduce effective thermal resistance by 15% to 30%. To meet modern energy codes and achieve true high-performance building envelopes, contractors must adopt advanced thermal insulation installation techniques. This guide details the precise application procedures for the two most effective cavity insulation strategies: closed-cell flash-and-batt and dense-pack cellulose.
Material Selection Matrix: Flash-and-Batt vs. Dense-Pack
Choosing between hybrid foam systems and dense-pack cellulose depends on your climate zone, budget, and specific moisture management strategy. Below is a technical comparison of these advanced thermal insulation methods for a standard 14.5-inch wide, 5.5-inch deep 2x6 stud bay.
| Attribute | Flash-and-Batt (1.5" ccSPF + R-21 Batt) | Dense-Pack Cellulose (3.5 lbs/ft³) | Standard R-21 Fiberglass Batt |
|---|---|---|---|
| Effective Cavity R-Value | R-31.5 (R-10.5 foam + R-21 batt) | R-20.9 (R-3.8 per inch) | R-16 to R-18 (degraded by gaps) |
| Air Sealing Capability | Excellent (acts as primary air barrier) | Good (reduces convective looping) | Poor (requires separate membrane) |
| Installed Cost (per sq. ft.) | $2.85 - $3.40 | $1.65 - $2.10 | $0.90 - $1.20 |
| Vapor Permeance | Semi-impermeable (foam layer) | Vapor open (requires drying potential) | Vapor open |
| Sound Transmission (STC) | STC 39 | STC 44 | STC 35 |
Step-by-Step Installation: Closed-Cell Flash-and-Batt
The flash-and-batt method combines the air-sealing and high R-value-per-inch properties of closed-cell spray polyurethane foam (ccSPF) with the cost-effectiveness of fiberglass. Products like Icynene ProSeal Eco or Demilec Heatlok Soya HTR are industry standards for this application.
Step 1: Substrate Preparation and Air Sealing
Before any thermal insulation is applied, the cavity must be prepped. Remove all construction debris, sawdust, and protruding nails. Apply a fluid-applied flashing or aerosol sealant (like Prosoco R-Guard FastFlash) to all bottom plates, top plates, and window rough openings. The goal is to achieve a blower door test result of less than 2.0 ACH50 before the insulation is even installed.
Step 2: Applying the 1.5-Inch Flash Coat
Spray the closed-cell foam directly against the interior side of the exterior sheathing. The target thickness is exactly 1.5 inches. This specific depth provides approximately R-10.5 and pushes the condensing surface far enough toward the exterior to prevent interstitial condensation in Climate Zones 5 and higher. Use a depth gauge or pre-marked nails driven into the studs to verify the 1.5-inch thickness during application. Ambient temperatures must be between 60°F and 80°F for optimal cellular structure and yield.
Step 3: Fitting the Fiberglass Overlay
Once cured, install an R-21 unfaced fiberglass batt (such as Owens Corning EcoTouch) over the foam. The batt must be friction-fit. Do not compress the edges; compressing a fiberglass batt reduces its trapped air volume, directly lowering its thermal resistance. If the cavity width is non-standard, cut the batt 0.5 inches wider than the opening to ensure a tight friction fit against the studs.
Step-by-Step Installation: Dense-Pack Cellulose
Dense-pack cellulose is a premier thermal insulation choice for its high recycled content, superior acoustic dampening, and excellent resistance to convective heat loss. Applegate Stabilized Cellulose or Nu-Wool are common specifications. The critical metric for success is achieving a minimum density of 3.5 pounds per cubic foot to eliminate long-term settling.
Step 1: Netting and Hose Insertion
Staple a breathable nylon netting or specialized cellulose membrane across the interior face of the studs. Cut a 2-inch diameter hole in the netting at the top of each stud bay. Insert a 2.5-inch blowing hose through the hole all the way to the bottom plate of the wall cavity.
Step 2: Blowing to Target Density
Turn on the blower and begin filling the cavity. As the cellulose fills the bay, slowly pull the hose upward at a rate that maintains back-pressure. The material should pack tightly against the sheathing and studs.
Verification Protocol: To verify the 3.5 lbs/ft³ density, calculate the volume of a standard 2x6 bay (14.5" x 92" x 5.5" = 4.18 cubic feet). Each cavity must consume exactly 14.6 pounds of cellulose. Weigh the bags used and track the number of cavities filled to ensure you are hitting the target mass per volume.
'The biggest mistake installers make with dense-pack cellulose is under-feeding the machine to save time. If the density drops below 3.0 lbs/ft³, the material will settle up to 15% over the first two years, leaving an uninsulated gap at the top of the wall cavity that completely compromises the thermal envelope.' — Building Science Corporation Guidelines
Mitigating Thermal Bridging in Advanced Assemblies
Cavity thermal insulation, no matter how perfectly installed, cannot stop thermal bridging through the wood framing. Wood has an R-value of roughly 1.25 per inch, meaning a 2x6 stud acts as a thermal short circuit. To maximize the performance of your cavity insulation, you must pair it with continuous exterior insulation.
- Option A: Rigid Foam Sheathing. Install 1.5 inches of polyisocyanurate (e.g., Hunter Panels Polyiso) over the wall sheathing. Tape all seams with acrylic sheathing tape to serve as the primary water-resistive barrier (WRB).
- Option B: Insulated Sheathing Panels. Use structural panels with integrated foam, such as Huber ZIP System R-Sheathing (R-6 or R-12), which combines the WRB, structural bracing, and continuous thermal insulation in a single application step.
Troubleshooting Common Installation Defects
Even experienced crews make errors that degrade thermal insulation performance. Use this diagnostic matrix during the pre-drywall inspection phase.
| Observed Defect | Root Cause | Corrective Action |
|---|---|---|
| Fiberglass batts pulled away from top plate | Batts cut too short or not pushed fully into cavity | Install compressed scrap pieces of insulation to fill the gap entirely; do not leave dead air spaces. |
| Foam flash coat peeling from OSB sheathing | Sheathing was dusty, wet, or below 40°F during spray | Scrape off delaminated foam, clean substrate, and re-spray using a high-adhesion primer coat. |
| Cellulose settling gap at top of wall | Blower hose withdrawn too quickly; density below 3.0 lbs/ft³ | Drill a new access hole at the top plate and top-off the cavity until material blows back out of the hole. |
| Electrical boxes leaking air into cavity | Standard boxes used instead of air-tight models | Apply canned spray foam (like Great Stuff Pro Window & Door) around the perimeter of the box and wire penetrations. |
Code Compliance and Final Inspection
Before closing the walls, ensure your thermal insulation installation complies with the International Energy Conservation Code (IECC) and local amendments. According to the U.S. Department of Energy, proper installation verification is now a mandatory requirement for achieving compliance under the RESNET/ICC 380 standard for grading insulation installation.
Inspectors will look for Grade I installation standards: no missing pieces, no compression greater than 2%, and complete filling of the cavity around wires and pipes. For further reading on moisture management and drying potential in highly insulated walls, refer to the Building Science Corporation's guide on the Perfect Wall, which details the critical order of control layers (water, air, vapor, thermal) that your insulation must integrate with.