2026 Blown In Insulation Cost: Installation Pricing & Guide
Analyze 2026 blown in insulation cost for cellulose and fiberglass. Includes installation procedures, material pricing, and ROI calculations.
The Real Breakdown of Blown In Insulation Cost in 2026
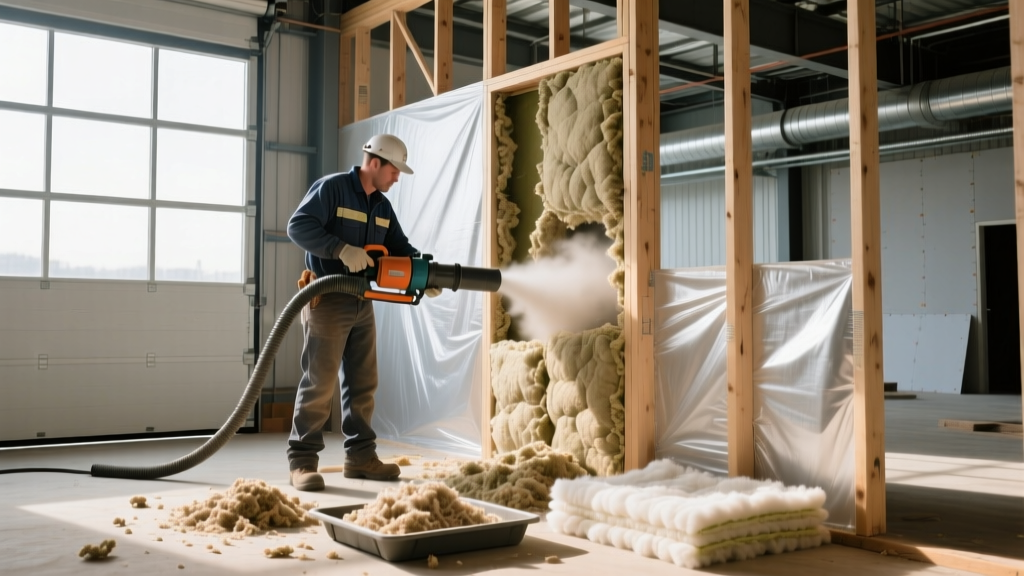
Calculating the true blown in insulation cost requires looking past the per-bag price at the hardware store. In 2026, the national average for professionally installed loose-fill insulation ranges from $1.30 to $2.30 per square foot for open attics, and $2.80 to $4.20 per square foot for dense-pack wall retrofits. These figures encompass material, labor, equipment amortization, and site preparation. For DIY installations, material costs drop significantly, but equipment rental and the physical toll of the application process introduce hidden variables that frequently lead to improper density and subsequent thermal failure.
| Material Type | Open Attic (Installed) | Dense-Pack Walls (Installed) | DIY Material Only (per sq ft) |
|---|---|---|---|
| Cellulose (e.g., Greenfiber) | $1.30 - $1.80 | $2.80 - $4.20 | $0.65 - $0.90 |
| Fiberglass (e.g., Owens Corning) | $1.60 - $2.30 | N/A (Not recommended) | $0.85 - $1.20 |
Material Selection: Cellulose vs. Fiberglass Blown-In
The two dominant materials in the loose-fill category dictate both the upfront cost and the long-term thermal performance. Understanding their specific application requirements is critical to avoiding costly callbacks or energy loss.
Cellulose (Recycled Paper Fiber)
Cellulose is heavily treated with borates for fire and pest resistance. It boasts an R-value of approximately R-3.7 per inch. Its primary advantage in retrofit scenarios is its ability to be dense-packed into closed wall cavities at 3.5 lbs per cubic foot, which effectively blocks air infiltration and eliminates convective heat loops. However, cellulose is hygroscopic; if installed in an attic with active roof leaks or improper ventilation, it will absorb moisture, lose R-value, and degrade the underlying drywall.
Fiberglass (Spun Glass Particulate)
Blown-in fiberglass (such as Owens Corning AttiCat or Knauf JetStream) offers an R-value ranging from R-2.8 to R-3.8 per inch, heavily dependent on the installed density. Unlike cellulose, fiberglass does not absorb moisture, making it a safer choice for humid climates or attics with minor condensation risks. The drawback is that fiberglass is highly permeable to air movement. Without meticulous air sealing at the ceiling plane prior to installation, wind washing will strip the thermal boundary of its effectiveness, a phenomenon the EPA's ENERGY STAR program specifically warns against in their attic insulation guidelines.
Manufacturers print a coverage chart on every bag of blown insulation. This chart specifies the exact number of bags required per 1,000 square feet to achieve a target R-value. If an installer 'fluffs' the material to cover more area with fewer bags, the R-value plummets. Always demand that the contractor leaves the empty bags on-site so you can verify the bag count against the manufacturer's coverage chart for your specific square footage.
Step-by-Step Installation Procedure & Hidden Cost Drivers
The installation procedure directly impacts the final blown in insulation cost. Skipping prep work reduces day-one labor costs but guarantees long-term performance failure. A proper installation follows this strict sequence:
- Comprehensive Air Sealing: Before any insulation touches the attic floor, all penetrations must be sealed. This includes top plates of interior walls, plumbing stacks, electrical chases, and recessed lighting cans. Use single-component polyurethane foam for gaps larger than 1/4 inch and high-temperature mastic for smaller seams. This step typically adds $0.30 to $0.60 per square foot to the total project cost but is non-negotiable for achieving the US Department of Energy's recommended thermal boundary standards.
- Baffle and Ventilation Installation: Soffit vents must remain unobstructed to allow intake air to flow up to the ridge vent. Install rigid foam or plastic baffles (like AccuVent) stapled to the roof decking at every rafter bay. Failure to install baffles results in the blown insulation spilling into the eaves, blocking airflow, and causing winter ice dams or summer moisture rot.
- Depth Marker Placement: Staple physical depth markers (wooden rulers or manufacturer-provided plastic gauges) every 150 square feet across the attic floor. These markers dictate the exact settled depth required to hit the target R-value (e.g., 18 inches for R-60 cellulose).
- Hose Management and Blowing Technique: The operator must hold the hose at a 45-degree angle and use a steady, sweeping side-to-side motion. Pointing the hose straight down creates craters and uneven density. The hose operator should start at the furthest point from the attic hatch and work backward to avoid trampling and compressing the freshly blown material.
Equipment Rental vs. Professional Labor Costs
For DIYers, major home improvement centers frequently offer a 'free' 24-hour insulation blower rental with the purchase of a minimum threshold of material (typically 20 to 30 bags). While this eliminates the $150 daily equipment rental fee, it masks the true cost of DIY application.
Operating a commercial blower requires two people: one in the attic managing the hose, and one at the truck or driveway feeding the machine and breaking up the densely compressed bales. The physical toll of dragging 100+ lbs of hose across trusses in 130°F attic heat leads to fatigue, which directly correlates to uneven application and missed corners. Professional crews use remote-controlled hopper systems and specialized agitation wands that ensure consistent fiber separation, resulting in a uniform density that DIY rigs struggle to replicate.
Troubleshooting Common Installation Failures
When evaluating bids, be aware of these common failure modes that unscrupulous or undertrained contractors might introduce to cut corners on your blown in insulation cost:
- Post-Installation Settling: If cellulose is installed at less than 1.5 lbs/ft³ in an open attic, it will settle up to 20% over the first winter. Professionals over-blow the material by 10-15% above the depth marker to account for gravitational settling.
- Thermal Bridging over Joists: In older homes with 2x6 ceiling joists, the wood itself conducts heat. A premium installation includes 'cross-hatching' or laying a perpendicular layer of batts or additional loose-fill over the joists to eliminate the thermal bridge, increasing material costs by roughly 15% but drastically improving the whole-assembly R-value.
- Recessed Light Can Overheating: Blowing insulation directly over non-IC (Insulation Contact) rated recessed lights creates a severe fire hazard and triggers the thermal cutoff switches, leaving the homeowner in the dark. Installers must build drywall or wire mesh dams around these fixtures to maintain a 3-inch clearance.
Calculating Your ROI and Payback Period
The financial viability of a blown-in insulation upgrade depends on your current insulation depth and local climate zone. Upgrading an uninsulated attic (R-0) to R-49 yields an immediate and massive reduction in HVAC load, often paying for the $2,500 to $4,000 installation cost within 3 to 5 years through energy savings. However, upgrading an attic that already has 6 inches of settled fiberglass (R-19) to R-49 will yield diminishing returns, extending the payback period to 10 to 15 years. Always request a blower door test and infrared thermography scan before signing a contract to ensure your investment targets actual thermal weaknesses rather than just adding redundant material.