Cleaning and Maintaining Do It Yourself Foam Insulation Spray Gear
Learn how to clean, maintain, and clear clogs in do it yourself foam insulation spray kits to extend equipment life and ensure flawless application.
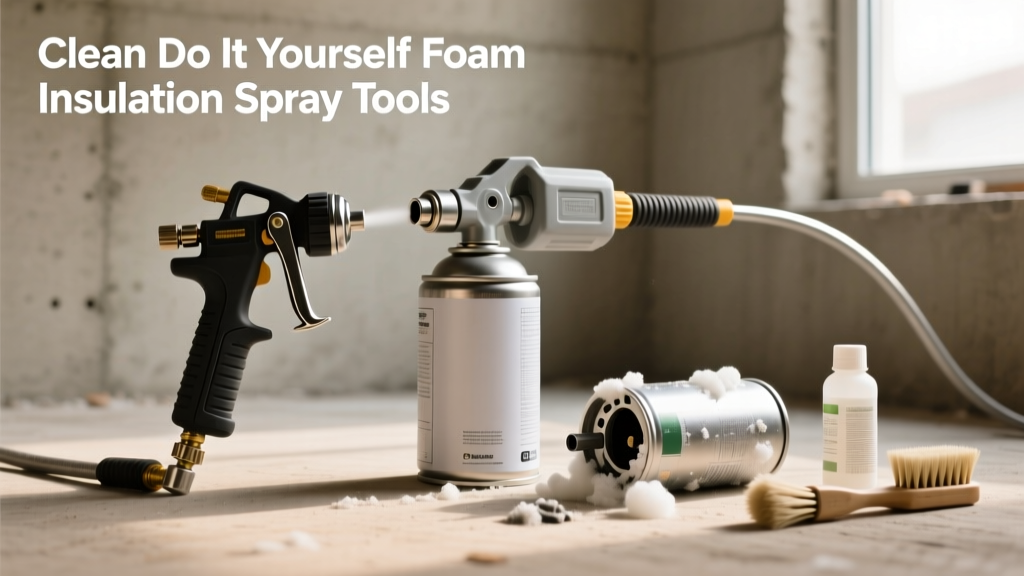
The Hidden Costs of Neglected Spray Foam Equipment
Polyurethane foam is a miraculous building material, offering superior R-values and unparalleled air sealing. However, the application tools used for do it yourself foam insulation spray projects are notoriously unforgiving. Unlike latex paint or silicone caulk, uncured polyurethane (PU) is a permanent, moisture-curing adhesive. Once it hardens inside a valve, hose, or mixing chamber, it cannot be dissolved by standard household cleaners.
In 2026, a high-quality reusable two-part DIY spray foam kit (such as a 600-board-foot closed-cell system) costs between $750 and $950. Replacement application guns for single-component cans (like the Great Stuff Pro 14) retail for $45 to $85. Failing to execute a rigorous post-application cleaning playbook doesn't just ruin your tools; it compromises the chemical ratio of your next application, leading to tacky, off-ratio foam that fails to cure and must be scraped out of your wall cavities.
Solvent Selection Matrix for Polyurethane Cleanup
Water accelerates the curing process of PU foam. Therefore, water-based cleaning is strictly prohibited. You must use chemical solvents to break down uncured resins, or mechanical force for cured foam. Below is the definitive solvent matrix for maintaining your spray gear.
| Solvent / Method | Best Used For | Evaporation Rate | Plastic/Rubber Safety | Approx. Cost (2026) |
|---|---|---|---|---|
| Acetone | Flushing guns, cleaning metal tips, skin prep | Very Fast | Poor (Melts most plastics) | $18 / Gallon |
| Proprietary PU Cleaner | Gun flushing, hose purging (e.g., Great Stuff Pro Cleaner) | Medium | Good (Formulated for seals) | $14 / 12oz Can |
| MEK (Methyl Ethyl Ketone) | Heavy-duty industrial gun soaking | Fast | Poor | $35 / Gallon |
| Citrus-Based Solvents | Removing sticky residue, skin cleanup | Slow | Excellent | $12 / 16oz Bottle |
| Mechanical Scraping | Fully cured foam, overspray on glass/metal | N/A | N/A | Tool Cost Only |
The 15-Minute Post-Spray Gun Cleaning Playbook
For single-component DIY projects using professional-style applicator guns (which screw onto standard 24oz PU foam cans), the 15-minute post-spray window is critical. If you leave the can attached without purging, the internal needle will fuse to the PTFE seal within 48 hours.
Step-by-Step Gun Purge Procedure
- Depressurize and Detach: Close the flow control valve at the rear of the gun. Unscrew the empty foam can. Point the nozzle into a heavy-duty cardboard box or waste bag.
- Clear the Chamber: Pull the trigger to expel any remaining liquid foam from the barrel. Wipe the gun's threading collar with an acetone-soaked rag immediately to prevent the next can from gluing to the gun.
- Attach Solvent Can: Screw on a can of proprietary PU gun cleaner. Open the flow valve fully.
- Pulse Flushing: Pull the trigger in short, 2-second bursts. You will see a mix of yellow/brown foam and clear solvent. Continue pulsing until the spray is 100% clear.
- Disassemble the Nozzle: Using a 10mm wrench, remove the brass tip and the mixing basket. Drop these into a glass jar filled with acetone to soak overnight. Do not use plastic jars, as acetone will melt them.
- Lubricate the Needle: Once the gun is dry, apply two drops of non-silicone gun oil or light mineral oil to the rear plunger rod to keep the O-rings supple.
Maintaining Two-Part DIY Hose Systems
Two-part do it yourself foam insulation spray kits (like Touch 'n Seal or Foam It Green) utilize two pressurized chemical tanks (Isocyanate and Resin) that meet at the mixing nozzle. The maintenance protocol here is vastly different because the chemical reaction happens at the very tip of the gun.
The 'Leave-It-Attached' Storage Protocol
According to guidelines from the Spray Polyurethane Foam Alliance (SPFA), the most common failure point in DIY two-part kits is attempting to flush the main hoses. The hoses are too long and the chemical volume too high to flush effectively with solvent. Instead, utilize the anti-tip storage method:
- Do not disconnect the hoses from the tanks. Leave the system pressurized.
- Remove only the mixing nozzle. The disposable plastic mixing nozzles are designed to be sacrificial. Pull the nozzle off and discard it. The chemical inside the 2-inch tip will cure into a solid plug, sealing the hoses.
- Store upright and climate-controlled. Store the tanks upright in a space between 65°F and 80°F. If tanks drop below 50°F, the Isocyanate (Side A) can crystallize, permanently ruining the $800 kit.
- Prep for next use: When ready to spray again, simply wipe the hardened plug off the gun face, attach a fresh disposable mixing nozzle, and purge 4 ounces of foam into a waste bag to ensure the ratio is balanced.
Remediation Playbook: Dealing with Cured Overspray
Wind and gravity are the enemies of the DIY spray foam installer. When foam drifts onto window glass, brick, or finished hardwood, it must be removed without damaging the substrate.
Expert Insight: Never use heat guns to soften cured PU foam on vinyl window frames. Polyurethane retains its structural integrity up to 250°F, but vinyl window frames will warp and permanently distort at temperatures as low as 160°F.
Substrate-Specific Removal Tactics
- Glass and Glazed Tile: Wait 24 hours for a full cure. Use a fresh, single-edge razor blade held at a 45-degree angle. The foam will peel off in clean sheets. Wipe the remaining adhesive ring with a citrus solvent.
- Unfinished Brick and Concrete: Mechanical removal is required. Use a stiff brass wire brush attached to an angle grinder. Brass is softer than masonry and will not scar the brick face. Follow up with a muriatic acid wash (diluted 10:1) to remove the microscopic chemical stain.
- Finished Hardwood Floors: If the foam is still tacky (uncured), wipe gently with a rag dampened with acetone, testing in a hidden corner first to ensure it doesn't strip the polyurethane floor finish. If fully cured, carefully slice the bulk off with a putty knife, then use a fine-grit (220) sanding sponge to feather the remaining residue, followed by a touch-up coat of floor wax.
Long-Term Maintenance of Exposed Foam in Unfinished Spaces
Maintenance doesn't end when the tools are cleaned. If your do it yourself foam insulation spray project left exposed foam in an attic, basement, or crawlspace, the foam itself requires ongoing maintenance and code compliance checks.
UV Degradation and Dust Accumulation
Polyurethane foam is highly susceptible to ultraviolet (UV) light degradation. If exposed to sunlight through attic vents or unfinished windows, the top layer of the foam will oxidize, turning yellow, becoming brittle, and flaking off within 60 days. This compromises the R-value and creates a combustible dust hazard.
Furthermore, the open-cell structure of some DIY foams acts as a massive dust and cobweb magnet in unfinished basements, degrading indoor air quality over time.
Code Compliance: Thermal and Ignition Barriers
According to the International Residential Code (IRC Section R316), spray foam installed in interior living spaces or attached garages must be separated from the interior of the building by an approved thermal barrier (like 1/2-inch gypsum board) or an approved ignition barrier. For DIYers leaving foam exposed in a basement rim joist or crawlspace, you must maintain an intumescent coating.
Troubleshooting Decision Tree: Equipment Failures
When your gear fails mid-project, use this diagnostic framework to save your materials and your sanity.
| Symptom | Root Cause | Immediate Fix |
|---|---|---|
| Foam sprays out only one side of the mixing tip (off-ratio) | Clogged filter screen in the gun collar or tank valve | Remove gun, unscrew collar, extract and clean the stainless steel mesh filter with acetone. |
| Foam is tacky, sticky, and won't cure after 24 hours | Chemical tanks are below 65°F, causing a pressure drop and lean resin mix | Stop spraying. Move tanks to a heated room for 12 hours. Scrape out all uncured foam. |
| Gun trigger is stuck and will not pull | Resin leaked past the PTFE seal and cured on the needle shaft | Submerge the entire gun body in a sealed glass jar of MEK for 48 hours to break the bond. |
Mastering the maintenance and cleaning of your spray foam equipment is just as critical as the installation itself. By adhering to strict solvent protocols, understanding the chemistry of two-part systems, and properly managing exposed foam, you ensure that your insulation investment performs flawlessly for decades while keeping your 2026 equipment replacement costs at zero.