How to Clean and Maintain Exposed Open Cell Spray Foam
Learn the exact protocols for inspecting, cleaning, and repairing exposed open cell spray foam in attics and crawlspaces to preserve R-value and air sealing.
The Unique Vulnerabilities of Open Cell Foam
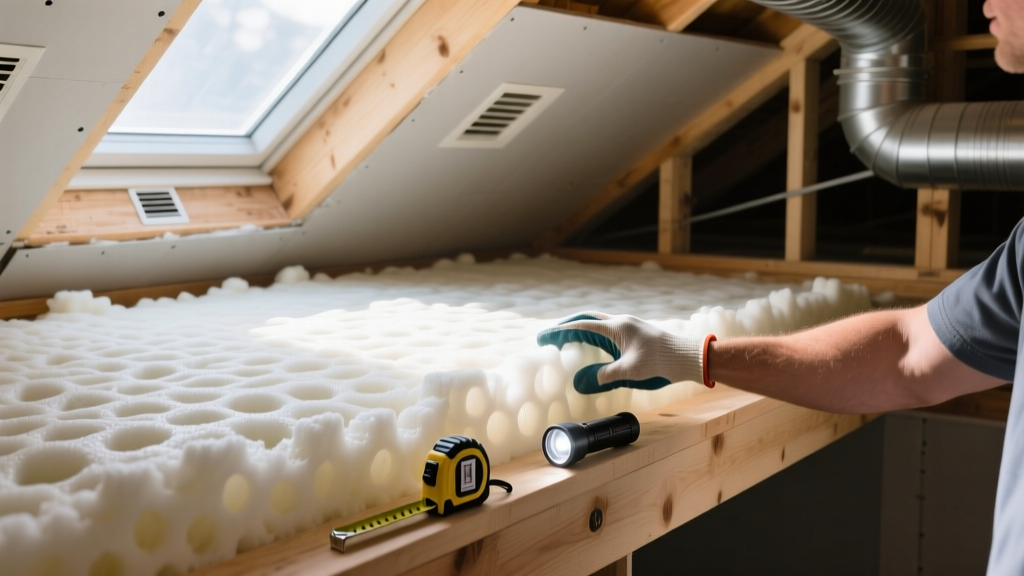
Open cell spray polyurethane foam (ocSPF) is highly valued for its superior acoustic dampening and expansive air-sealing properties. However, when left exposed in unconditioned attics, crawlspaces, or mechanical rooms, its physical structure demands a specific maintenance playbook. Unlike closed-cell foam, which boasts a dense, impermeable matrix of roughly 2.0 lbs/ft³, open cell foam cures at a low density of approximately 0.4 to 0.5 lbs/ft³. This creates a highly porous, sponge-like cellular network.
While this porosity is excellent for sound absorption, it makes the material a magnet for airborne particulate matter, construction dust, and humidity. According to the U.S. Department of Energy, improper moisture management in porous insulation can severely degrade thermal performance over time. Maintaining exposed ocSPF is not about scrubbing it like a hard surface; it is about preserving the delicate cellular walls, managing vapor drive, and ensuring the air barrier remains continuous.
Routine Inspection Playbook: Thermal and Moisture Profiling
Before any physical cleaning begins, a structural and environmental assessment is mandatory. Open cell foam can hide moisture deep within its core because it holds water like a sponge without immediate surface dripping.
Required Diagnostic Tools
- Thermal Imaging Camera: Use a radiometric camera (e.g., FLIR E8-XT or equivalent) with the emissivity setting dialed to 0.95 (the standard emissivity for polyurethane surfaces). Scan for dark blue or black anomalies during winter heating seasons, which indicate thermal bypasses where the foam has shrunk or detached from the substrate.
- Pinless Moisture Meter: Standard pin meters will tear the fragile foam. Use a pinless impedance meter (like a Tramex ME5) calibrated for low-density materials to detect hidden moisture pockets.
- Borescope: For deep cavity inspections where foam meets the exterior sheathing, a 5mm articulating borescope can check for condensation without destroying the foam face.
The Cleaning Protocol: Removing Dust and Debris
If the exposed foam has accumulated years of dust, cobwebs, or construction debris, follow this non-destructive cleaning sequence. This is particularly important before applying any vapor-retardant coatings or fire-barrier paints.
- Dry Agitation: Use a soft-bristled upholstery brush (natural or soft synthetic bristles only) to gently loosen surface particulates. Brush in a single downward direction to prevent working dust deeper into the open pores.
- HEPA Vacuuming: Immediately follow brushing with a commercial HEPA-filtered vacuum. Use a wide, flat floor-attachment tool rather than a crevice tool. Keep the suction dial at a medium-low setting. Hover the attachment roughly 1/2 inch above the foam surface to extract dust without pulling on the cellular matrix.
- Spot Treatment for Stains: If the foam has localized staining from minor roof leaks or HVAC condensation, do not soak it. Mix a solution of 1 ounce of neutral pH, non-ionic surfactant per gallon of distilled water. Lightly mist the area and blot—never rub—with a microfiber towel.
Moisture Remediation and Vapor Retarder Maintenance
The most critical maintenance task for open cell spray foam in Climate Zones 5 and higher is monitoring the interior vapor retarder. Because ocSPF is vapor-permeable, building codes typically require it to be coated with an approved vapor-retardant paint (such as DC315 or Sherwin-Williams SherLastic) when installed on the interior side of the roof deck.
According to research published by the Building Science Corporation, if this coating cracks, peels, or degrades, warm interior moisture will migrate into the cold foam during winter, condensing against the roof sheathing and causing rot.
| Coating Defect Type | Root Cause | Required Maintenance Action |
|---|---|---|
| Hairline Cracking | Thermal expansion/contraction of roof deck | Clean area, apply elastomeric patching compound, and re-coat with Class II vapor retarder paint. |
| Peeling / Delamination | Coating applied over dusty or uncured foam | Scrape loose paint, HEPA vacuum, prime with compatible acrylic primer, and apply two coats of retarder. |
| Microbial Growth (Mold) | Trapped moisture from prior leak or high humidity | Follow EPA mold cleanup guidelines. Cut out affected foam, treat substrate, replace foam, and re-coat. |
Patching and Repairing Physical Damage
Exposed foam in attics is frequently damaged by HVAC technicians, rodent intrusion, or falling storage boxes. Repairing ocSPF requires specific techniques to ensure the patch bonds chemically and maintains the air barrier.
Step 1: Excavation and Preparation
Do not use reciprocating saws or utility knives to cut out damaged foam; these tools create micro-fractures and leave a rough surface that prevents proper adhesion. Instead, use a serrated bread knife or a hot-wire foam cutter to carve out the damaged section. Create a slight bevel (a 'V' notch) along the edges of the cut to increase the surface area for the patching material to grip.
Step 2: Material Selection
For small gaps (under 2 inches), a standard single-component polyurethane sealant (like Great Stuff Pro Window & Door) is sufficient. However, for larger voids, single-component cans will not cure properly in the center, leading to a soft, uncured core. For patches larger than 2 inches, you must use a two-part low-pressure spray foam kit (such as Dow Froth-Pak 210 or Touch 'n Seal). These kits dispense a precise 1:1 ratio of isocyanate and resin, curing uniformly and matching the 0.5 lb density of the surrounding open cell foam.
Step 3: Application and Trimming
Spray the two-part kit into the cavity, allowing it to overfill by about 15%. Wait a minimum of 15 minutes for the exothermic curing reaction to complete. Once fully cured and cool to the touch, trim the excess flush with the surrounding foam using a hot-wire cutter or a coarse-grit sanding block. Finally, re-apply the vapor-retardant coating over the patched area to ensure continuous moisture protection.
Frequently Asked Questions
Can I paint over dirty open cell spray foam without cleaning it?
No. If you apply vapor-retardant or intumescent fire-barrier paint over dusty foam, the paint will bind to the dust rather than the polyurethane cell walls. This results in a weak film that will peel off within months, leaving the foam vulnerable to moisture vapor drive. The HEPA vacuuming protocol outlined above is mandatory before any coating application.
How often should exposed attic foam be inspected?
Conduct a visual and thermal inspection every 24 months, or immediately following any severe weather event that compromises the roofline. Pay special attention to the ridge beam, eaves, and plumbing vent penetrations, as these are the most common areas for minor shrinkage and thermal bypasses to develop over the first five years of the foam's lifespan.
Does open cell foam degrade from UV exposure?
Yes. If left exposed to direct sunlight (such as through an uncovered gable vent or skylight), the ultraviolet radiation will break down the polyurethane polymers, causing the surface to turn yellow, become brittle, and eventually powder. Any foam exposed to indirect or direct UV light must be coated with a UV-resistant elastomeric paint or covered with a physical barrier like drywall or foil-faced polyiso board.