Master DIY Spray Foam Insulation: Pro Installation Steps
Learn how to safely and effectively apply DIY spray foam insulation. Covers kit selection, surface prep, temperature control, and pro spraying techniques.
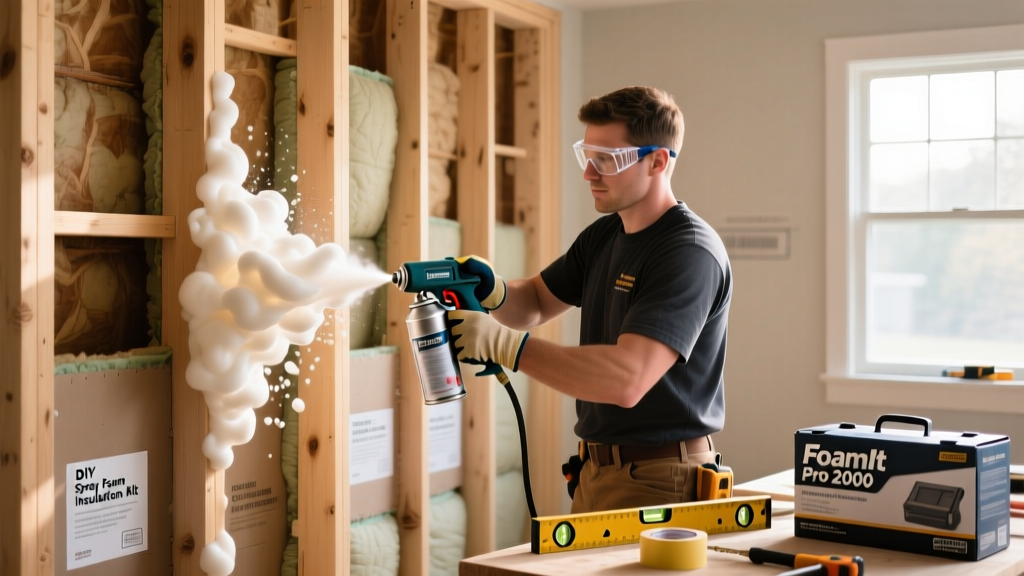
The Reality of DIY Spray Foam Kits
Applying diy spray foam insulation is often marketed as a simple weekend project, but the reality involves managing a complex, exothermic chemical reaction between two highly reactive components (Isocyanate and Polyol resin). When executed correctly, two-part pressurized kits deliver professional-grade air sealing and R-values. When executed poorly, the result is off-ratio foam that never cures, toxic off-gassing, and thousands of dollars in remediation costs.
According to the U.S. Department of Energy, spray polyurethane foam (SPF) is uniquely effective because it acts as both an insulator and an air barrier, eliminating the convective heat loops that plague fiberglass batts. However, achieving this performance requires strict adherence to temperature parameters, application techniques, and safety protocols.
The Environmental Protection Agency (EPA) mandates strict PPE for SPF application. Isocyanate exposure is a leading cause of occupational asthma. You must wear a NIOSH-approved supplied-air respirator (SAR) or a full-face organic vapor respirator with P100 particulate pre-filters, a full-body Tyvek suit, nitrile gloves, and chemical splash goggles. Standard N95 masks offer zero protection against isocyanate vapors.
Choosing the Right Kit: Open-Cell vs. Closed-Cell
For whole-wall or attic applications, single-component cans (like Great Stuff) are economically unviable and lack the structural integrity of two-part systems. You must select a pressurized two-part kit. The two primary chemistries available to consumers are open-cell (low density) and closed-cell (medium/high density).
| Feature | Open-Cell (e.g., Touch 'n Foam Pro) | Closed-Cell (e.g., Dow Froth-Pak) |
|---|---|---|
| R-Value per Inch | R-3.5 to R-3.8 | R-6.0 to R-7.0 |
| Moisture Permeability | Vapor permeable (breathable) | Vapor impermeable (Class II retarder) |
| Expansion Rate | High (fills deep cavities easily) | Low (requires layering) |
| Structural Rigidity | None (spongy texture) | High (adds racking strength to walls) |
| Best Application | Interior wall cavities, soundproofing | Roof decks, crawl spaces, exterior sheathing |
Pre-Application: The 24-Hour Temperature Rule
The most common cause of DIY spray foam failure is ignoring ambient and tank temperatures. The chemical reaction relies on precise heat thresholds. If the tanks are too cold, the B-side (resin) thickens, resulting in an off-ratio mix that remains permanently sticky and toxic.
- Tank Conditioning: Both A and B tanks must be stored in a climate-controlled space between 75°F and 85°F (24°C - 29°C) for a minimum of 24 hours prior to spraying.
- Substrate Temperature: The surfaces you are spraying must be at least 60°F (15°C). Spraying onto cold wood or metal in an unheated winter attic will halt the curing process instantly.
- Ambient Air: The application environment should ideally be between 65°F and 80°F with humidity below 60%.
Step-by-Step Application Procedure
Once your environment is conditioned and your PPE is secured, follow this precise application sequence to ensure proper cellular structure and adhesion.
- Surface Preparation & Masking: Spray foam adheres aggressively to everything. Cover floors, windows, and HVAC registers with 6-mil polyethylene sheeting and high-adhesion painter's tape. Remove all loose debris and dust from the stud cavities using a shop vac.
- The Purge Test: Before spraying the wall, attach a fresh nozzle and spray a test pass into a cardboard box. The foam should emerge as a uniform, creamy white/yellow liquid and expand smoothly. If it spits, sputters, or looks streaky, the tanks are not properly mixed or conditioned. Shake the tanks vigorously for 60 seconds and test again.
- Establish Your Distance: Hold the spray nozzle exactly 12 to 18 inches from the substrate. Moving closer causes the foam to blow out and trap unreacted chemicals; moving further away causes the foam to cool in mid-air, resulting in poor adhesion and 'cobwebbing'.
- The 2-Inch Pass Rule: Never attempt to fill a 2x6 wall cavity (5.5 inches) in a single pass. The exothermic reaction generates immense internal heat. If applied too thick, the core will scorch, discolor, and shrink away from the studs. Apply in 1.5 to 2-inch lifts. Allow 3 to 5 minutes of cooling between passes.
- Overlap Technique: Use a steady, sweeping arm motion. Overlap your previous pass by 50% to ensure an even, monolithic air barrier without thin spots.
- Nozzle Management: The foam cures inside the nozzle within 15 to 30 seconds of stopping the trigger. If you pause for more than 10 seconds, you must snap off the tip and replace it with a fresh nozzle from your kit.
Troubleshooting Off-Ratio Foam
Even with careful preparation, environmental variables can alter the chemical mix. Use this diagnostic matrix to identify and correct issues mid-application.
| Symptom | Chemical Cause | Corrective Action |
|---|---|---|
| Foam is tacky, sticky, and smells strongly of chemicals after 24 hours. | B-Side Rich (Resin heavy). Usually caused by the B-tank being colder than the A-tank. | Stop immediately. Move B-tank to a warmer area. Scrape out uncured foam; it will never harden. |
| Foam is brittle, crumbly, and shrinks significantly. | A-Side Rich (Isocyanate heavy) or applied too thick, trapping exothermic heat. | Check A-tank temp. Reduce pass thickness to maximum 1.5 inches. |
| Foam pulls away from wood studs as it cures. | Substrate was too cold, dusty, or the spray distance was too far. | Ensure substrate is >60°F and clean. Maintain strict 12-18 inch spray distance. |
The Code Compliance Gap: Thermal and Ignition Barriers
A massive blind spot for DIYers is building code compliance regarding exposed foam. According to Building Science Corporation and the International Residential Code (IRC Section R316), spray polyurethane foam cannot legally be left exposed in living spaces or mechanical rooms due to its rapid flame spread and toxic smoke generation during a fire.
"If you are spraying open-cell or closed-cell foam in an unfinished basement, attic, or garage, you must cover it with a 15-minute thermal barrier (like 1/2-inch gypsum drywall) or an approved intumescent ignition barrier paint (like DC315). Leaving raw foam exposed will fail a home inspection and void your property insurance."
The Cost Paradox: DIY Kits vs. Professional Rigs
Many homeowners assume DIY kits save money. In reality, the economics of spray foam favor professional contractors due to the massive scale of their material purchasing. A professional contractor uses high-pressure proportioners pumping from 55-gallon drums, whereas DIYers rely on disposable, pressurized 10-pound cylinders.
Below is a realistic 2026 cost breakdown for insulating a standard 400 sq. ft. attic roof deck (requiring roughly R-38, or about 6 inches of closed-cell foam, equating to 2,400 board feet).
- DIY Closed-Cell Kits: Requires approx. twelve 200-board-foot kits (e.g., Froth-Pak 210). At roughly $400 per kit, the material cost alone is $4,800 ($2.00 per board foot), plus $350 for PPE and masking supplies. Total: ~$5,150.
- Professional Installation: Contractors typically charge between $1.50 and $2.50 per board foot for high-pressure closed-cell foam, inclusive of labor, prep, and thermal barrier paint. Total: $3,600 to $6,000.
The Verdict: DIY spray foam kits are highly cost-effective for small, targeted air-sealing projects—like insulating a 50 sq. ft. crawl space rim joist, sealing around complex duct penetrations, or insulating a small shed. For whole-home or large attic applications, hiring a certified SPF contractor is often cheaper, vastly safer, and comes with a lifetime warranty against shrinkage and off-gassing.