Installing Sound Insulation Material: Techniques for High STC
Master the installation of sound insulation material with advanced decoupling, mass loading, and sealing techniques to achieve high STC ratings.

The Physics of Soundproofing: Why Installation Dictates Performance
Purchasing premium acoustic products is only the first step in noise control. The actual Sound Transmission Class (STC) rating of a wall or ceiling assembly is overwhelmingly determined by the precision of the installation. According to testing data referenced by the National Research Council Canada, a continuous air gap comprising just 1% of a partition's surface area can reduce its STC rating by up to 50%. Sound behaves like water; it will exploit the path of least resistance, turning microscopic installation errors into major acoustic failures.
To effectively block airborne and impact noise, an assembly must leverage four physical principles: mass, decoupling, damping, and absorption. When installing any sound insulation material, your primary objective is to maintain the integrity of these four elements without creating rigid mechanical bridges that transmit vibrational energy.
Material Selection Matrix: Matching the Product to the Assembly
Different acoustic products serve distinct physical functions. Combining them correctly is the foundation of a high-STC assembly. Below is a breakdown of the primary materials used in modern 2026 construction, their specific acoustic roles, and current market pricing.
| Material Type | Specific Product Example | Acoustic Function | Avg. Cost (2026) | Best Application |
|---|---|---|---|---|
| Mineral Wool Batts | ROCKWOOL Safe'n'Sound | Cavity Absorption | $1.25 / sq. ft. | Interior stud cavities to reduce resonance |
| Mass Loaded Vinyl (MLV) | Soundsulate 1 lb. MLV | Mass Addition | $2.85 / sq. ft. | Blocking low-frequency bass and mechanical noise |
| Resilient Channels | ClarkDietrich RC-1 | Structural Decoupling | $1.90 / linear ft. | Isolating drywall from framing to stop vibration |
| Viscoelastic Compound | Green Glue Noiseproofing | Constrained Layer Damping | $1.85 / sq. ft. | Between drywall layers to dissipate sound energy as heat |
| Acoustic Sealant | OSI SC-175 | Air Sealing | $8.50 / tube | Perimeter gaps and penetrations |
Step-by-Step Installation: The Decoupled Wall Assembly
The following procedure outlines the installation of a high-performance staggered-stud or decoupled wall assembly, targeting an STC rating of 55 to 60. This is the standard required for luxury multi-family residential units and home theaters.
Step 1: Framing and Decoupling
If using a double-stud or staggered-stud frame, ensure the two structural planes do not touch. Leave a minimum 1-inch air gap between the two rows of studs. If retrofitting or using standard 2x4 framing, install RC-1 resilient channels horizontally across the studs. Critical Detail: Space resilient channels exactly 24 inches on center. Fasten them to the studs using 1-1/4-inch coarse-thread drywall screws. Do not overdrive the screws; if the screw head crushes the channel flange against the wood, you have created a rigid mechanical bridge, nullifying the decoupling effect.
Step 2: Cavity Filling with Acoustic Batts
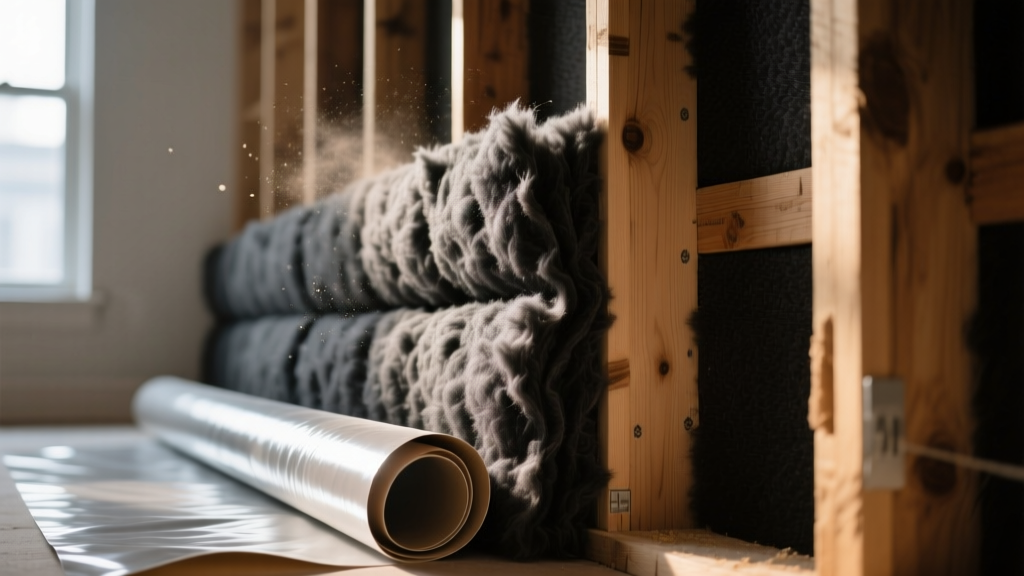
Friction-fit the mineral wool sound insulation material into the stud bays. Critical Detail: Never compress mineral wool to make it fit. The acoustic absorption relies on the intricate network of air pockets within the fibers. Compressing a 3-inch batt into a 2-inch cavity increases density but drastically reduces its ability to trap and dissipate mid-to-high frequency sound waves. If the batt is too thick, slice it to the exact depth of the cavity rather than crushing it.
Step 3: Damping and Mass Loading
For the first layer of drywall, hang 5/8-inch Type X gypsum board directly to the resilient channels or the decoupled studs. Fasten with 1-5/8-inch fine-thread drywall screws, spaced 12 inches on center. Next, apply the viscoelastic damping compound (e.g., Green Glue) to the back of the second layer of 5/8-inch Type X drywall. Use two standard tubes per 4x8 sheet. The compound must be applied in a random, squiggly pattern to ensure even distribution when the panels are pressed together. Hang the second layer, staggering the seams so they do not align with the first layer's joints.
Step 4: Drywall and Perimeter Sealing
Leave a strict 1/4-inch gap between the bottom edge of the drywall and the subfloor, as well as at all inside corners. Fill this gap continuously with an ASTM C920 compliant acoustic sealant. Do not use standard acrylic latex caulk, which dries hard and will crack under structural vibration, reopening the air path. Acoustic sealant remains permanently pliable.
Warning: The Flanking Path Trap
A wall with an STC 60 rating will perform like an STC 35 wall if flanking paths are ignored. Never install electrical outlets back-to-back on opposite sides of a soundproofed partition. If an outlet is unavoidable, wrap the rear of the electrical box with a 1/8-inch thick mass loaded vinyl putty pad to restore the acoustic barrier. Furthermore, ensure HVAC supply and return ducts are not shared between isolated rooms without acoustic duct liners or sound baffles.
Critical Failure Modes and Troubleshooting
Even experienced contractors make errors when installing sound insulation material. Use this diagnostic framework to identify and correct acoustic leaks.
- Symptom: Low-frequency bass bleed (e.g., home theater subwoofers or heavy traffic rumble).
Cause: Insufficient mass or inadequate decoupling. Low frequencies carry immense kinetic energy that easily bypasses standard mineral wool.
Fix: Add a layer of 1 lb. Mass Loaded Vinyl (MLV) beneath the first layer of drywall, or upgrade to a fully decoupled double-stud wall with a 2-inch air gap. - Symptom: High-frequency voice bleed (e.g., clear conversation heard from the next room).
Cause: Airborne flanking through unsealed penetrations.
Fix: Inspect all perimeter joints, HVAC registers, and recessed lighting cans. Apply acoustic putty pads to recessed lights and re-seal all drywall perimeters with pliable acoustic sealant. - Symptom: Impact noise (footsteps) transmitting through floors.
Cause: Rigid connection between the subfloor and the ceiling joists, or lack of floor underlayment.
Fix: Install a 5mm acoustic rubber underlayment beneath the finished floor, and use resilient channels on the ceiling below, ensuring the ceiling drywall does not touch the surrounding walls (leave a 1/4-inch gap and seal).
Cost Breakdown for a Standard 120 Sq. Ft. Partition
Budgeting for high-performance acoustic assemblies requires looking beyond the base material costs. The following table outlines the estimated material costs for a 10x12 foot (120 sq. ft.) high-STC partition wall in 2026, excluding labor.
| Component | Quantity Required | Unit Cost | Total Material Cost |
|---|---|---|---|
| ROCKWOOL Safe'n'Sound (Cavity) | 120 sq. ft. | $1.25 / sq. ft. | $150.00 |
| RC-1 Resilient Channels | 60 linear ft. | $1.90 / lin. ft. | $114.00 |
| 5/8" Type X Drywall (Layer 1) | 120 sq. ft. | $0.65 / sq. ft. | $78.00 |
| Green Glue Compound (Damping) | 120 sq. ft. (approx. 8 tubes) | $14.50 / tube | $116.00 |
| 5/8" Type X Drywall (Layer 2) | 120 sq. ft. | $0.65 / sq. ft. | $78.00 |
| Acoustic Sealant & Putty Pads | 4 tubes + 4 pads | Varies | $65.00 |
| Total Material Cost | $601.00 |
At approximately $5.00 per square foot in materials, a properly installed decoupled assembly represents a significant investment over standard fiberglass batt and single-layer drywall (which typically costs under $1.20 per square foot). However, as outlined by the Acoustical Society of America, the logarithmic nature of human hearing means that achieving a 10-point increase in STC (e.g., from 40 to 50) is perceived by the human ear as cutting the loudness of the transmitted sound in half. The material premium is therefore justified by the exponential gain in acoustic comfort and privacy.
For further technical specifications on fire and sound design assemblies, contractors should consult the Gypsum Association GA-600 manual, which provides rigorously tested, UL-listed framing and drywall configurations that guarantee specific STC and fire-resistance ratings when installed exactly to specification.
Written by
David NakamuraDavid Nakamura is a licensed architect (AIA) and construction technology writer focused on sustainable building methods, mass timber engineering, and high-performance building envelopes. He holds a Master of Architecture from the University of Washington and is a certified Passive House Consultant (CPHC). David spent eight years at the Seattle firm Mithun, where he led the design of three LEED Platinum projects, before founding his own practice specializing in net-zero residential design. He serves on the editorial advisory board of GreenBuilder Magazine and has authored peer-reviewed papers on cross-laminated timber (CLT) connections for the Journal of Structural Engineering. In his spare time, David teaches woodworking at Pratt Fine Arts Center and kayaks the Puget Sound.
More from David Nakamura
View all
Construction Cost
Labor Cost to Build a Deck Per Sq Ft: 2026 Installation Guide
Discover the exact labor cost to build a deck per sq ft in 2026. This installation guide breaks down contractor rates, complexity factors, and hidden fees.
Aug 4, 2026

Construction Cost
How Much Does It Cost to Build a 3 Bedroom House? Financing Guide
Learn exactly how much it costs to build a 3 bedroom house and explore 2026 financing options, construction loan types, and budget frameworks for your build.
Aug 4, 2026

Construction Cost
Cost to Build a Tennis Court: 2026 Guide
How much does it cost to build a tennis court in 2026? Breakdowns for asphalt, concrete, and synthetic surfaces plus fencing and lighting.
Jul 30, 2026