Achieving Target R-Value Insulation: Installation Best Practices
Learn how to maximize effective r value insulation during installation. Avoid compression penalties, thermal bridging, and air leaks with expert protocols.
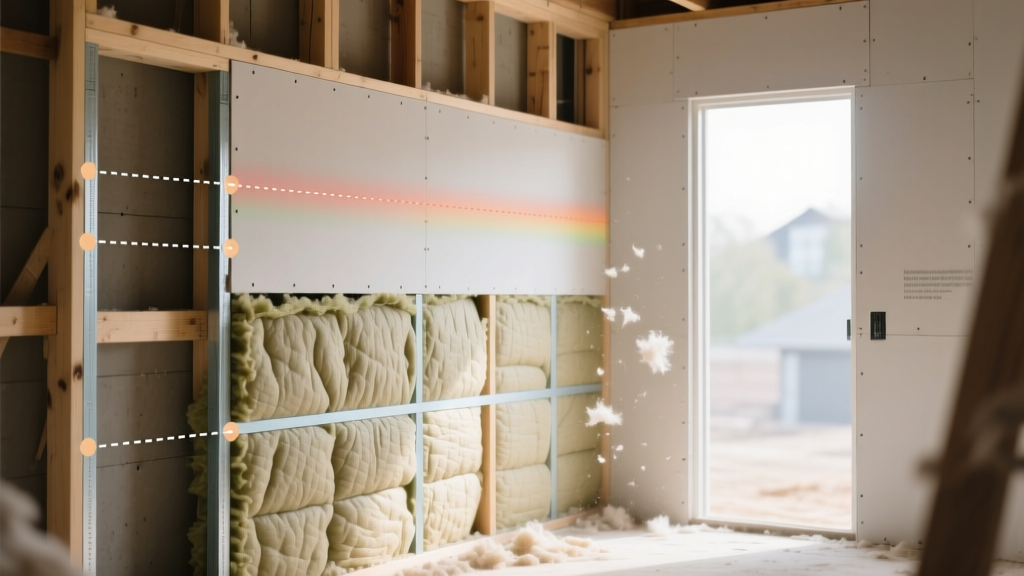
The Compression Penalty: Why Stated R-Value Fails in the Field
The R-value printed on an insulation package represents thermal resistance measured under perfect laboratory conditions. In the field, improper installation routinely degrades this performance. The most common destroyer of effective r value insulation is compression. Fiberglass and mineral wool batts rely on trapped pockets of still air within their matrix to resist heat flow. When a batt is forced into a cavity shallower than its manufactured thickness, the air pockets are squeezed out, increasing the material's density but disproportionately reducing its thermal resistance.
According to building science research cited by the U.S. Department of Energy, compressing an R-19 batt designed for a 2x6 wall (5.5 inches deep) into a standard 2x4 wall (3.5 inches deep) does not yield an R-value proportional to the thickness. Instead, the effective R-value plummets to roughly R-13 or R-14, negating the premium paid for the higher-rated product.
| Nominal R-Value | Manufactured Thickness | Installed Cavity Depth | Effective Field R-Value |
|---|---|---|---|
| R-13 | 3.5 inches | 3.5 inches (2x4 wall) | R-13 |
| R-15 (High Density) | 3.5 inches | 3.5 inches (2x4 wall) | R-15 |
| R-19 | 6.25 inches | 5.5 inches (2x6 wall) | R-18 |
| R-19 | 6.25 inches | 3.5 inches (2x4 wall) | R-13 to R-14 |
| R-30 | 8.0 inches | 7.25 inches (2x8 floor) | R-28 |
| R-38 | 10.5 inches | 10.0 inches (Attic joist) | R-36 |
Pre-Installation: Air Sealing and Cavity Preparation
Thermal resistance is irrelevant if convective air loops bypass the insulation entirely. A 1/8-inch gap around a window frame or an unsealed electrical penetration can reduce the effective r value insulation of an entire wall assembly by up to 40%. The EPA Energy Star program mandates comprehensive air sealing prior to insulating to achieve certified performance levels.
The Air-Sealing Checklist Before Insulation
- Top and Bottom Plates: Apply a continuous bead of polyurethane sealant (e.g., OSI QUAD Max or Tremco Acoustical Sealant) between the framing plates and the subfloor or top drywall ceiling plane.
- Electrical and Plumbing Penetrations: Use pre-formed EPDM foam gaskets behind electrical boxes. For plumbing stacks, seal the annular space with canned spray foam, trimming flush once cured.
- Wire Holes in Studs: Any bored holes for Romex wiring must be sealed with fire-rated acoustic sealant or expanding foam to prevent the stud bay from acting as a thermal chimney.
- Sheathing Gaps: Inspect the exterior sheathing from the inside. Any daylight visible at panel joints must be taped on the exterior or sealed with closed-cell foam from the interior.
Material-Specific Installation Protocols
Different insulation chemistries and physical forms require distinct handling techniques to preserve their engineered R-values.
Fiberglass and Mineral Wool Batts
The golden rule for batt installation is 'cut, don't stuff.' When encountering obstructions like electrical boxes, plumbing lines, or blocking, measure the cavity and cut the batt to fit precisely. For electrical boxes, use the 'kiss cut' method: slice the batt along the edges of the box and tuck the excess behind it, or better yet, cut a precise slit and slide the batt over the box, sealing the perimeter with a foam gasket. Never compress the batt to force it around a pipe; instead, cut the batt in half, slide one piece behind the pipe and the other in front, ensuring the material maintains its full loft. For faced batts, the kraft or foil vapor retarder must face the conditioned space (interior in heating climates). Staple the flange to the face of the stud, not the side, to prevent the drywall from pushing the flange inward and compressing the edges of the batt.
Spray Polyurethane Foam (SPF)
Spray foam provides both insulation and an air barrier, but its R-value is highly dependent on substrate conditions during application. Closed-cell SPF yields approximately R-6.5 to R-7.0 per inch, while open-cell yields R-3.5 to R-3.8 per inch. However, these numbers assume proper chemical reaction.
Additionally, the moisture content of the framing lumber must be below 19%. Spraying foam onto green or wet lumber traps moisture, leading to adhesion failure, off-gassing, and potential wood rot. Apply closed-cell foam in passes no thicker than 2 to 3 inches to prevent exothermic overheating, which can scorch the foam core and destroy its cellular integrity.
Rigid Foam Board and Continuous Insulation (ci)
Rigid foam boards (XPS, EPS, and Polyiso) are frequently used as continuous exterior insulation to boost overall wall R-value. Polyisocyanurate offers the highest initial R-value (R-6.5 per inch), but its thermal resistance drops in extreme cold due to the condensation of blowing agents within the cells. For cold-climate applications, verify the manufacturer's 'LTTR' (Long-Term Thermal Resistance) rating at your specific design temperature.
To maintain the rated R-value, all seams must be tightly butted and sealed. Use UV-stabilized, acrylic-based flashing tapes like ZIP System tape or 3M All Weather Flashing Tape. Standard duct tape or cheap vinyl tapes will degrade and fail within a single thermal cycling season. Stagger vertical and horizontal joints between layers if applying multiple inches of rigid foam to eliminate continuous thermal bypasses.
Even with perfectly installed cavity insulation, standard wood framing acts as a thermal bridge. Wood has an R-value of roughly 1.25 per inch. In a standard 2x6 wall with studs spaced 16 inches on-center, the framing accounts for 25% of the wall area, dragging the 'whole-wall' R-value down by 20% to 25% compared to the cavity R-value alone. To achieve true high-performance r value insulation, you must install continuous exterior rigid insulation (ci) or use advanced framing (24-inch on-center, single top plates) to minimize the framing factor.
Field Verification: Testing Effective R-Value Post-Installation
Visual inspection is insufficient for verifying effective r value insulation. Modern building science relies on diagnostic testing to confirm installation quality before drywall conceals the work.
Infrared Thermography
Using a calibrated infrared (IR) camera, inspectors scan interior walls during a temperature differential of at least 18°F between inside and outside. Missing insulation appears as distinct dark (cold) or bright (hot) geometric blocks corresponding to stud bays. Compression shows up as gradient temperature shifts within a single bay. IR scanning is most effective when paired with a blower door test to depressurize the home, which forces outside air through any gaps, making thermal defects glaringly obvious on the camera sensor.
Blower Door Testing
While a blower door test primarily measures air changes per hour (ACH50), it is the necessary companion to thermal imaging. By pulling the house to -50 Pascals, the test amplifies convective heat loss paths that static IR scans might miss. If a wall cavity shows adequate R-value on an IR scan but fails to maintain temperature during a blower door test, it indicates that wind-washing is occurring through unsealed soffit or rim joist penetrations, effectively stripping the insulation of its thermal resistance.
Maximizing effective r value insulation requires treating the building envelope as a unified system rather than a collection of separate products. By eliminating compression, sealing air leaks prior to insulating, respecting material-specific chemical and physical constraints, and mitigating thermal bridging, installers can ensure the structure performs exactly as the engineering models predict.