Installing Taj Mahal Quartzite Countertops: Expert Guide
Learn the exact installation procedures for Taj Mahal quartzite countertops, from cabinet reinforcement and precision cutting to seamless epoxy matching.
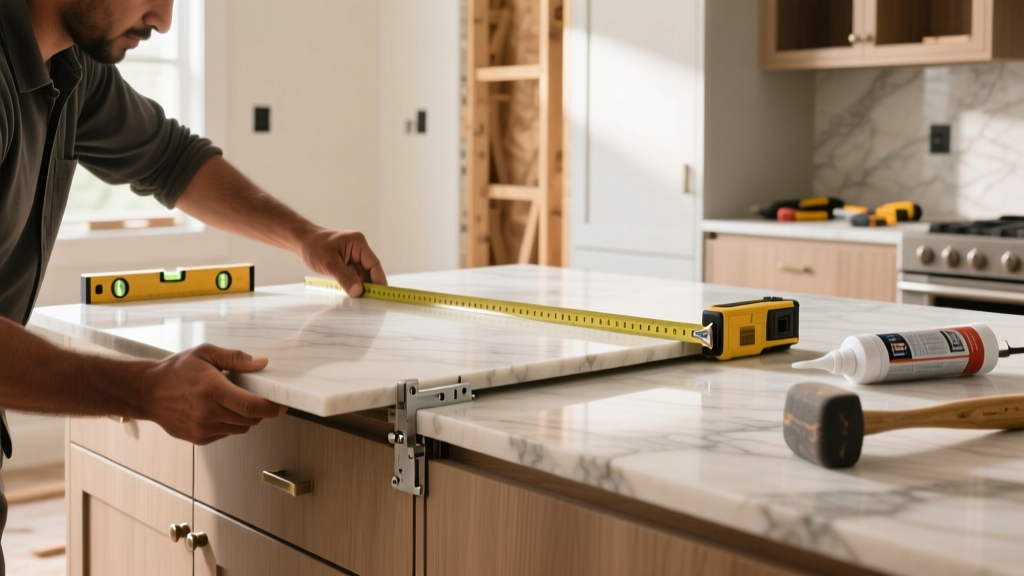
Understanding Taj Mahal Quartzite Material Properties
Taj Mahal is a premium Brazilian quartzite characterized by its creamy white background and delicate gold, tan, and brown veining. Unlike marble, which is a softer calcite-based stone, true Taj Mahal quartzite is a metamorphic rock composed almost entirely of interlocking silica grains. This gives it a Mohs hardness of 7, making it significantly harder and more abrasion-resistant than granite. However, this extreme hardness and its natural micro-fissures demand specific fabrication tooling, structural support, and installation protocols to prevent chipping, thermal shock, and stress fractures during the installation process.
Pre-Installation: Cabinet Reinforcement and Leveling
Because 3cm Taj Mahal quartzite weighs approximately 18 to 20 pounds per square foot, standard cabinetry is insufficient without proper reinforcement. The substrate must be perfectly rigid to prevent flexing, which will snap the stone along its natural veining lines.
Cabinet Substrate Specifications
- Sub-top Material: 3/4-inch exterior-grade plywood or high-density particleboard. Do not install quartzite directly on cabinet frames.
- Leveling Tolerance: The substrate must be level within 1/8 inch over any 10-foot span. Use a laser level and self-leveling compound or structural shims to correct deviations.
- Overhang Support: Any overhang exceeding 12 inches requires hidden steel support brackets (e.g., Original Granite Bracket) spaced a maximum of 24 inches apart, extending to within 4 inches of the stone edge.
Fabrication and Precision Cutting Protocols
Cutting Taj Mahal quartzite generates immense heat and friction. Using the wrong blade bond or insufficient water flow will cause the silica to glaze the blade, leading to severe chipping along the cut line and potential thermal cracking of the slab.
| Equipment | Blade / Bit Type | Optimal RPM | Coolant Requirement |
|---|---|---|---|
| Bridge Saw (Straight Cuts) | Continuous rim diamond blade (soft-to-medium bond) | 1,200 - 1,500 RPM | 1.5 - 2.0 GPM water flow |
| CNC Router (Edge Profiling) | Diamond profiling wheels (metal-bonded) | 2,500 - 3,000 RPM | High-pressure mist coolant |
| Angle Grinder (Field Cutouts) | 4-inch continuous rim turbo blade | Max 11,000 RPM | Wet cutting attachment mandatory |
When cutting sink openings or cooktop cutouts in the field, never plunge the blade directly into the stone. Always drill 1/2-inch relief holes at the corners first, then connect the cuts. According to the NSI technical bulletins, all inside corners of cutouts must have a minimum 1/2-inch radius; square corners create concentrated stress points that will inevitably crack under load.
Handling, Setting, and Structural Bonding
Taj Mahal slabs are heavy and brittle when unsupported. Transporting and setting the stone requires vacuum lifting systems (such as Woods Powr-Grip lifters) rated for at least 1,000 pounds. Never carry a cut slab flat; always maintain a minimum 45-degree angle on an A-frame to distribute the tensile load.
During setting, apply a continuous bead of 100% silicone adhesive or a specialized stone construction adhesive (like Polyurethane-based stone glue) along the top edges of the plywood substrate. Do not use rigid epoxies to bond the stone to the cabinets, as the wood and stone will expand and contract at different rates with seasonal humidity changes. The silicone provides a flexible, waterproof bond that accommodates micro-movements.
Cosmetic Seaming and Pigment Matching
Achieving invisible seams on Taj Mahal quartzite is one of the most challenging aspects of the installation. The creamy white background highlights even minor discrepancies in seam color.
The Epoxy Tinting Process
- Base Selection: Use a high-quality, UV-stable structural epoxy (such as Tenax Blade or Akemi Tenapox) for the structural bond, and a tinted polyester resin (like Tenax Tixo) for the cosmetic surface fill.
- Pigment Mixing: Do not rely solely on pre-colored epoxies. Mix raw oxide pigments (titanium dioxide for white base, iron oxide for the golden/tan veins) into the clear resin.
- Digital Verification: Use a digital color spectrometer to match the mixed epoxy to the specific vein pattern where the seam will occur. The epoxy should be mixed to match the dominant background color, not the darkest vein.
- Clamping: Use mechanical seam setters with suction cups to pull the two pieces together. Apply the epoxy, pull tight, and scrape the excess flush with a razor blade before it kicks (usually within 15-20 minutes).
Impregnating Sealer Application
While true quartzite is highly resistant to staining, Taj Mahal contains natural micro-fissures and occasional calcite pockets that can absorb oils and acidic liquids. Topical sealers will trap moisture and create a hazy, artificial sheen on the stone. Instead, use a penetrating, impregnating sealer based on fluoropolymer or siloxane chemistry, such as DryTreat Stain-Proof or Tenax Ager.
Warning: The Dolomite Mislabeling Issue
The stone industry frequently mislabels soft dolomite marble as 'quartzite' due to visual similarities. Before sealing, perform a scratch test with a steel knife on a hidden offcut. If the stone scratches easily or etches when exposed to lemon juice, it is dolomite, not true Taj Mahal quartzite. Dolomite requires a much more aggressive, frequent sealing schedule and strict homeowner maintenance protocols, as outlined in the Natural Stone Institute care guidelines.
Sealer Application Steps
- Ensure the stone is completely dry (minimum 48 hours after fabrication and wet cutting).
- Apply the first coat of impregnating sealer using a low-lint microfiber cloth, working it into the surface in circular motions.
- Allow the sealer to penetrate for 15 to 30 minutes. The stone will look dark and wet.
- Before the sealer dries on the surface, aggressively buff off all excess with a clean, dry towel. Leaving excess sealer on the surface will result in a sticky, streaky residue that requires chemical stripping to remove.
- Apply a second coat only if the stone still absorbs water during a post-application droplet test.
Troubleshooting Common Installation Failures
Symptom: Hairline cracks radiating from sink corners.
Cause: Square inside corners on the sink cutout or insufficient support rings under the sink lip.
Fix: For future jobs, mandate 1/2-inch radii on all cutouts. For existing cracks, route the crack with a V-bit, clean with acetone, and fill with color-matched structural epoxy. Install under-mount sink support rings to transfer the sink weight to the plywood, not the stone.
Symptom: Visible, dark seam lines.
Cause: Epoxy shrinkage or failure to scrape the seam flush before curing.
Fix: Carefully route out the top 1/16 inch of the failed seam using a handheld router with a diamond V-groove bit. Clean the void with denatured alcohol and refill with a freshly tinted, UV-stable polyester resin, scraping perfectly flush with a single-edge razor blade.