When and How to Remodel Siding: A Durability & Lifespan Analysis
Learn how to remodel siding by evaluating material lifespans, diagnosing failure modes, and selecting durable cladding systems for long-term protection.
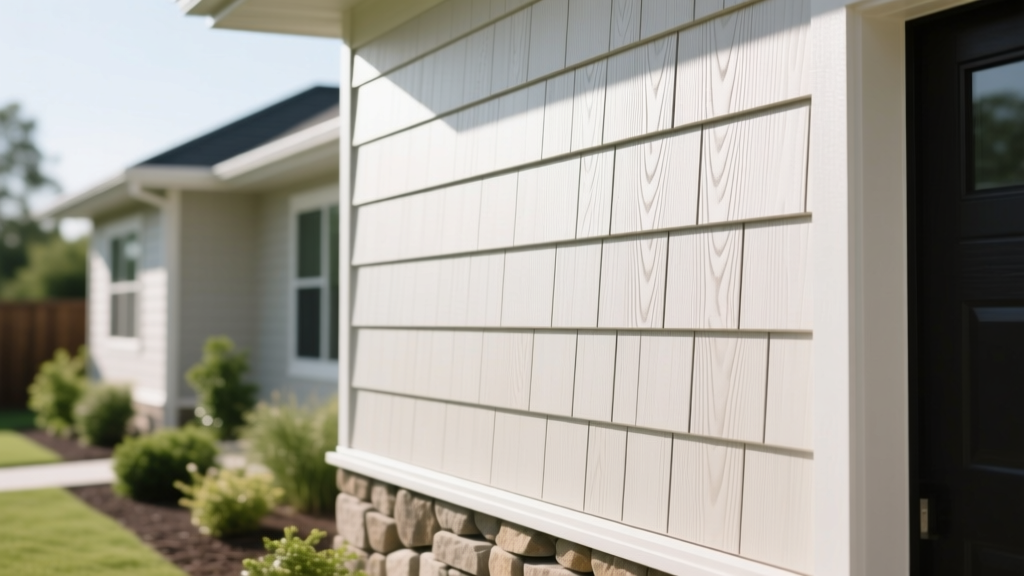
Remodeling exterior cladding is rarely just an aesthetic upgrade; it is a critical structural intervention designed to reset the building envelope's defensive capabilities. Understanding how to remodel siding requires a rigorous analysis of material lifespans, localized environmental stressors, and the hidden failure modes that compromise structural sheathing. A successful remodel transitions a home from a reactive maintenance cycle to a proactive, engineered defense system.
Material Lifespan Matrix and Primary Failure Modes
Before selecting a replacement cladding, you must understand the realistic lifecycle of available materials. Manufacturer warranties often obscure the real-world degradation timelines caused by UV exposure, thermal cycling, and moisture intrusion. The matrix below outlines the empirical lifespans and specific failure vectors for mainstream siding options.
| Cladding Material | Expected Lifespan | Real-World Warranty | Primary Failure Mode |
|---|---|---|---|
| Vinyl (Standard) | 25-40 years | Lifetime (Prorated) | Thermal warping, UV-induced brittleness, and impact cracking in freezing temperatures. |
| Fiber Cement | 50+ years | 30-50 years | Moisture wicking at unsealed cut edges, leading to delamination and freeze-thaw spalling. |
| Engineered Wood | 30-50 years | 30-50 years (Substrate) | Fungal decay and edge swelling if 6-inch ground clearance or 1-inch roof clearance is violated. |
| Traditional Stucco | 50-80 years | N/A (Installer dependent) | Hairline cracking at structural joints, allowing capillary water intrusion behind the weather barrier. |
| Standing Seam Metal | 60+ years | 20-40 years (Finish) | Galvanic corrosion at fastener penetrations and finish fading/chalking in high-UV zones. |
Diagnostic Framework: Assessing Your Current Envelope
Knowing how to remodel siding begins with a forensic evaluation of the existing assembly. Do not rely on visual cues alone; surface-level blistering or fading often masks severe subsurface rot. Implement the following diagnostic protocol:
- Quantitative Moisture Mapping: Use a pin-type moisture meter (such as a Tramex or Protimeter) to test the underlying wood sheathing through removed siding sections or at penetrations. A Wood Moisture Equivalent (WME) reading consistently above 15% indicates active fungal decay risk and mandates a full tear-off to the studs.
- Infrared Thermography: Deploy a FLIR thermal camera during early morning hours when the temperature differential between the interior and exterior is greatest. Cold spots on the exterior wall assembly indicate missing insulation, while warm spots in winter may reveal convective air leaks bypassing the weather-resistive barrier (WRB).
- Fastener Pull-Out Testing: If remodeling over existing structural sheathing, test the withdrawal resistance of the current nails. If the sheathing is OSB that has undergone repeated wet-dry cycles, its nail-holding capacity degrades significantly, requiring structural reinforcement before applying heavy cladding like fiber cement.
The Critical Decision: Tear-Off vs. Over-Cladding
Installing new vinyl or insulated siding directly over existing wood lap or degraded T1-11 is a primary cause of premature envelope failure. Trapping an existing, potentially compromised weather barrier behind a new impermeable layer creates a microclimate that accelerates sheathing rot. Over-cladding is only viable if the existing substrate is structurally sound, flat, and a continuous rigid insulation layer with a new WRB is applied over it.
For maximum durability, a complete tear-off to the sheathing is the industry gold standard. This allows for the installation of a modern, fluid-applied or self-adhered WRB (such as Henry Blue Skin or Prosoco R-Guard), which provides superior air and water sealing compared to traditional housewraps that are prone to tearing and UV degradation during construction delays.
Engineering the Replacement for Maximum Longevity
The longevity of your new siding is dictated by the hidden details of the installation, not just the face of the product. To ensure a 50-year service life, integrate the following building science principles:
1. Implement a Ventilated Rain Screen
A capillary break and drainage plane are non-negotiable for durable wall assemblies. According to guidelines on water-managed wall systems published by the PNNL Building America Solution Center, creating a minimum 3/8-inch to 1/2-inch ventilation gap between the WRB and the back of the cladding allows hydrostatic pressure to equalize and incidental moisture to drain and dry. Use vertical wood furring strips or proprietary synthetic drainage mats (like Keene Driwall) to achieve this gap, particularly critical for moisture-sensitive materials like fiber cement and engineered wood.
2. Fastener Metallurgy and Placement
Galvanized nails will eventually rust, causing streaking and structural failure. For inland applications, specify minimum 304-grade stainless steel ring-shank nails. If the property is located within 15 miles of a saltwater coastline, upgrade to 316-grade marine stainless steel to prevent chloride-induced pitting corrosion. Furthermore, adhere strictly to the manufacturer's blind-nailing protocols; face-nailing fiber cement creates direct water pathways into the board core.
3. Flashing Hierarchy
Ninety percent of siding failures occur at transitions. Install kick-out flashing at all deck-to-wall intersections to divert bulk water away from the ledger board. Use Z-flashing at all horizontal siding seams and above windows, ensuring the flashing integrates with the WRB via a shingle-lap method (upper layers overlapping lower layers) to direct water outward and downward.
Lifecycle Cost Analysis: The 50-Year Horizon
When deciding how to remodel siding, evaluate the Total Cost of Ownership (TCO) rather than just the initial installation invoice. The following analysis compares three common premium upgrades over a 50-year lifecycle, factoring in initial material/labor costs and mandatory maintenance intervals.
- Pre-Finished Fiber Cement (e.g., James Hardie ColorPlus): Initial cost: $12-$16 per sq. ft. installed. Requires repainting every 15 years ($4,000-$6,000 per cycle). 50-Year TCO: Moderate. Highly durable against impact and rot, but finish degradation requires capital expenditures in years 15 and 30.
- Engineered Wood (e.g., LP SmartSide ExpertFinish): Initial cost: $10-$14 per sq. ft. installed. Similar painting cycles to fiber cement, but lower material weight reduces structural reinforcement costs on older homes. 50-Year TCO: Low-Moderate. Excellent warranty coverage for fungal decay, provided ground clearances are maintained.
- Aluminum Standing Seam / Architectural Panels: Initial cost: $18-$25 per sq. ft. installed. Requires zero painting or sealing. 50-Year TCO: Lowest long-term operational cost. The highest upfront investment is entirely offset by the elimination of maintenance cycles and superior wind-uplift resistance.
Execution Standards and Wind Uplift Codes
In regions prone to severe weather, standard building codes represent the legal minimum, not the durability optimum. For homes in hurricane-prone or high-wind zones, align your remodel with the IBHS FORTIFIED Home standards. This requires specifying pressure-rated siding assemblies, reducing fastener spacing from the standard 16 inches on center to 12 inches or 8 inches at the perimeters, and ensuring all cladding components are tested to withstand ASTM E331 water penetration standards at sustained wind speeds exceeding 130 mph.
Furthermore, managing the air barrier is just as critical as managing liquid water. As detailed in Building Science Corporation's research on air flow control, the WRB must be detailed as a continuous air barrier. Taping all WRB seams with compatible acrylic flashing tapes and sealing the siding's top and bottom terminations prevents convective loops from drawing moisture-laden interior air into the cold wall cavity, thereby eliminating the risk of interstitial condensation that destroys walls from the inside out.
By treating the siding remodel as a comprehensive building envelope engineering project rather than a simple cosmetic swap, homeowners secure a structurally resilient, thermally efficient, and low-maintenance exterior that will reliably protect the asset for decades.