Master T1-11 Siding Installation: Framing, Flashing, and Fastening Guide
Master T1-11 siding installation with our expert guide. Covers framing, Z-flashing, fastener schedules, and moisture management for lasting durability.
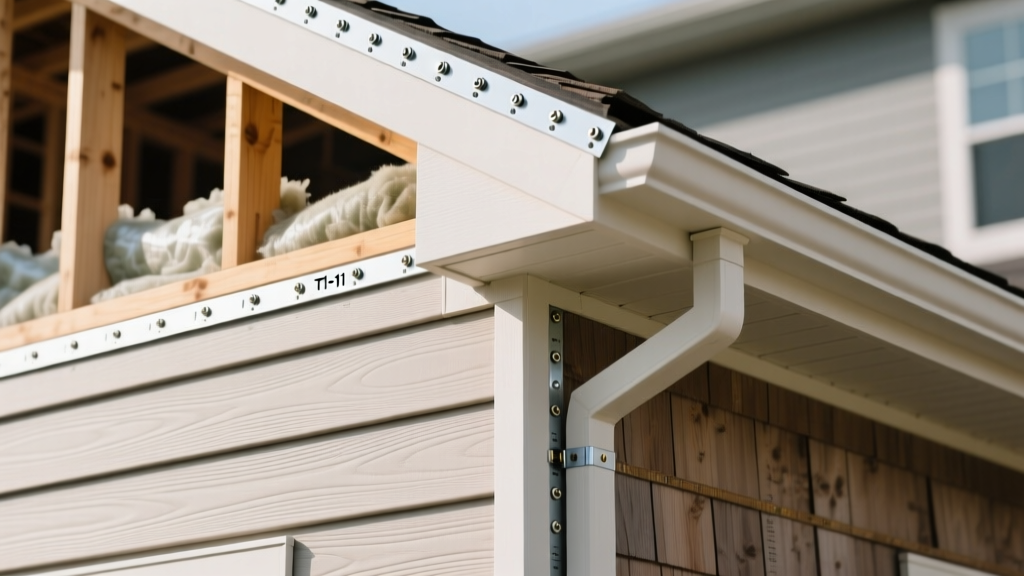
Understanding T1-11 Panel Grades and Material Selection
T1-11 siding is a textured, grooved exterior panel available in two primary substrates: plywood and Oriented Strand Board (OSB). The 'T' stands for textured, and the '1-11' refers to the traditional 11/32-inch thickness, though modern manufacturing yields panels in 3/8-inch, 1/2-inch, and 5/8-inch profiles. Grooves are typically spaced 4 or 8 inches on center to simulate vertical board-and-batten aesthetics.
When selecting materials for your project, understanding the structural and moisture-resistance differences between plywood and OSB is critical. According to the APA - The Engineered Wood Association, plywood T1-11 utilizes cross-laminated wood veneers, offering superior edge-swelling resistance and better paint adhesion over time. OSB T1-11, composed of compressed wood strands and resin, is generally 15% to 20% less expensive but is highly susceptible to edge swelling and delamination if exposed to prolonged moisture before or after installation.
Pre-Installation: Acclimation, Framing, and Moisture Barriers
Panel Storage and Acclimation
Wood-based panels expand and contract with ambient humidity. Store T1-11 panels flat, off the ground on pressure-treated dunnage, and covered with a breathable tarp for at least 48 hours before installation. This allows the panels to acclimate to the local moisture content, minimizing post-installation buckling.
Framing Requirements
T1-11 panels require a solid, plumb framing substrate. While building codes permit 24-inch on-center (O.C.) stud spacing for 3/8-inch and 1/2-inch panels, professional installers strongly recommend 16-inch O.C. framing. Wider spacing increases the risk of panel bowing between studs, especially under wind loads or when the panels absorb moisture.
Weather-Resistant Barrier (WRB) Integration
Never install T1-11 directly against bare studs or uninsulated cavities. A continuous WRB, such as Tyvek HomeWrap or a fluid-applied membrane, is mandatory. The Building Science Corporation emphasizes that all WRB seams must be taped with compatible acrylic flashing tape to create a continuous drainage plane. Flash all rough openings (windows and doors) with flexible flashing tape before hanging the siding panels.
Step-by-Step T1-11 Siding Installation Procedures
1. Layout, Cutting, and Edge Sealing
Plan your panel layout to minimize waste and ensure vertical grooves align consistently across adjacent panels. When cutting T1-11, use a sharp carbide-tipped blade with at least 40 teeth to prevent tear-out on the textured face.
- Circular Saw: Cut with the good face (textured side) facing DOWN to prevent top-surface splintering.
- Table Saw: Cut with the good face facing UP.
- Edge Sealing: Immediately seal all factory and field-cut edges with a high-quality, oil-based primer or specialized edge sealer. OSB edges act like sponges; sealing them before they are nailed to the wall is the single most effective step to prevent future swelling.
2. Flashing Horizontal Seams
T1-11 panels are 8 feet long. For walls taller than 8 feet, horizontal seams are unavoidable. Never rely on caulk to seal horizontal butt joints; caulk will inevitably fail due to thermal expansion and UV degradation. Instead, use galvanized or aluminum Z-flashing.
Install the Z-flashing over the top edge of the lower panel before setting the upper panel. The upper lip of the Z-flashing should extend behind the WRB, while the lower lip rests over the face of the lower panel, creating a shingled drainage path that directs water outward and away from the seam.
3. Fastening Schedule and Techniques
Use only hot-dipped galvanized or stainless steel nails or screws. Electroplated nails will rust quickly, leaving unsightly streaks down the grooves. Drive fasteners flush with the surface—do not overdrive them, as crushing the textured face compromises the weatherproof veneer and creates moisture pockets.
| Panel Thickness | Fastener Type & Size | Edge Spacing (Perimeter) | Field Spacing (Interior Studs) |
|---|---|---|---|
| 3/8-inch | 6d (2-inch) Galvanized Siding Nails | 6 inches O.C. | 12 inches O.C. |
| 1/2-inch | 8d (2.5-inch) Galvanized Common Nails | 6 inches O.C. | 12 inches O.C. |
| 5/8-inch | 8d (2.5-inch) or 10d (3-inch) Nails | 6 inches O.C. | 12 inches O.C. |
Expansion Gaps: Leave a 1/8-inch gap between all panel edges and ends, and at the intersection of siding and trim. Wood expands significantly across the grain when it absorbs moisture; failing to provide this gap will result in panel buckling and crushed grooves.
Common Installation Failures and Troubleshooting
Even premium plywood T1-11 will fail prematurely if installation details are ignored. Review these common field failures to ensure your project avoids costly callbacks:
- Wicking and Bottom-Edge Rot: Occurs when panels are installed too close to soil or mulch. Capillary action draws groundwater up into the end-grain of the plywood or OSB. Fix: Cut the bottom 2 inches off installed panels if clearance is insufficient, and install a PVC or aluminum drip screed at the base.
- Horizontal Seam Leaks: Caused by omitting Z-flashing or attempting to seal butt joints with exterior caulk. Fix: Remove the upper panel, install proper Z-flashing integrated with the WRB, and reinstall.
- Nail Pops and Panel Bowing: Results from framing studs spaced at 24 inches O.C. combined with high wind loads or improper acclimation. Fix: Add supplementary blocking between studs or install additional field fasteners into existing framing members.
- Groove Delamination (OSB): The textured surface layer of OSB T1-11 peeling away. This happens when water infiltrates unsealed cut edges or when panels are installed while wet. Fix: Replace damaged panels; OSB cannot be reliably patched once the structural strands separate.
Sealing, Priming, and Painting Protocols
The longevity of T1-11 siding is directly tied to its finish. Bare wood and engineered wood panels require a rigorous coating schedule to repel liquid water while allowing water vapor to escape.
- Prime All Six Sides: For maximum durability, back-prime the panels and seal all edges before they are nailed to the wall. If pre-priming is not feasible, apply a heavy coat of primer to all cut edges and the back of the panel where it overlaps trim.
- Select the Right Primer: Use a high-solids, oil-based or acrylic exterior wood primer designed to block tannin bleed (especially critical for plywood). Tannins will stain through water-based primers within months.
- Topcoat Application: Apply two coats of 100% acrylic exterior latex paint. Acrylic paints remain flexible and expand/contract with the wood substrate, whereas alkyd/oil topcoats become brittle and crack over time.
- Maintenance Cycle: Inspect the siding annually. Pay special attention to south- and west-facing walls, which suffer the most UV degradation. Plan to apply a fresh topcoat every 7 to 10 years, depending on local climate conditions.
By adhering to strict framing tolerances, utilizing Z-flashing at every horizontal transition, and executing a comprehensive edge-sealing and painting protocol, your T1-11 siding installation will deliver decades of structural performance and aesthetic appeal.