Siding Material Estimator: Calculating Costs and Energy ROI
Learn how to use a siding material estimator to calculate true project costs, factor in continuous insulation, and maximize your home's energy ROI.
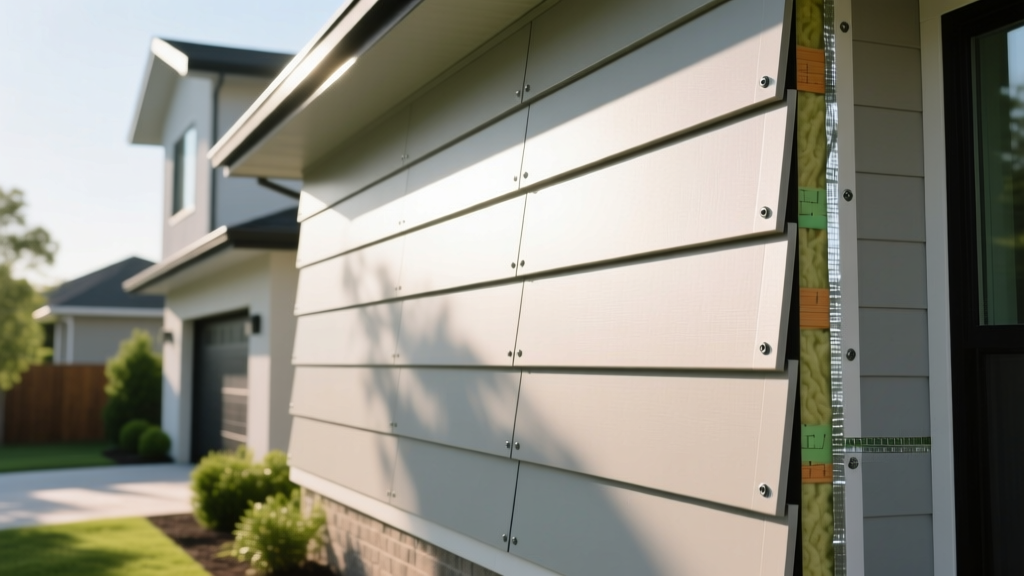
The Hidden Variable in Your Siding Material Estimator: Thermal Bridging
Most basic siding material estimators operate on a simple formula: calculate the exterior square footage, multiply by the cost per square foot of the chosen cladding, and add a 10% waste factor. While this provides a baseline for material purchasing, it completely ignores the thermal dynamics of the wall assembly. If your goal is energy efficiency, a standard calculator will lead you to under-budget for the continuous insulation (ci) required to eliminate thermal bridging.
Thermal bridging occurs when heat transfers through the highly conductive wood or steel studs of your wall framing, bypassing the cavity insulation. According to the U.S. Department of Energy, wood studs can account for up to 25% of a wall's surface area, effectively dropping the overall R-value of an R-19 cavity-insulated wall to roughly R-13. To achieve true energy efficiency, your estimator must account for exterior continuous insulation, which wraps the entire building envelope and severs the thermal bridge.
R-Value Breakdown: Material vs. Assembly
When inputting data into your siding material estimator, it is critical to distinguish between the R-value of the cladding itself and the R-value of the complete wall assembly. Cladding materials vary wildly in their inherent thermal resistance.
| Siding Material | Inherent R-Value | 2026 Installed Cost (per sq. ft.) | Estimator Multiplier for ci |
|---|---|---|---|
| Standard Vinyl | 0.61 | $4.50 - $7.00 | 1.0x (Requires separate ci) |
| Fiber Cement (e.g., James Hardie) | 0.15 | $8.50 - $12.50 | 1.0x (Requires separate ci) |
| Insulated Vinyl (e.g., Alside Prodigy) | 2.0 - 3.5 | $9.50 - $14.50 | Built-in (May need supplemental ci) |
| Engineered Wood (e.g., LP SmartSide) | 0.81 | $7.50 - $11.00 | 1.0x (Requires separate ci) |
| R-5 Polyiso ci Board (Field Applied) | 5.0 | $2.50 - $3.80 | Add to base cladding cost |
As the Building Science Corporation outlines in their 'Perfect Wall' methodology, the environmental control layers (water, air, thermal, vapor) must be located on the exterior of the structure. Relying solely on the inherent R-value of insulated vinyl siding is rarely enough to meet modern energy codes in colder climates; it must be treated as a supplemental layer rather than a complete thermal solution.
Step-by-Step: Adjusting Your Estimator for Continuous Insulation
To transform a standard siding calculator into an energy-efficiency tool, you must manually add the following line items that generic estimators omit:
- Calculate Rigid Foam Board Costs: Add 1.5-inch thick polyisocyanurate (Polyiso) boards to your materials list. Polyiso offers the highest R-value per inch (R-6.5) compared to EPS (R-3.8) or XPS (R-5.0).
- Factor in Structural Fasteners: Standard 2.5-inch siding nails cannot penetrate through 1.5 inches of foam, the sheathing, and into the studs with the required 1.25-inch embedment. You must add specialized structural screws (like Simpson Strong-Tie HeadLok or equivalent) to your estimator, which adds approximately $0.45 to $0.85 per square foot.
- Include Air and Water Sealing Tapes: The seams of the continuous insulation must be taped to act as the primary water-resistive barrier (WRB) and air barrier. Budget $0.20 per square foot for high-performance acrylic flashing tapes (e.g., Siga or Pro Clima).
Calculating the Energy Payback Period
An advanced siding material estimator doesn't just calculate upfront costs; it projects the energy Return on Investment (ROI). Here is a practical decision framework for evaluating the payback period of adding R-10 continuous insulation during a siding replacement.
The Math: Zone 5 Retrofit Scenario
Assume a 2,500 sq. ft. exterior wall area in IECC Climate Zone 5 (e.g., Chicago, IL). The home currently has R-13 cavity insulation and standard vinyl siding.
- Base Siding Replacement Cost: $15,000 (Standard vinyl, no ci)
- Added Cost for R-10 Polyiso + Fasteners + Tape: $7,500
- Total Energy-Optimized Project Cost: $22,500
By upgrading the wall assembly from an effective R-11 to an effective R-21, heating and cooling loads on the HVAC system drop significantly. Based on current 2026 regional energy rates, this assembly upgrade yields an average annual HVAC savings of $650 to $850.
Simple Payback Calculation: $7,500 (Premium) / $750 (Annual Savings) = 10 Years. Given that premium siding and rigid foam last 40+ years, the system pays for itself two to three times over its lifecycle, while simultaneously increasing the home's HERS (Home Energy Rating System) index score and resale value.
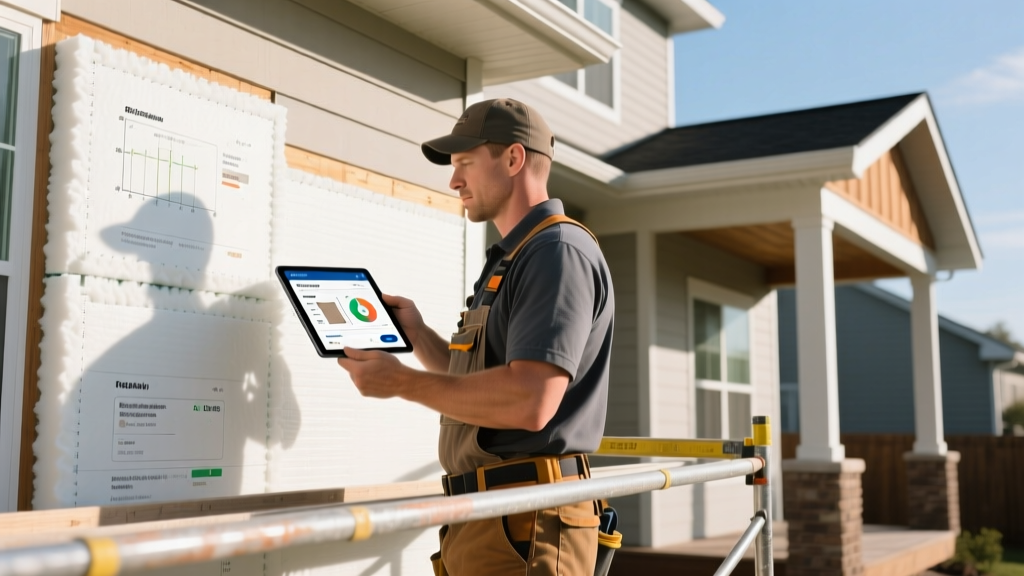
2026 Product Spotlight: Pre-Insulated vs. Field-Applied Systems
When running your estimates, you will face a choice between pre-insulated cladding and field-applied continuous insulation. Both have distinct cost and performance profiles.
Features EPS foam laminated directly to the back of the vinyl profile.
Pros: Faster installation, eliminates the need to source separate foam boards, creates a rigid, impact-resistant panel.
Cons: Maximum R-value is capped around R-3.5. The foam is contoured to the siding, meaning it does not create a flat, continuous thermal plane over the studs.
Flat rigid foam boards applied over the sheathing, covered by a separate cladding.
Pros: Creates a true, unbroken thermal envelope. Can achieve R-10 to R-20+. Compatible with any cladding type (wood, metal, fiber cement).
Cons: Requires deeper window bucks, longer fasteners, and a higher skilled labor rate for proper flashing and detailing.
Edge Cases Your Estimator Will Miss (And How to Fix Them)
The biggest point of failure in energy-efficient siding projects is underestimating the secondary carpentry required when you thicken the wall assembly. Add these specific line items to your estimator to avoid mid-project budget blowouts:
- Window Buck Extensions: Adding 1.5 inches of exterior foam means your windows are now recessed 1.5 inches deeper into the wall. You must budget for PVC or treated wood buck extensions, plus custom sheet metal sill pans to manage water drainage. Estimate $35 - $55 per window for this detailing.
- Roof Overhang and Rake Adjustments: Thickening the wall pushes the siding plane outward. If your roof overhangs are already shallow, the new siding may interfere with the drip edge or gutters. Budget for gutter detachment, re-hanging, and potentially extending the roof rake fascia.
- Electrical and HVAC Penetrations: Exterior outlets, hose bibbs, and mini-split line sets will need to be extended outward to sit flush with the new siding plane. Allocate $150 - $250 per penetration for licensed trades to safely extend these fixtures.
By shifting your perspective from a simple 'cladding replacement' to a 'whole-wall thermal upgrade,' your siding material estimator becomes a powerful tool for designing high-performance building envelopes. Accurate estimation requires pricing the hidden layers—the air barriers, the structural fasteners, and the penetration flashings—that ultimately dictate the long-term energy performance of the structure.
Written by
James ThorntonJames Thornton is a construction industry veteran with 25 years of hands-on experience in wood framing, lumber grading, and residential building codes. He started as a framing carpenter in rural Oregon, earned his ICC Residential Building Inspector certification, and eventually became a senior plan reviewer for the City of Portland Bureau of Development Services. James holds a B.S. in Wood Science & Technology from Oregon State University and is a certified lumber grader through the West Coast Lumber Inspection Bureau (WCLIB). He has inspected over 3,000 residential construction sites and authored the city's internal guide on advanced framing techniques (2x6 at 24" O.C.). James lives in Bend, OR, where he builds custom timber-frame cabins and competes in lumberjack sports.
More from James Thornton
View all
Insulation
Best Home Insulation Materials: Complete 2026 Guide
Compare top home insulation materials for 2026. Find R-values, installed costs per square foot, and best uses for fiberglass, spray foam, and mineral wool.
Aug 4, 2026

Sustainable Building
Certify Your Green Building Material for LEED and WELL
Step-by-step guide to certifying a green building material for LEED v5 and WELL v2. Master EPDs, HPDs, and VOC limits for 2026 project specifications.
Aug 4, 2026

Stone & Masonry
Veneer Stacked Stone Panels: Interior Design & Style Showcase
Discover how veneer stacked stone panels transform interiors. Explore modern design profiles, material pairings, and technical installation specs.
Aug 4, 2026