Drywall Patch Selection: Matching Repair Methods to Damage Scenarios
Master drywall patch selection with our scenario-matching guide. Learn exact repair methods, compounds, and techniques for every hole size.
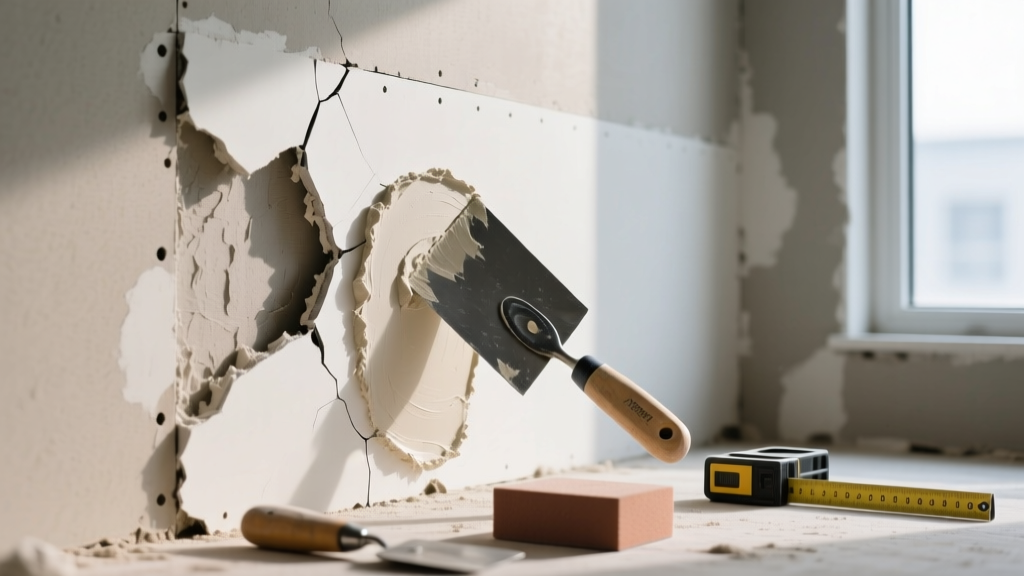
The Anatomy of Drywall Damage: Why One Size Doesn't Fit All
A failed drywall patch rarely fails because of poor sanding; it fails because the repair method was mismatched to the structural reality of the breach. Gypsum board is a composite material—a brittle calcium sulfate core sandwiched between two layers of tensile paper. When that core is compromised, the repair must restore both the compressive rigidity of the gypsum and the tensile surface tension of the paper. Applying a standard spackle to a 4-inch doorknob breach, or using a mesh patch on a high-humidity bathroom wall, guarantees visible ridging, telegraphing, or eventual blowout.
This guide provides a strict application-fit framework for matching the correct drywall patch technique, backing material, and joint compound chemistry to specific damage scenarios, ensuring seamless, permanent repairs.
Scenario Matching Matrix: Hole Size vs. Patching Method
Before opening a compound bucket, classify the damage. The following matrix dictates the required structural support and finishing approach based on the breach dimensions.
| Damage Scenario | Hole Size | Structural Backing | Recommended Patch Method | Feather Distance |
|---|---|---|---|---|
| Nail Pops, Scratches, Dents | < 1/2 inch | Existing framing | Dimple and fill (Setting compound) | 2 - 4 inches |
| Doorknob Punches, Electrical Box Cutouts | 1 to 4 inches | Self-supported paper flange | The 'California' (Butterfly) Patch | 6 - 8 inches |
| Plumbing Access, Blown-Out Sections | 5 to 12 inches | Metal repair clips or wood furring | Strut-backed gypsum cutout + mesh tape | 10 - 14 inches |
| Water Damage, Sagging Panels | > 12 inches | Existing wall studs | Full stud-to-stud panel replacement | N/A (Full seam taping) |
Micro-Damage: Nail Pops and Surface Fractures
Nail pops and micro-fractures (under 1/2 inch) are rarely just cosmetic; they are symptoms of framing shrinkage or structural deflection. If you simply fill the hole, the fastener will push the compound back out within months.
The Proper Nail Pop Protocol
- Secure the Framing: Drive a new 1-1/4 inch coarse-thread drywall screw exactly 1.5 inches above or below the popped nail, pulling the gypsum tight against the wood or steel stud.
- Extract and Dimple: Remove the old nail (or drive it deep below the paper surface with a nail set). Ensure the paper face is torn inward, not outward.
- Fill with Setting Compound: Use a setting-type compound like USG Easy Sand 20. Air-drying compounds shrink as water evaporates; setting compounds undergo a chemical crystallization process that expands slightly, locking into the dimple without shrinking.
Pro Tip: Never use standard vinyl spackle for nail pops in high-traffic corridors. Spackle lacks the tensile strength to resist future micro-movements and will crack along the repair perimeter.
Medium Breaches: The 'California' Patch Technique
For holes between 1 and 4 inches, adhesive mesh patches (often sold in hardware store kits) are a common but flawed choice. The fiberglass mesh creates a rigid, raised grid that requires excessive feathering to hide, and the adhesive can fail in humid environments. The superior, professional-grade alternative is the California Patch (also known as a butterfly patch).
Step-by-Step: Crafting a California Patch
- Cut the Gypsum Plug: Cut a piece of scrap 1/2-inch drywall slightly larger than the hole. Trace the exact shape of the hole onto the back (brown paper side) of the scrap.
- Score and Snap: Using a utility knife, score the gypsum core along your traced lines, cutting about 2/3 of the way through. Snap the core backward, breaking it cleanly along the score line.
- Create the Paper Flange: Peel away the broken gypsum core and the brown back paper, leaving only the intact white face paper attached to your perfectly sized gypsum plug. You now have a drywall plug with a 2-inch perimeter of bare paper.
- Install and Mud: Apply a thin layer of all-purpose joint compound (e.g., USG Sheetrock Brand Plus 3) into the hole and onto the surrounding wall. Press the gypsum plug into the hole, smoothing the paper flange flat against the wall with a 6-inch taping knife. The paper acts as an integrated, zero-thickness joint tape.
Macro-Failures: Backing Clips for Large Cutouts
When plumbing access or impact damage creates a 5 to 12-inch void, you cannot rely on paper flanges or adhesive mesh. The patch must be mechanically fastened to a rigid backing. While screwing wood furring strips to the inside of the existing drywall works, it is slow and prone to cracking the surrounding wall.
Instead, use drywall repair clips (such as Strait-Flex or Clips & Fasteners metal repair brackets). These spring-steel clips hook over the edge of the existing drywall, providing an instant, flush nailing flange inside the wall cavity.
Execution Framework for Large Patches
- Square the Hole: Use a drywall saw to cut the damaged area into a perfect rectangle, ensuring the edges fall cleanly or are near existing studs.
- Deploy Clips: Slide 4 to 6 metal repair clips over the perimeter edges of the hole. Secure them to the existing drywall face using 1-inch drywall screws.
- Mount the Patch: Cut a new piece of 1/2-inch (or 5/8-inch Type X, if fire-rating is required) gypsum board to fit the void. Drive screws through the new patch into the exposed flanges of the metal clips.
- Tape and Feather: Apply FibaTape self-adhesive fiberglass mesh over all four seams. Embed the mesh with a setting-type taping compound, followed by two coats of lightweight topping compound, feathering the edges out 12 to 14 inches to hide the transition.
Compound Chemistry: Matching the Mud to the Layer
According to the Gypsum Association's GA-216 standard for application and finishing, utilizing the correct compound sequence is critical for preventing ridging and shrinkage cracks. A common DIY mistake is using a single compound type for the entire patch.
The Three-Tier Compound Strategy
| Coat Layer | Compound Type | Product Example | Purpose |
|---|---|---|---|
| 1. Taping / Embedding | Setting-Type (Chemical Cure) | USG Easy Sand 20 or Durabond 45 | High tensile strength, zero shrinkage, locks mesh or paper tape into the seam. |
| 2. Filler Coat | All-Purpose (Air-Drying) | USG Sheetrock All-Purpose | Bonds well over setting compounds, easy to sand, builds the physical transition ramp. |
| 3. Skim / Topping | Lightweight Topping | USG Plus 3 Lightweight | Extremely low shrinkage, sands to a glass-like finish, eliminates micro-scratches. |
For deeper technical specifications on compound drying times and environmental requirements, refer to the USG joint compound technical data sheets.
Common Application Failures and Edge Cases
Flashing and Paint Sheen Discrepancy
If a perfectly sanded drywall patch is painted directly with latex wall paint, the repaired area will 'flash'—appearing duller or glossier than the surrounding wall. This happens because the porous joint compound absorbs the paint binder differently than the sealed paper face of the original drywall. The Fix: You must prime the patched area (and ideally the whole wall) with a dedicated PVA (Polyvinyl Acetate) Drywall Sealer before applying the topcoat. PVA equalizes the porosity across the paper and the mud.
Lead and Asbestos Hazards in Pre-1978 Homes
Sanding a drywall patch in a home built before 1978 carries severe health and legal risks. The joint compound or paint layers may contain lead or asbestos. The EPA mandates strict protocols for lead-based paint hazards. When patching older walls, use wet-sanding sponges or pole sanders attached to HEPA-filtered vacuum shrouds to capture particulate matter, and always test suspect layers before aggressive mechanical sanding.
Cost Breakdown: DIY Patching vs. Professional Repair (2026)
Understanding the economics of drywall repair helps in deciding whether to tackle the scenario in-house or contract it out.
- DIY Material Costs: A complete professional-grade repair kit (setting compound, lightweight topping, FibaTape, metal backing clips, and 6/10/12-inch taping knives) costs between $45 and $85. This yields enough material for 10-15 medium patches.
- Professional Drywall Repair: In 2026, most licensed drywall contractors charge a minimum 'trip fee' or call-out rate of $200 to $350, regardless of the hole size. This covers travel, material staging, and the mandatory 24-hour drying time between coats. For large macro-failures requiring ceiling patches or textured finishes (e.g., knockdown or skip-trowel), expect quotes ranging from $400 to $800 due to the specialized texturing equipment and skill required to blend the patch into the existing ceiling pattern.