Mastering the Drywall Saw: Precision Cutout Techniques for Gypsum Board
Master the drywall saw for flawless gypsum board cutouts. Learn blade selection, dust mitigation, and step-by-step techniques for electrical boxes and windows.
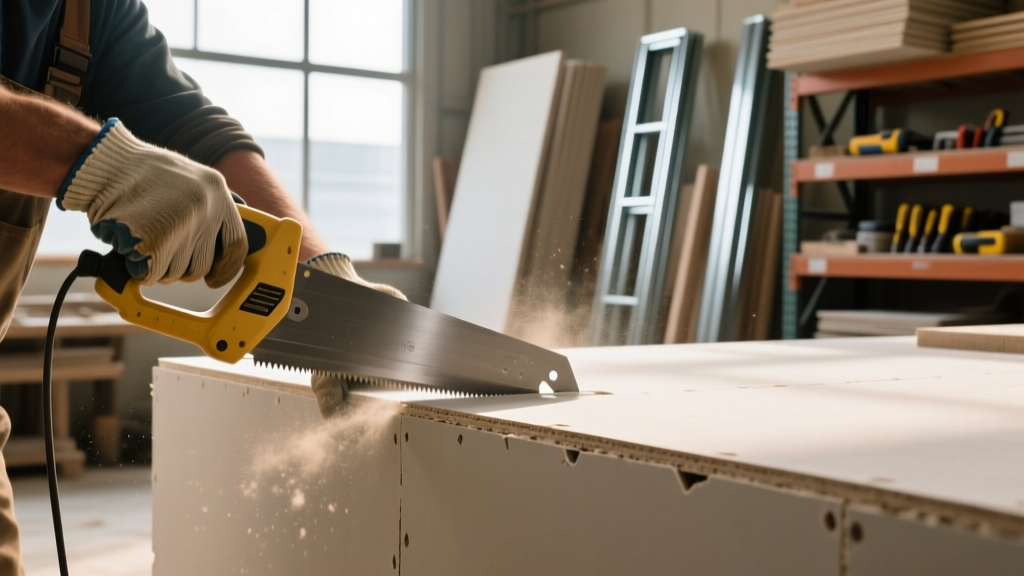
The Anatomy of a Professional Drywall Saw
While scoring and snapping works for full-sheet dimensioning, the drywall saw (often called a keyhole or jab saw) is the indispensable tool for interior cutouts. Unlike standard wood-cutting handsaws, a dedicated drywall saw features a specialized geometry designed specifically to pierce and slice through the gypsum core and paper facing of wallboards without binding or tearing. Understanding the specific design parameters of this tool is the first step toward achieving clean, professional-grade cutouts in both standard and heavy-duty Type X fire-rated panels.
Blade Geometry and TPI Specifications
The defining characteristic of a manual drywall saw is its aggressively pointed tip and its specific Teeth Per Inch (TPI) count. Most professional-grade manual saws, such as the Stanley FatMax 15-334 or the DEWALT DWHT20540, operate at 7 to 8 TPI. This relatively low tooth count provides the aggressive bite needed to clear gypsum dust from the kerf, preventing the blade from binding in the thick core of 5/8-inch panels. Furthermore, the teeth are typically triple-ground and set with a wider kerf than the blade thickness, which reduces friction during the cutting stroke.
The pointed tip is hardened and sharpened to act as a built-in awl. This eliminates the need to pre-drill starter holes for interior cutouts—a massive time-saver on large commercial jobs where an installer might cut out dozens of electrical boxes per hour. When working with moisture-resistant (purple/green) or fiberglass-reinforced Type X boards, the abrasive nature of the core will dull standard carbon steel teeth rapidly. For high-volume production work, upgrading to a bi-metal or carbide-grit edge drywall saw is highly recommended to maintain cut quality and reduce tool replacement costs.
Manual vs. Powered: Tool Selection Matrix
Choosing between a manual drywall saw and powered alternatives depends on the specific cutout scenario, the volume of work, and dust mitigation requirements. Below is a decision matrix for modern installation crews.
| Tool Type | Best Application | Cut Speed | Dust Generation | Risk of Overcut |
|---|---|---|---|---|
| Manual Drywall Saw | Standard electrical boxes, small plumbing access | Moderate | Very Low | None (Tactile feedback) |
| Rotary Cutout Tool (e.g., Bosch Colt) | High-volume production, large window/door openings | Very Fast | Extreme (Requires HEPA shroud) | High (Can sever wires/pipes) |
| Oscillating Multi-Tool | Precision plunge cuts, retrofit work near live wires | Slow to Moderate | Low | Very Low (Plunge depth control) |
Step-by-Step Cutout Procedures
Executing a flawless cutout requires precise measurement and controlled tool handling. The most common failure point in drywall installation is an oversized cutout around an electrical box, which violates fire-stopping codes and requires expensive, time-consuming patching with setting-type compound and mesh tape.
1. Electrical and Plumbing Boxes (The Plunge Cut)
The plunge cut is the foundational technique for the manual drywall saw. Follow this sequence to ensure a tight fit:
- Measure to the Center: Measure from the left edge of the adjacent installed panel to the exact center of the electrical box. Then, measure from the floor (or the top edge of the bottom sheet) to the center of the box.
- Transfer and Mark: Transfer these center-point measurements to the new sheet of drywall. Using a drywall square, draw the perimeter of the box (typically 2.75 x 4.75 inches for a standard single-gang box) radiating outward from your center crosshairs.
- The Piercing Strike: Place the pointed tip of the drywall saw just inside the corner of your drawn box. Strike the handle sharply with the heel of your free hand or a rubber mallet to pierce the paper and core.
- Angle and Level: Once the tip penetrates, angle the blade upward slightly to avoid plunging too deeply and damaging wires behind the box. As the blade clears the core, level it out and use smooth, full-length strokes to cut the perimeter.
- The Corner Pivot: Stop cutting exactly at the corner. Do not overcut. Pivot the saw and begin the next side. Leaving the corners slightly rounded is acceptable and actually prevents the drywall from cracking at the stress points.
2. Window and Door Openings (The Perimeter Cut)
For large openings, a manual drywall saw is often used in tandem with a utility knife or a straightedge. When cutting the top header or bottom sill of a window opening, the drywall saw excels at making the vertical relief cuts where the board meets the window jamb. Because these cuts are often made overhead or in awkward positions, the lightweight and cordless nature of the manual saw provides superior control compared to a heavy rotary tool, reducing the risk of the tool slipping and scoring the visible face of the gypsum board.
When cutting around complex plumbing protrusions (like shower valves or gas lines) where measuring is prone to error, use the transfer method. Rub a thick lipstick or a specialized drywall marking crayon around the rim of the pipe or valve. Press the drywall sheet into position against the wall. The lipstick will transfer a perfect, exact template of the cutout onto the back of the drywall panel, which you can then easily cut out with your drywall saw from the front side.
Silica Dust Mitigation and Safety Compliance
Cutting gypsum board generates significant amounts of airborne dust. While the primary component is calcium sulfate, gypsum board joint compounds and certain specialized core additives contain respirable crystalline silica. Under current OSHA silica regulations, employers must strictly control worker exposure to silica dust, which can cause silicosis and lung cancer over time.
When using manual drywall saws, dust generation is relatively low compared to powered rotary tools. However, for commercial sites, it is standard practice to pair powered cutout tools with HEPA-filtered dust extraction shrouds. If using a manual saw in a confined, unventilated space, installers should still wear N95 or P100 respirators to protect against general particulate inhalation, especially when cutting moisture-resistant or mold-treated boards that may contain additional chemical irritants.
Troubleshooting Common Cutting Failures
Even experienced hangers encounter issues when cutting out panels. Use this diagnostic guide to correct poor cutout quality:
- Symptom: Jagged, Torn Paper Edges. Cause: The saw blade is dull, or you are applying too much downward pressure on the push stroke. Fix: Replace the blade. A drywall saw cuts primarily on the pull stroke; let the tool do the work without forcing it through the core.
- Symptom: Blade Binding in the Kerf. Cause: Cutting through 5/8-inch Type X board with a standard fine-tooth saw, or the blade lacks adequate tooth set. Fix: Switch to a specialized 6-8 TPI drywall blade with a wider set, or use a carbide-grit rod saw for highly abrasive fire-rated boards.
- Symptom: Overcutting Past the Box Corners. Cause: Poor visibility or using a saw blade that is too long for the confined space. Fix: Use a shorter-bladed drywall saw (7-inch blade rather than 10-inch) for tight electrical boxes to maintain visual contact with the corner marks.
- Symptom: Cracked Drywall at Cutout Corners. Cause: Cutting perfectly sharp 90-degree interior corners, which creates a stress concentration point. Fix: Intentionally leave a 1/8-inch radius at the inside corners of your cutout, or drill a 1/4-inch hole at the corner before sawing to relieve stress, as recommended in the GA-216 Application and Finishing guidelines.
Blade Maintenance and Longevity
Gypsum is highly abrasive. A standard carbon steel drywall saw blade will lose its cutting edge after approximately 40 to 50 standard electrical box cutouts. To extend blade life, keep a wire brush in your pouch and clean the teeth after every few cuts to remove impacted gypsum dust. Never use a drywall saw to cut through wood studs, nails, or metal corner bead; doing so will instantly ruin the tooth set and dull the cutting edges, rendering the tool useless for clean paper-facing cuts. Dedicate your drywall saws strictly to gypsum and insulation materials to ensure they remain sharp and reliable throughout the lifespan of the project.